 Connected Performance
Manage Your Settings
Enhance your experience with Connect by customizing your settings effectively
Enhance your experience with Connect by customizing your settings effectively
This guide will walk you through the process of managing your settings effortlessly to fit your needs and preferences.
Step 2 — Click "Upload new company Logo"
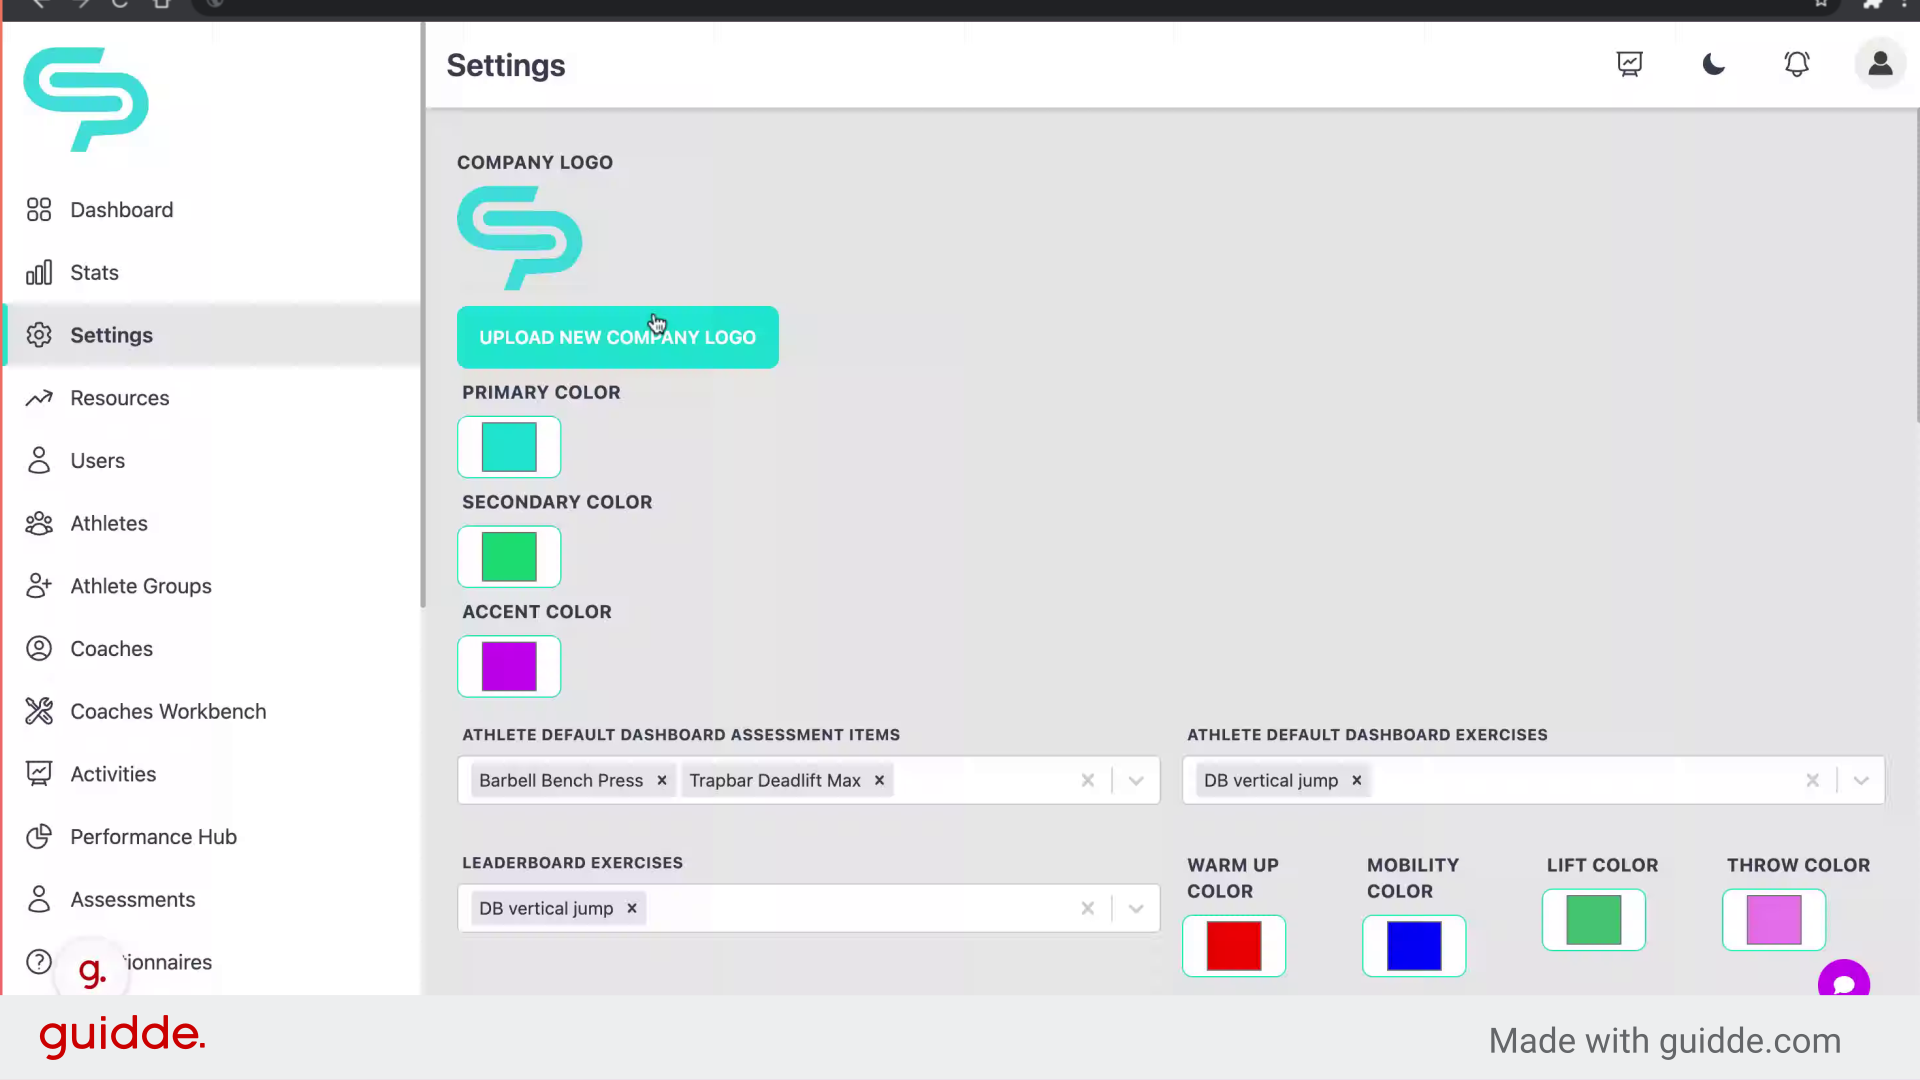
Upload a new company logo.
Step 3 — Upload Your Image
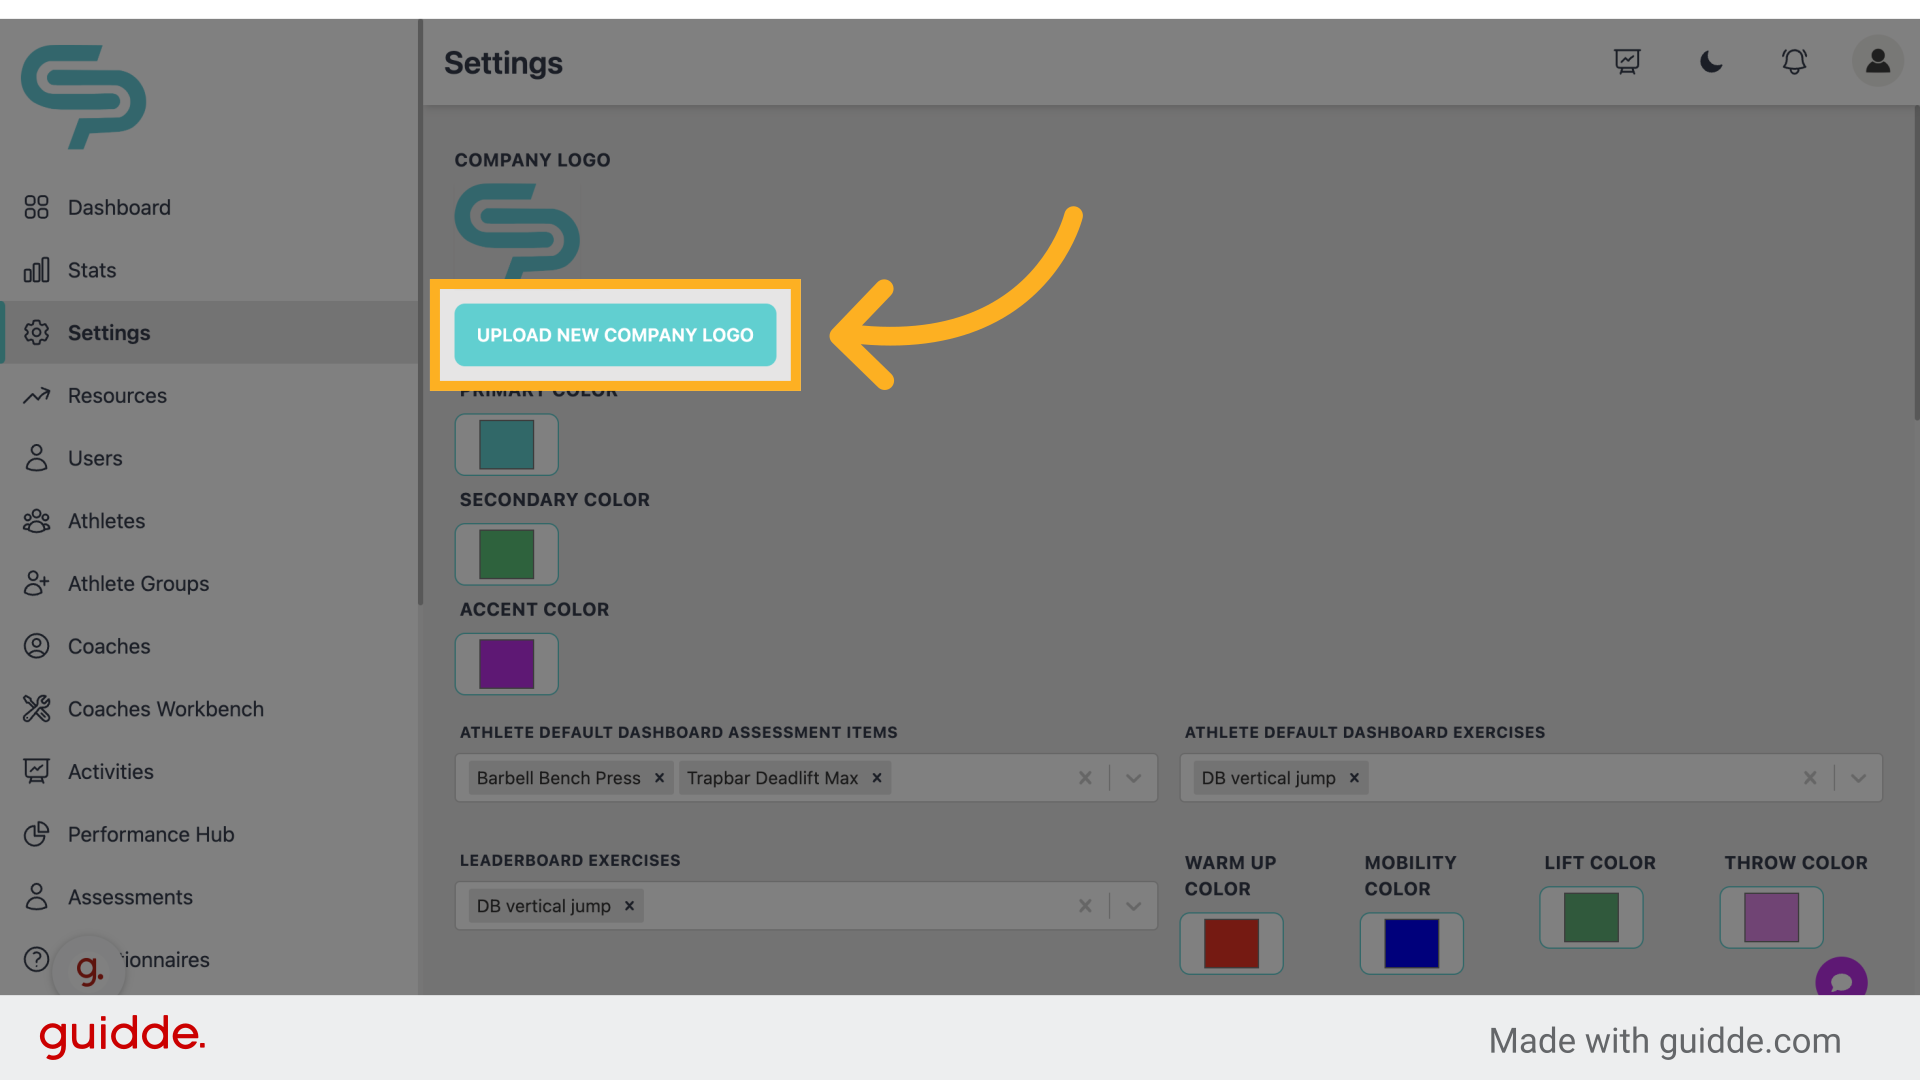
Upload your company logo and scroll to the bottom to apply settings
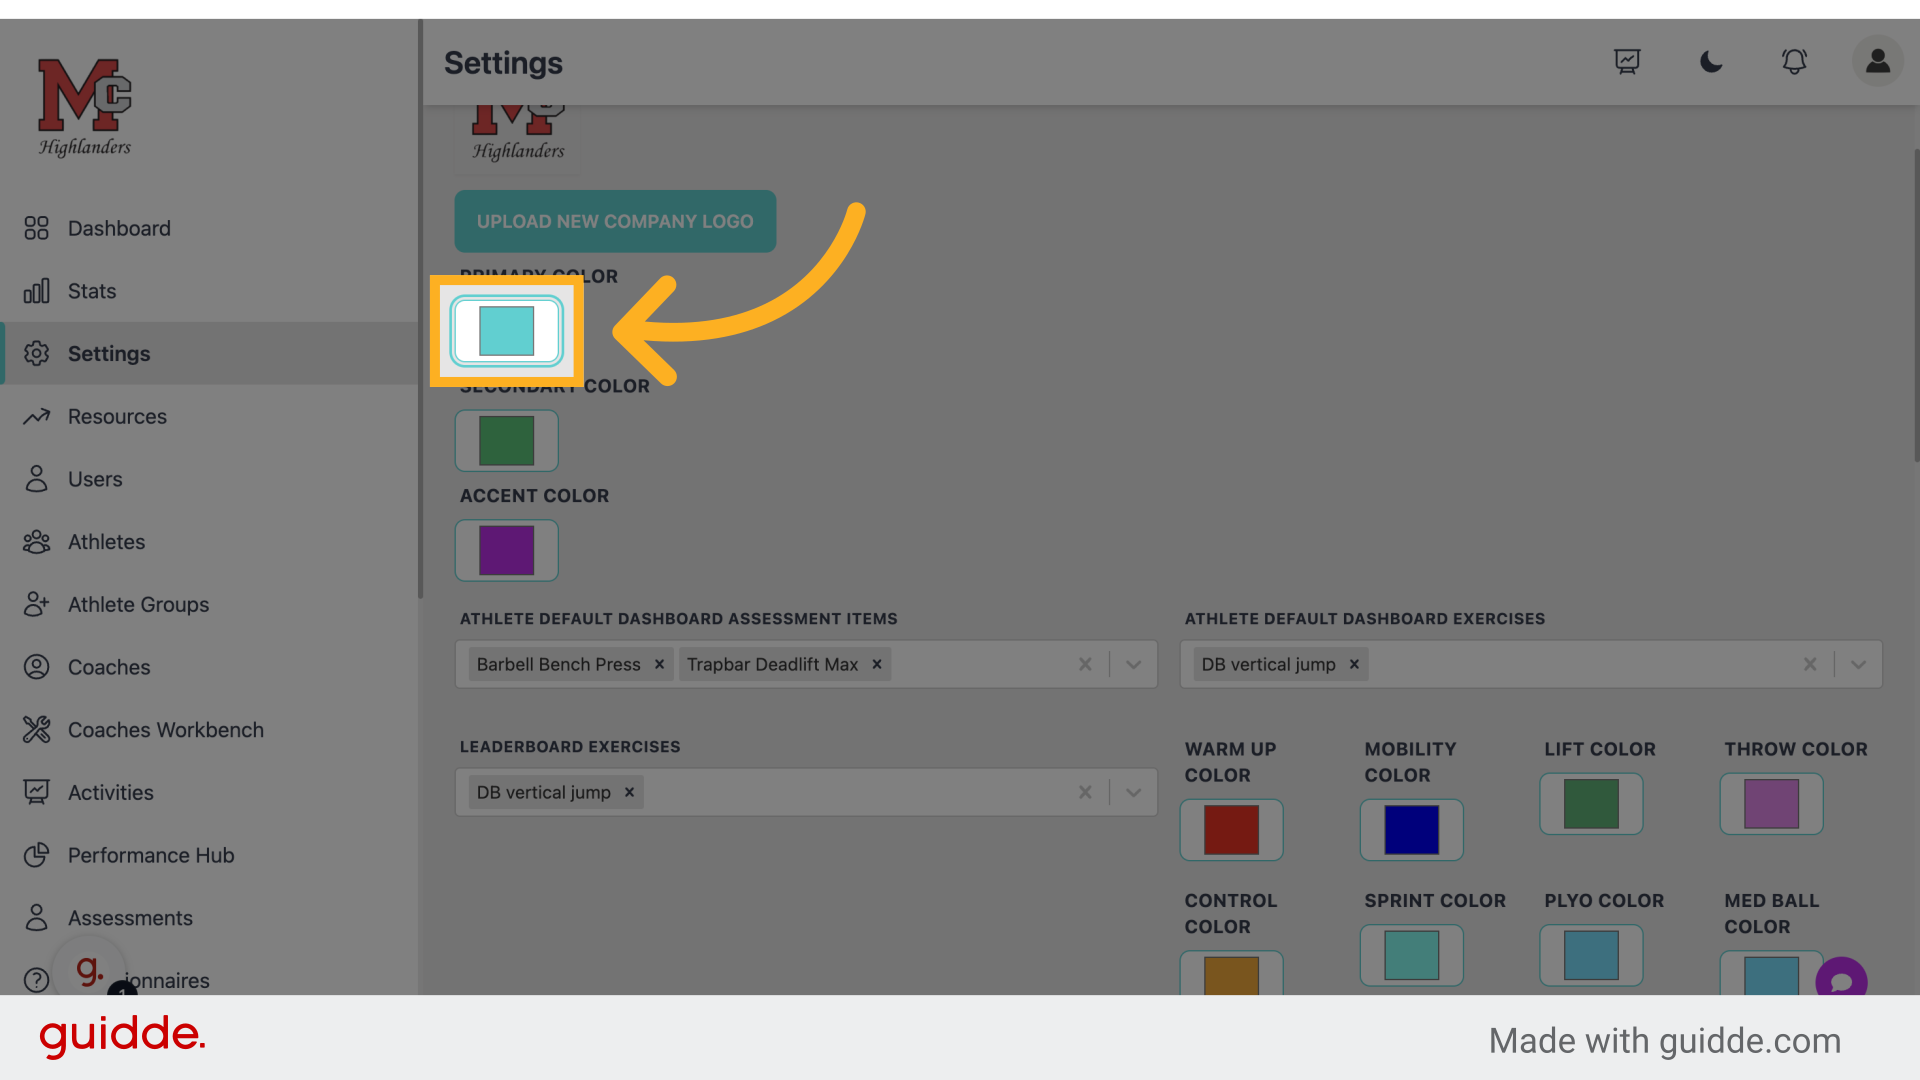
Step 4 — Adjust your branding
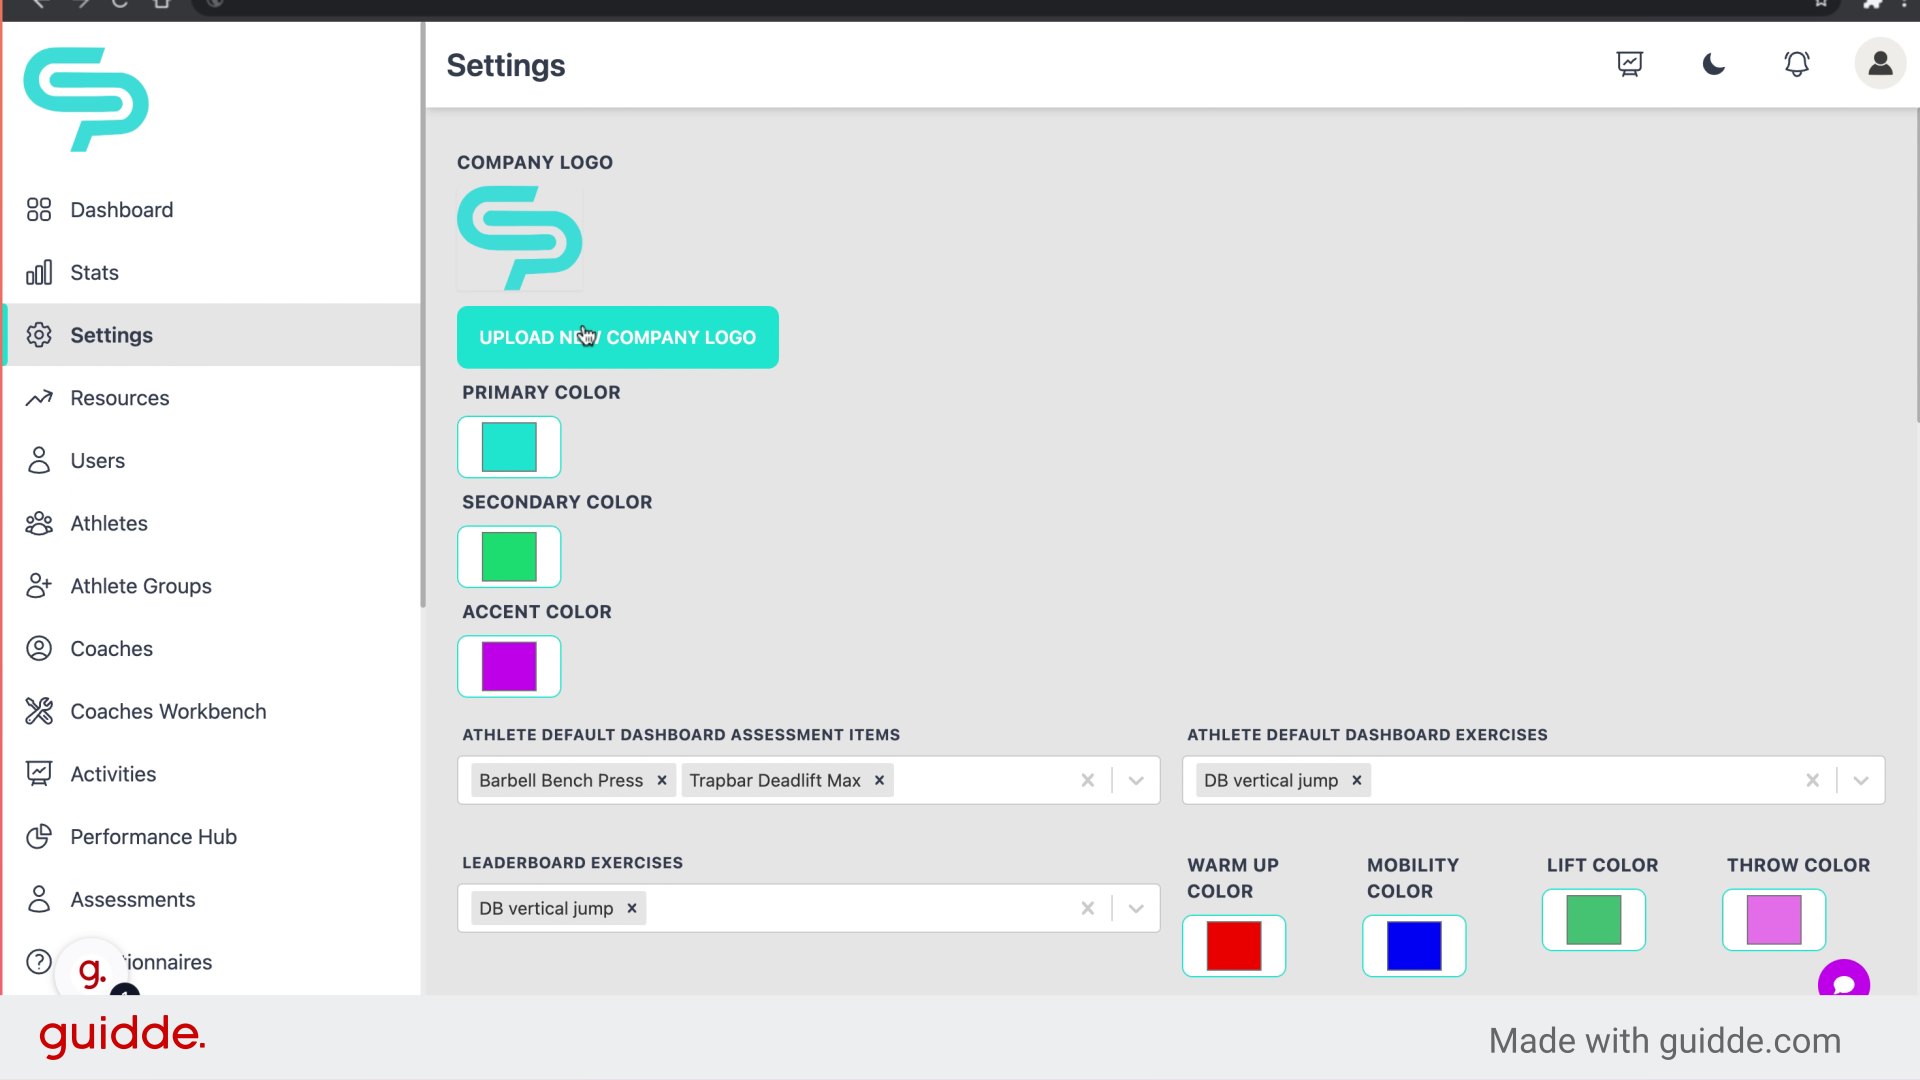
Select the colors you'd like to brand your app with. Please note secondary colors that include, white, grey, black, or any neon color may be difficult to read. Feel free to play around with what works best for you.
Step 5 — Fill In Your Specific Color
Step 6 — Click "Accent Color"
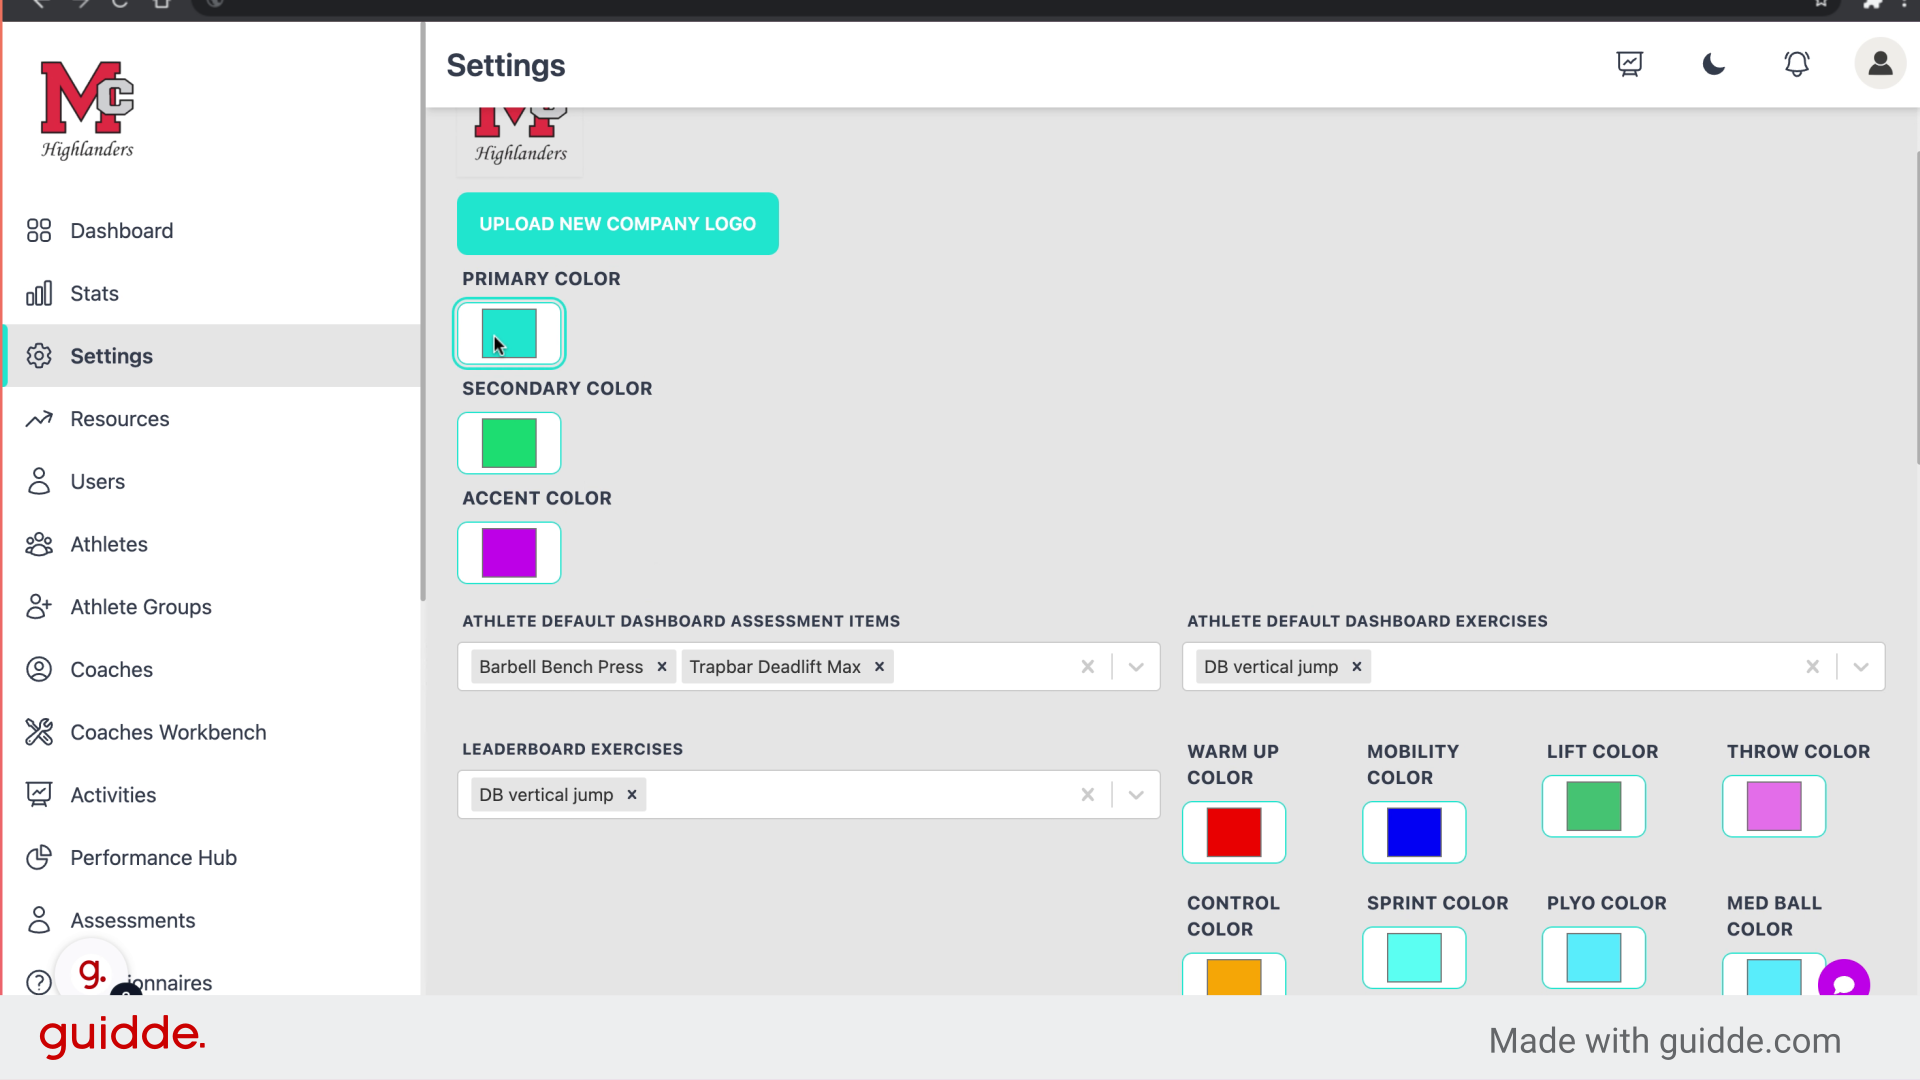
Access the Accent Color settings.
Step 7 — Click "Accent Color"
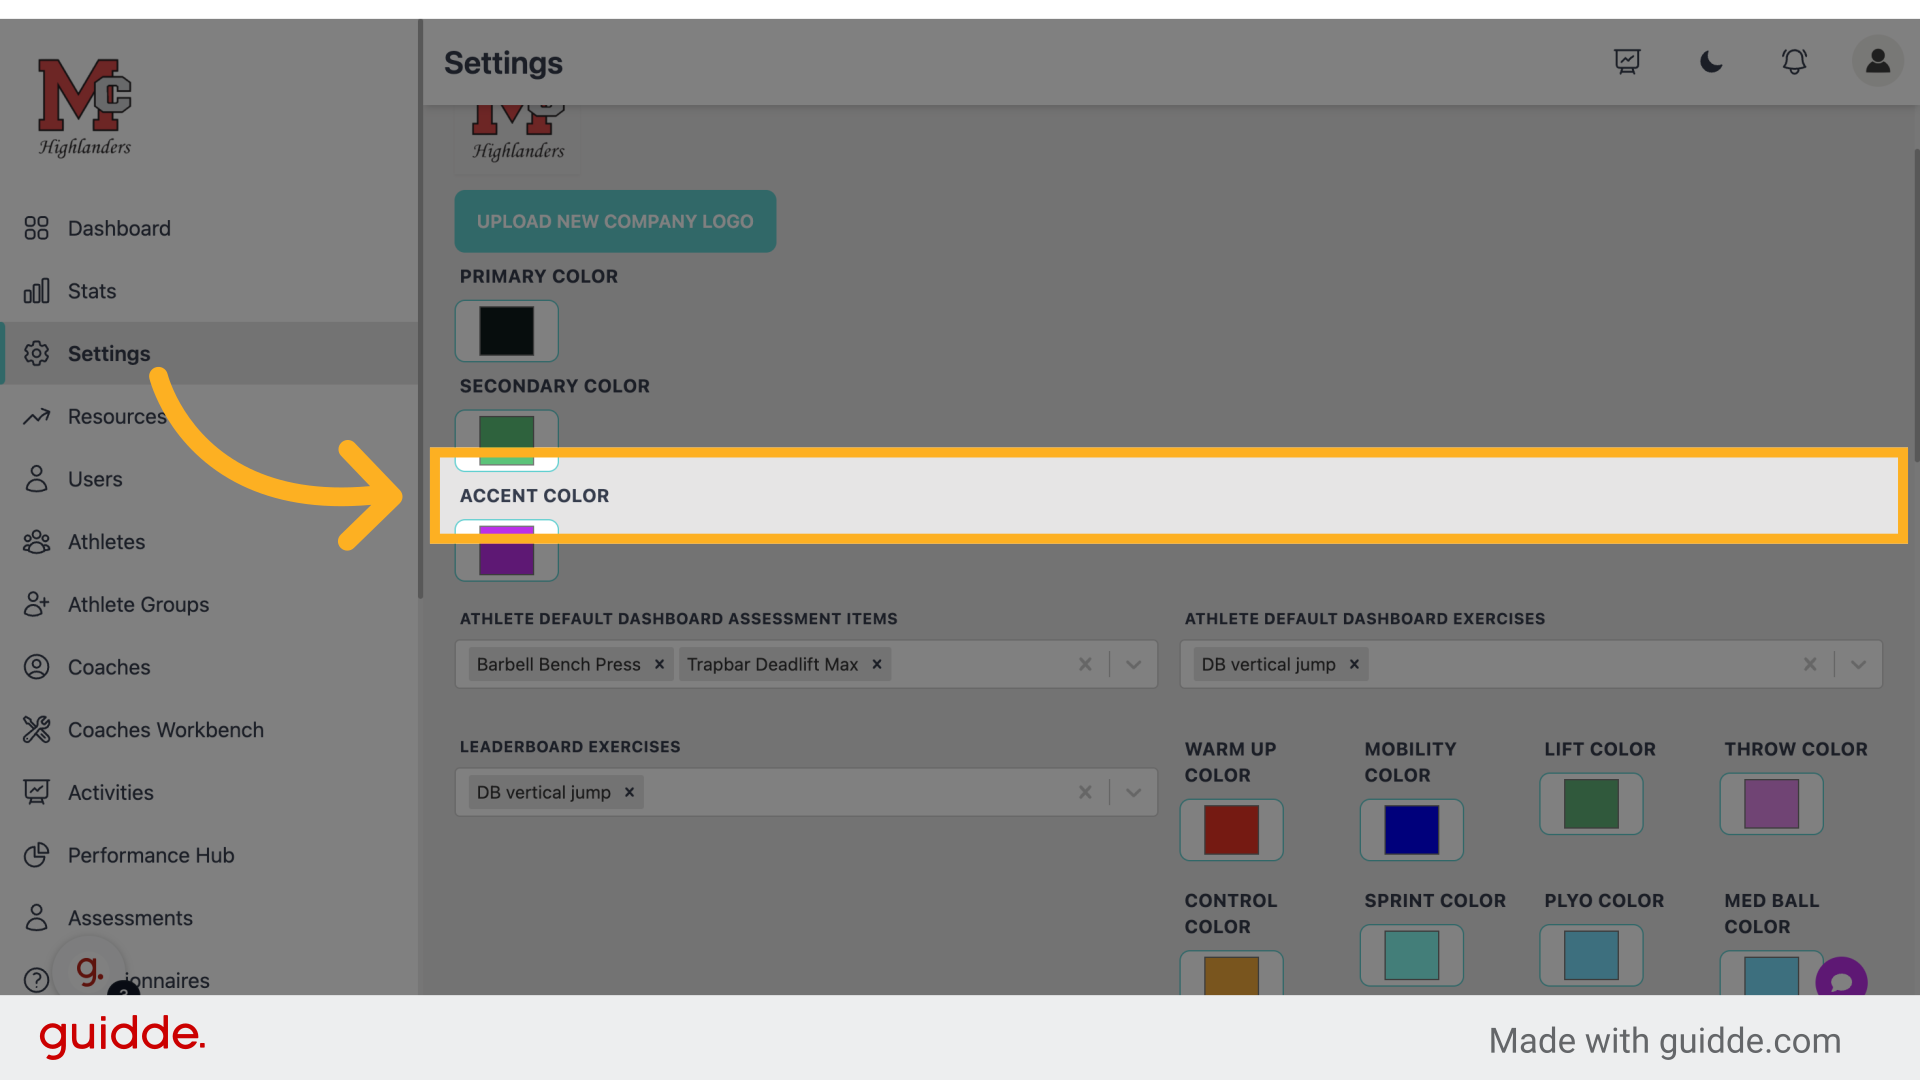
Edit the Accent Color settings.
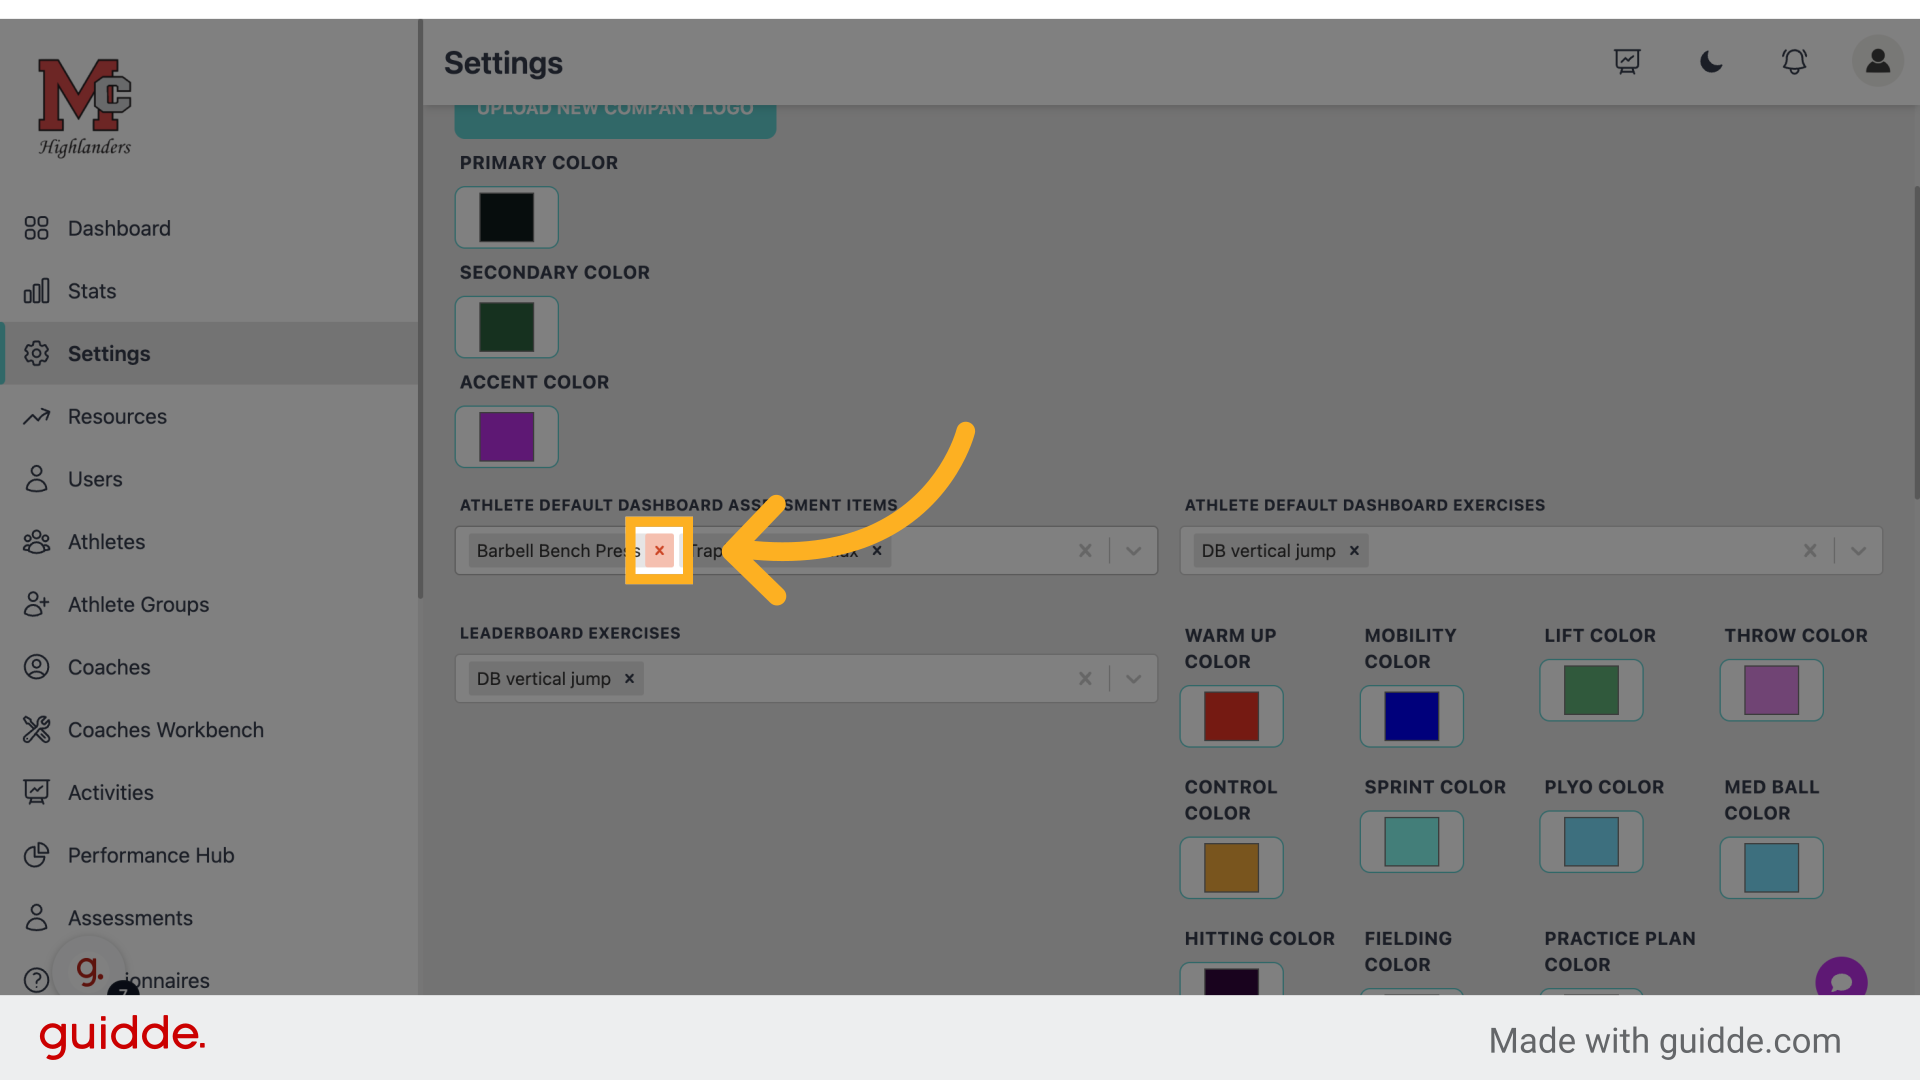
Step 8 — Edit Your Dashboard and Leaderboard Graphs
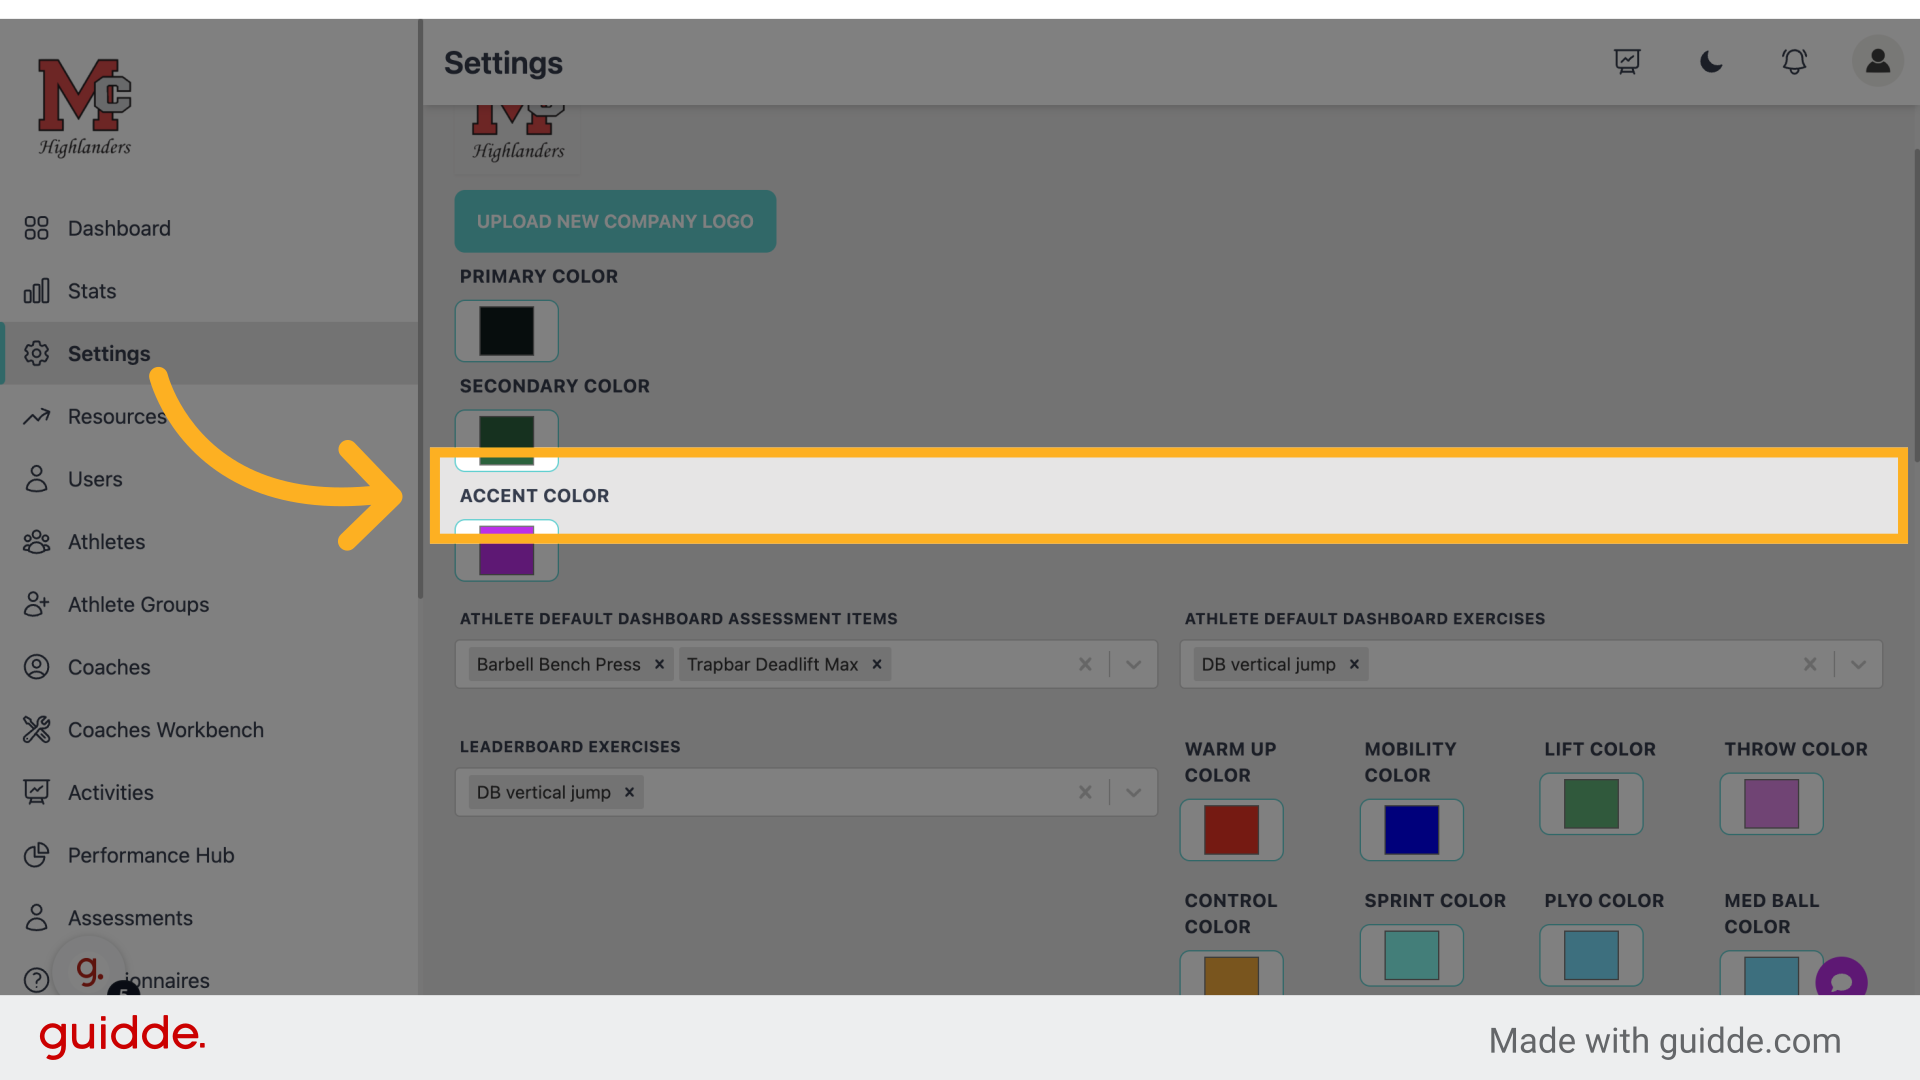
These graphs will show up on the dashboard or leaderboard based upon how you customize your settings
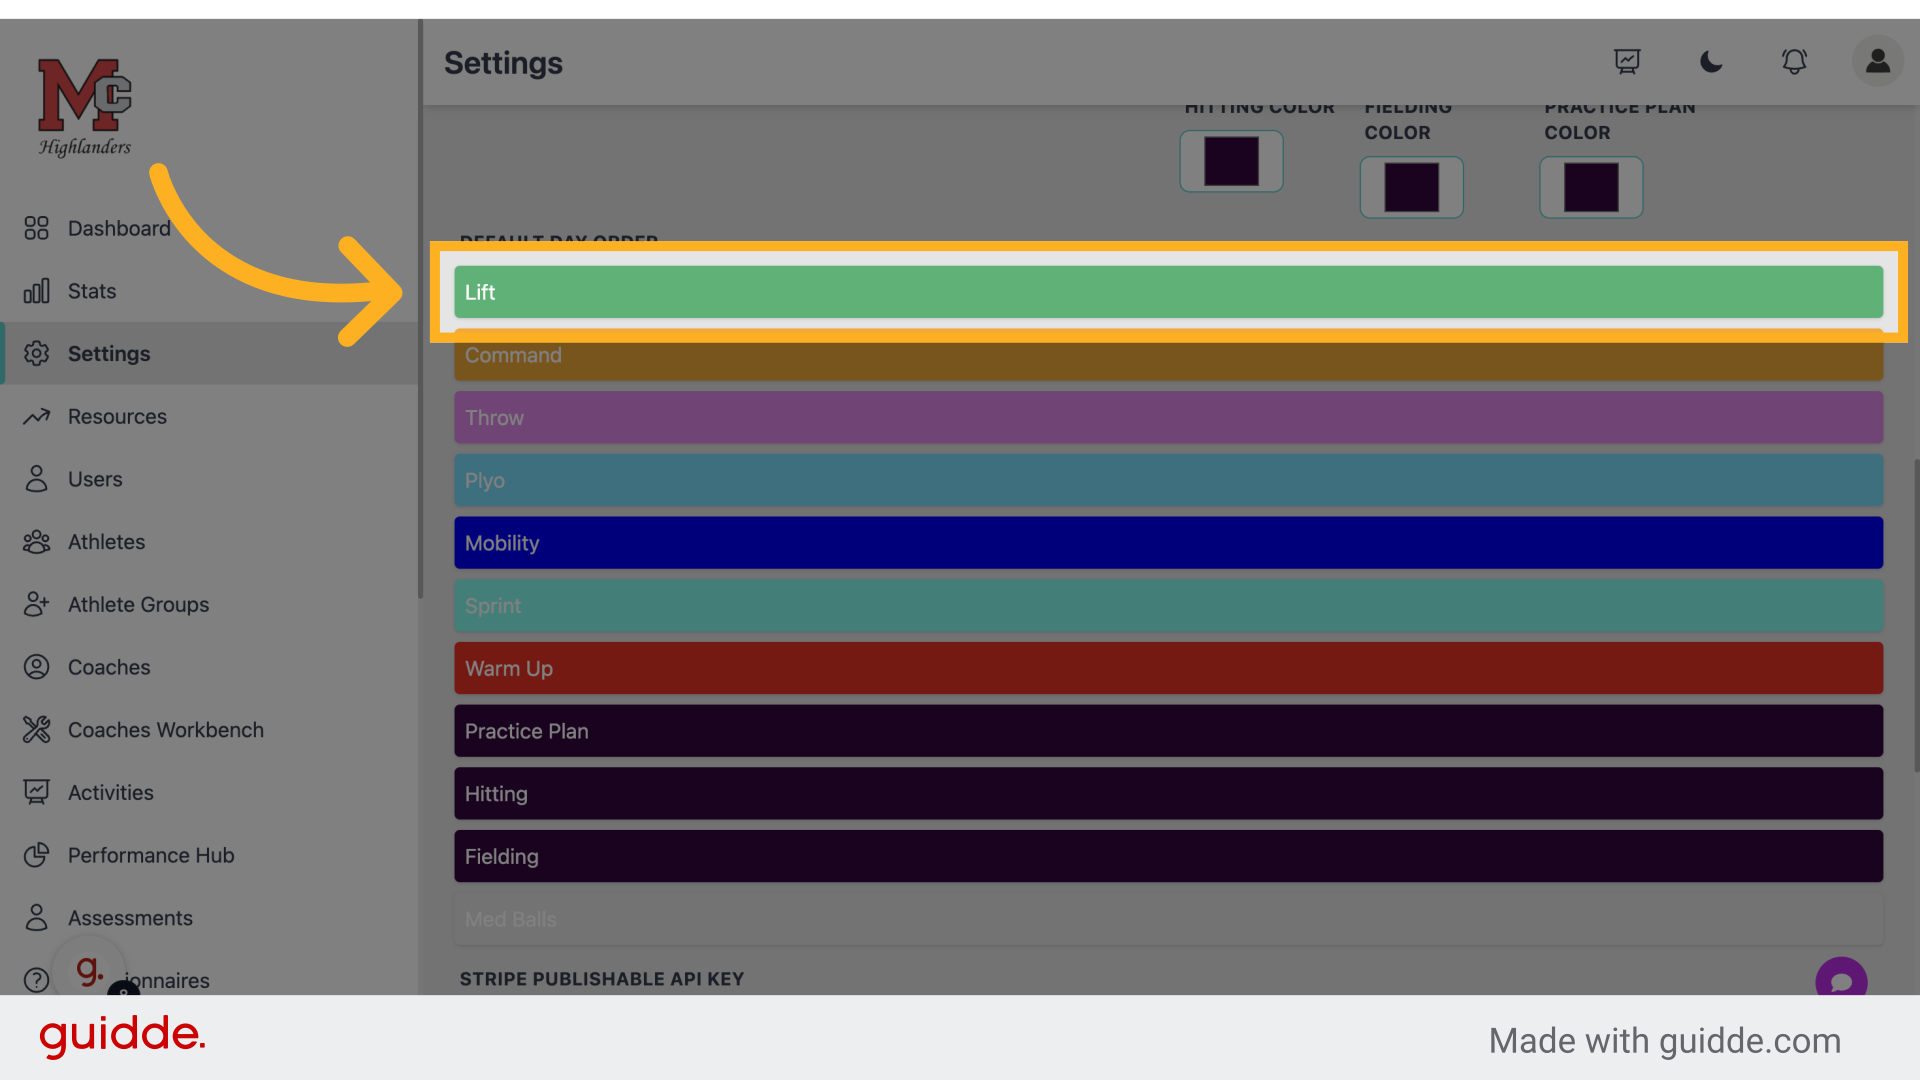
Step 9 — Create Your Default Order In The Schedule
by creating the proper order this will automatically default the workout order in the schedule
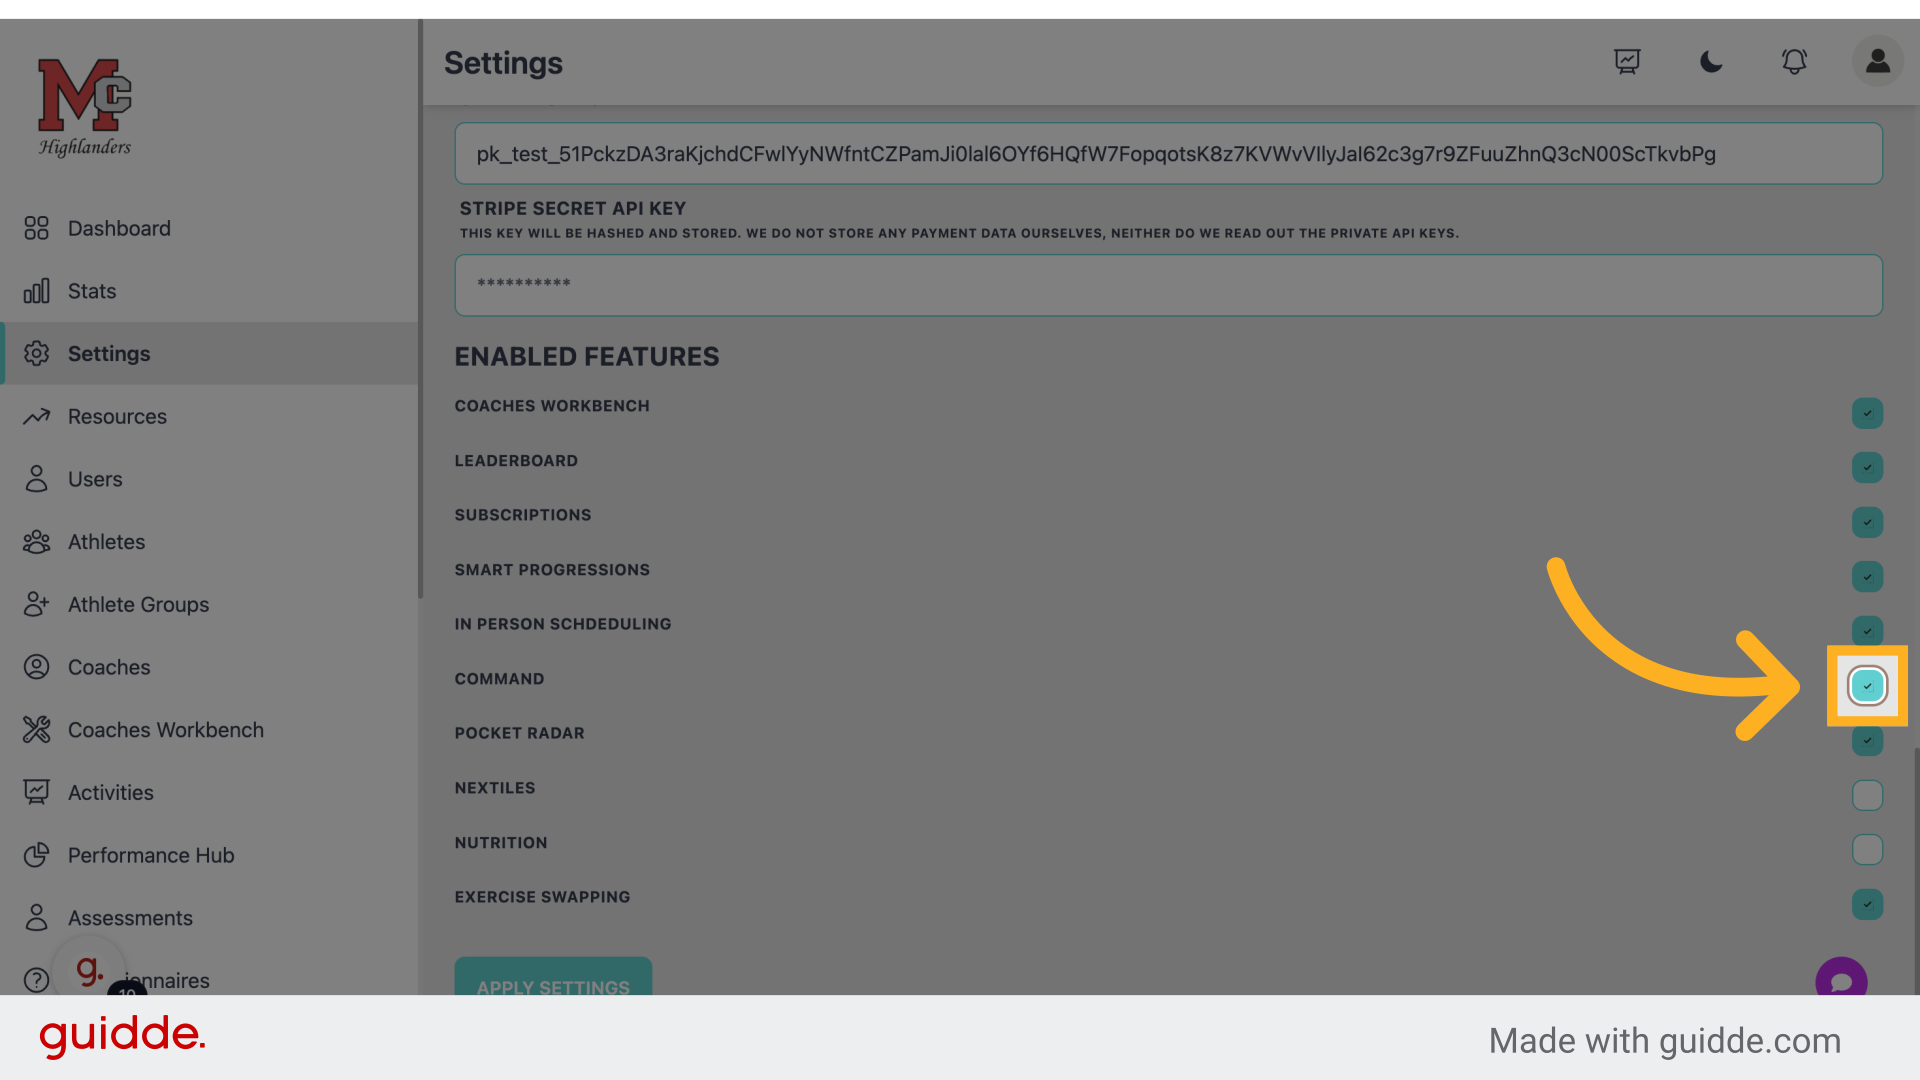
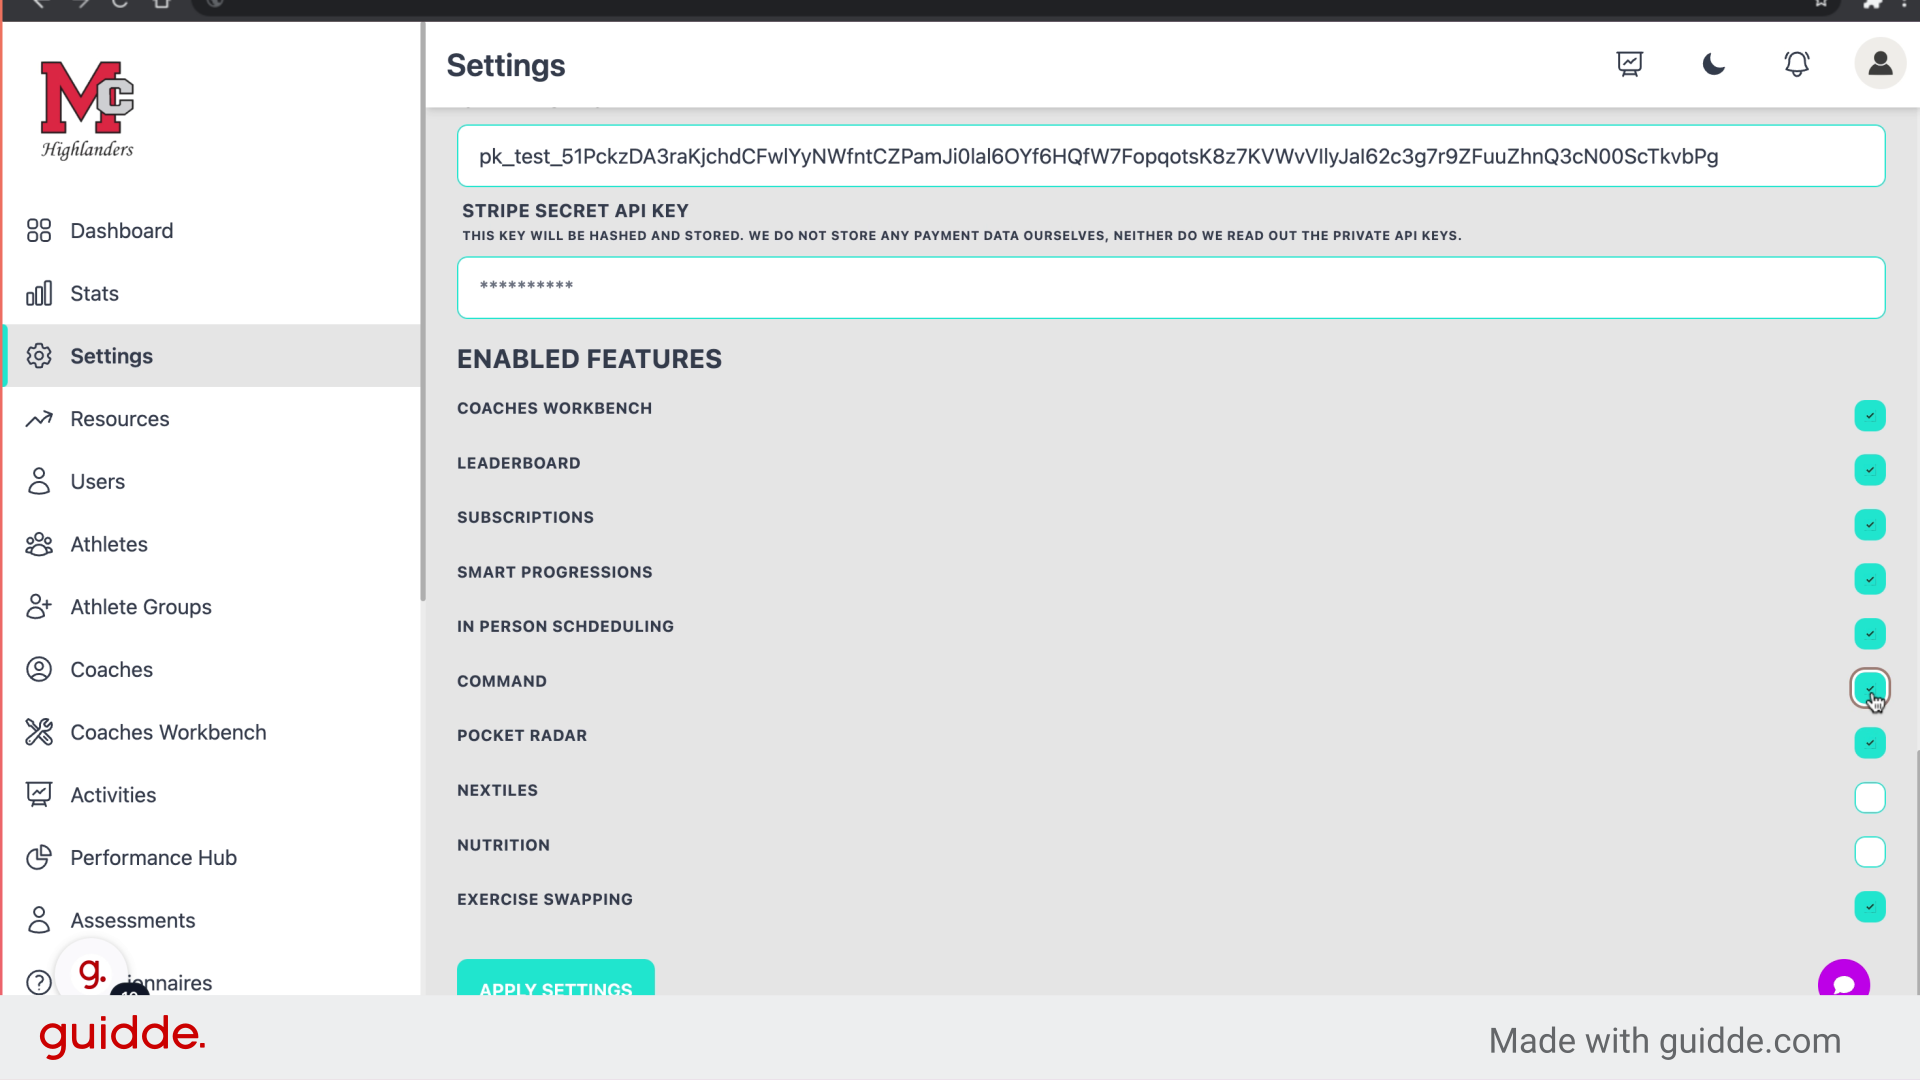
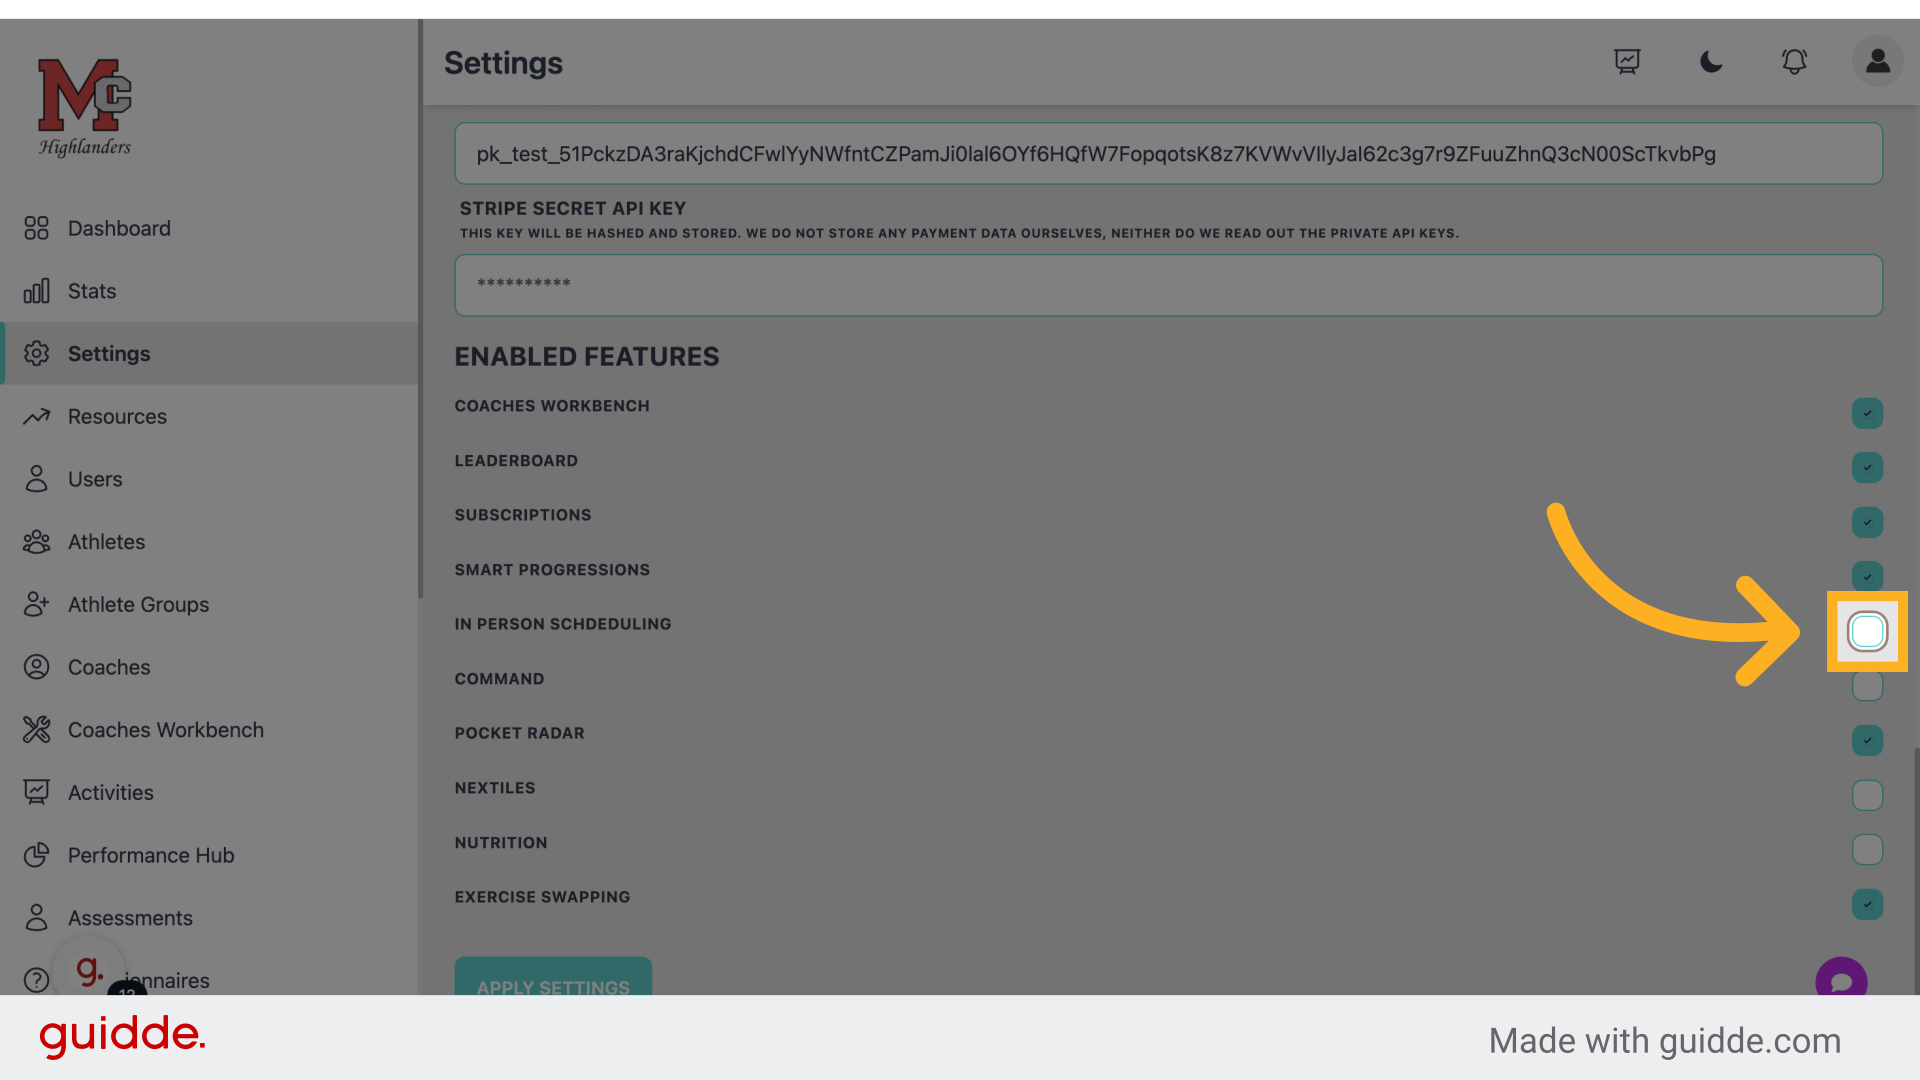
Step 10 — Toggle Features On Or Off
Turn the feature "on" or "off" to dictate whether the feature shows up in the side bar or not
Step 11 — Fill "on"
Enter the desired text.
Step 12 — Fill "on"
Enter the value "on".
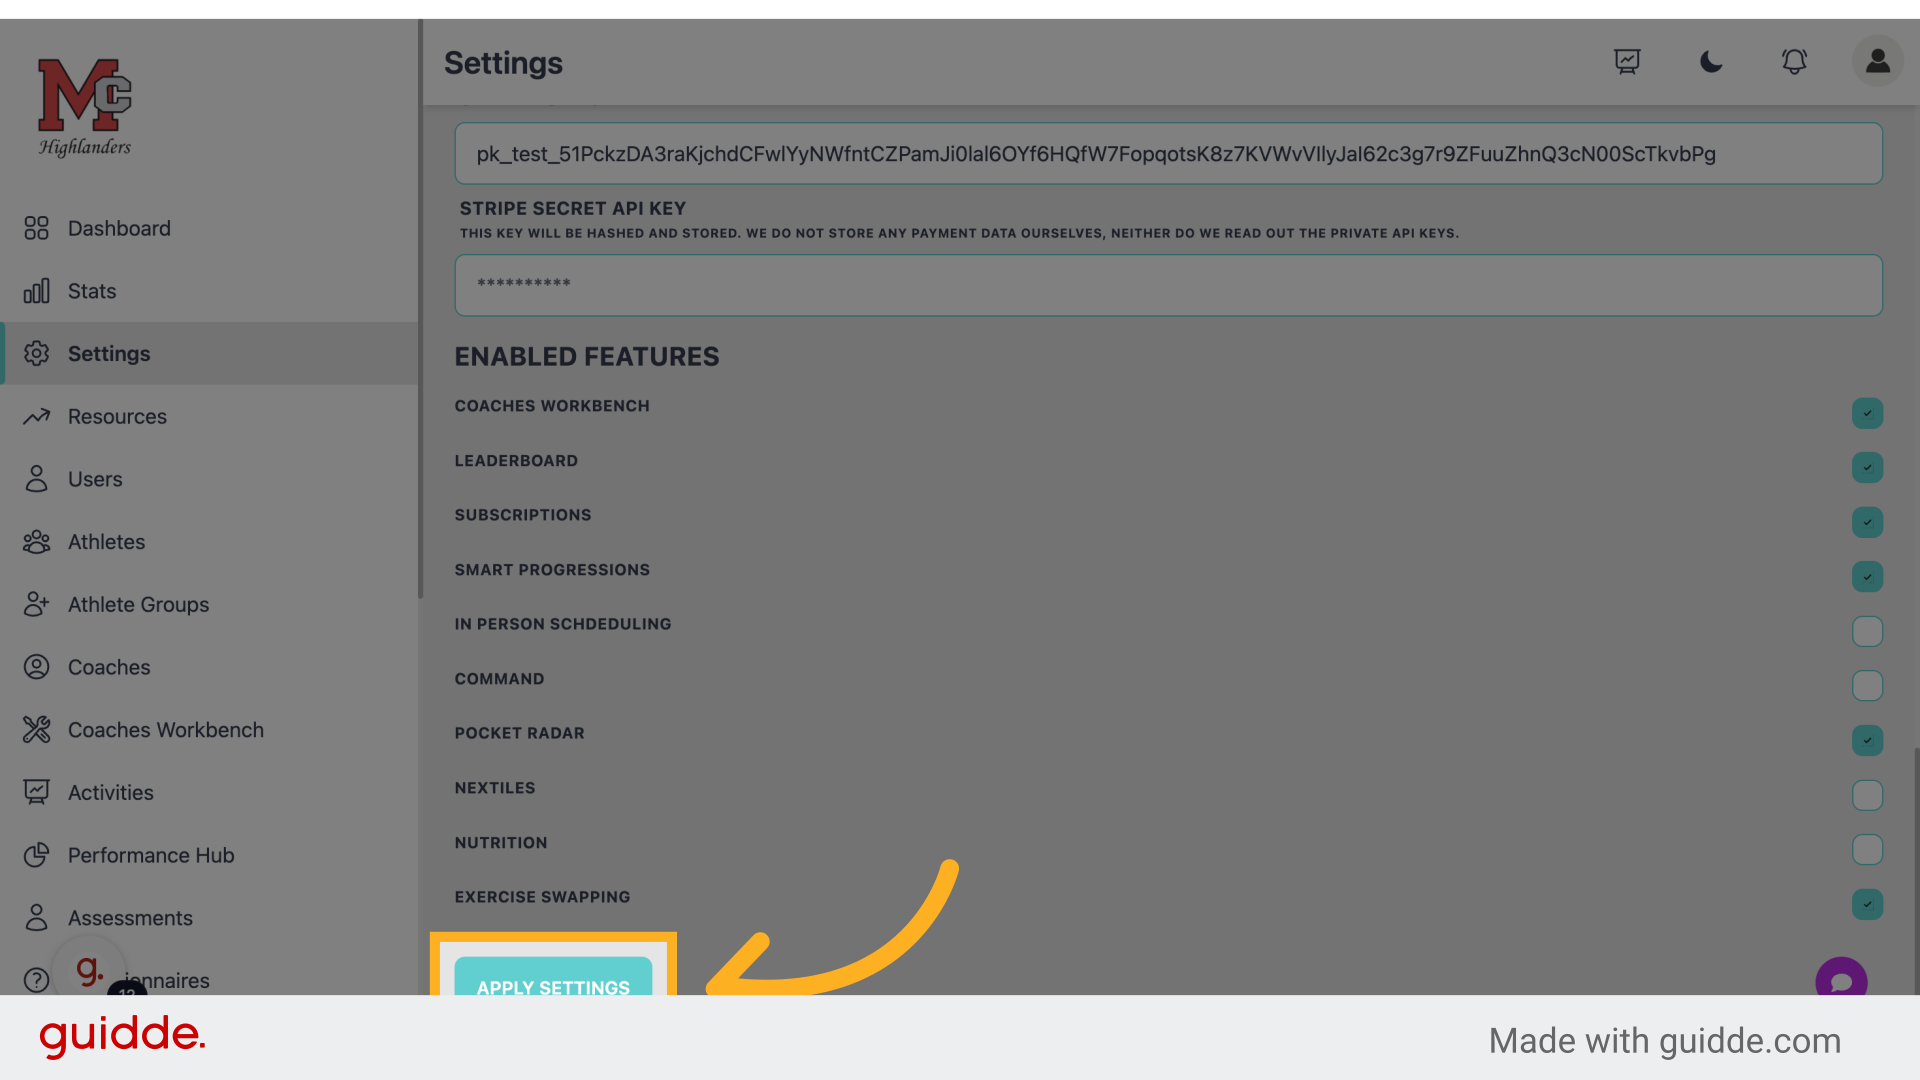
Step 13 — Click "Apply Settings"
Save the changes by clicking "Apply Settings".
 This guide covered the process of managing settings in Connected-performance, including uploading a new company logo, adjusting colors, selecting options like "Lift" and "Warm Up," and applying the changes seamlessly.
Referenced by
- 'Command Sessions'assessments questionnaires
- 'Connected Apps (MCP)'integrations
- 'Exercise Tags & Types'workouts
- 'Organization Settings'getting started
- 'VALD Integration'integrations