 Connected Performance
Video Room
Store, organize, and share files with athletes and coaches. Upload videos, documents, images, and other resources in a centralized location.
Overview
Store, organize, and share files with athletes and coaches. Upload videos, documents, images, and other resources in a centralized location.
How To
Accessing Video Room
- Click Video Room in the left sidebar
- View your files and folders
Uploading Files
- Click Upload or drag files into the window
- Select files from your device
- Wait for upload to complete
- Files appear in current folder
Supported file types:
- Videos (MP4, MOV, etc.)
- Images (JPG, PNG, etc.)
- Documents (PDF, DOC, etc.)
- Spreadsheets (XLS, CSV, etc.)
Creating Folders
- Click New Folder
- Enter folder name
- Click Create
- Organize files by dragging into folders
Organizing Files
- Move - Drag files between folders
- Rename - Click file name to edit
- Delete - Select and click delete icon
- Download - Click download to save locally
Folder Structure Ideas
- By athlete name
- By date/season
- By content type (videos, assessments, etc.)
- By training phase
Sharing Files
Share files with specific people:
- Select a file
- Click Share
- Choose recipients (athletes, coaches, groups)
- Set permissions (view, download, edit)
- Click Share
Viewing Shared Files
Files shared with you appear in:
- Shared with Me folder
- Notification when new files shared
- Click to view or download
Video Annotations
For video files:
- Open the video
- Click Annotate
- Draw on frames
- Add text comments
- Save annotations
- Share annotated version
File Permissions
Control who can access files:
- Private - Only you can see
- Coaches - All coaches can view
- Specific Athletes - Selected individuals
- Groups - Entire athlete groups
Storage Management
Monitor your storage:
- View storage usage in Videos settings
- Delete unused files to free space
- Contact admin if more storage needed
Searching Files
- Use the search bar
- Search by file name
- Filter by file type, date, or owner
Tips
- Use consistent naming conventions for easy searching
- Create folders for each athlete for personalized feedback
- Upload training videos for remote form checks
- Clean up old files periodically
Troubleshooting
Upload failing? Check file size limits. Verify internet connection. Try smaller files.
Can't find a file? Use search. Check all folders including Shared with Me.
Video won't play? File may still be processing. Try refreshing. Check file format.
Related
- Chat
- Resources
- Creating & Managing Assessments
Video Walkthrough
How to Manage Your Videos
Learn how to efficiently manage your videos with the Employee Training guide for Connected-performance
1. Introduction
Follow the detailed instructions below to navigate the application seamlessly and enhance your file management skills.
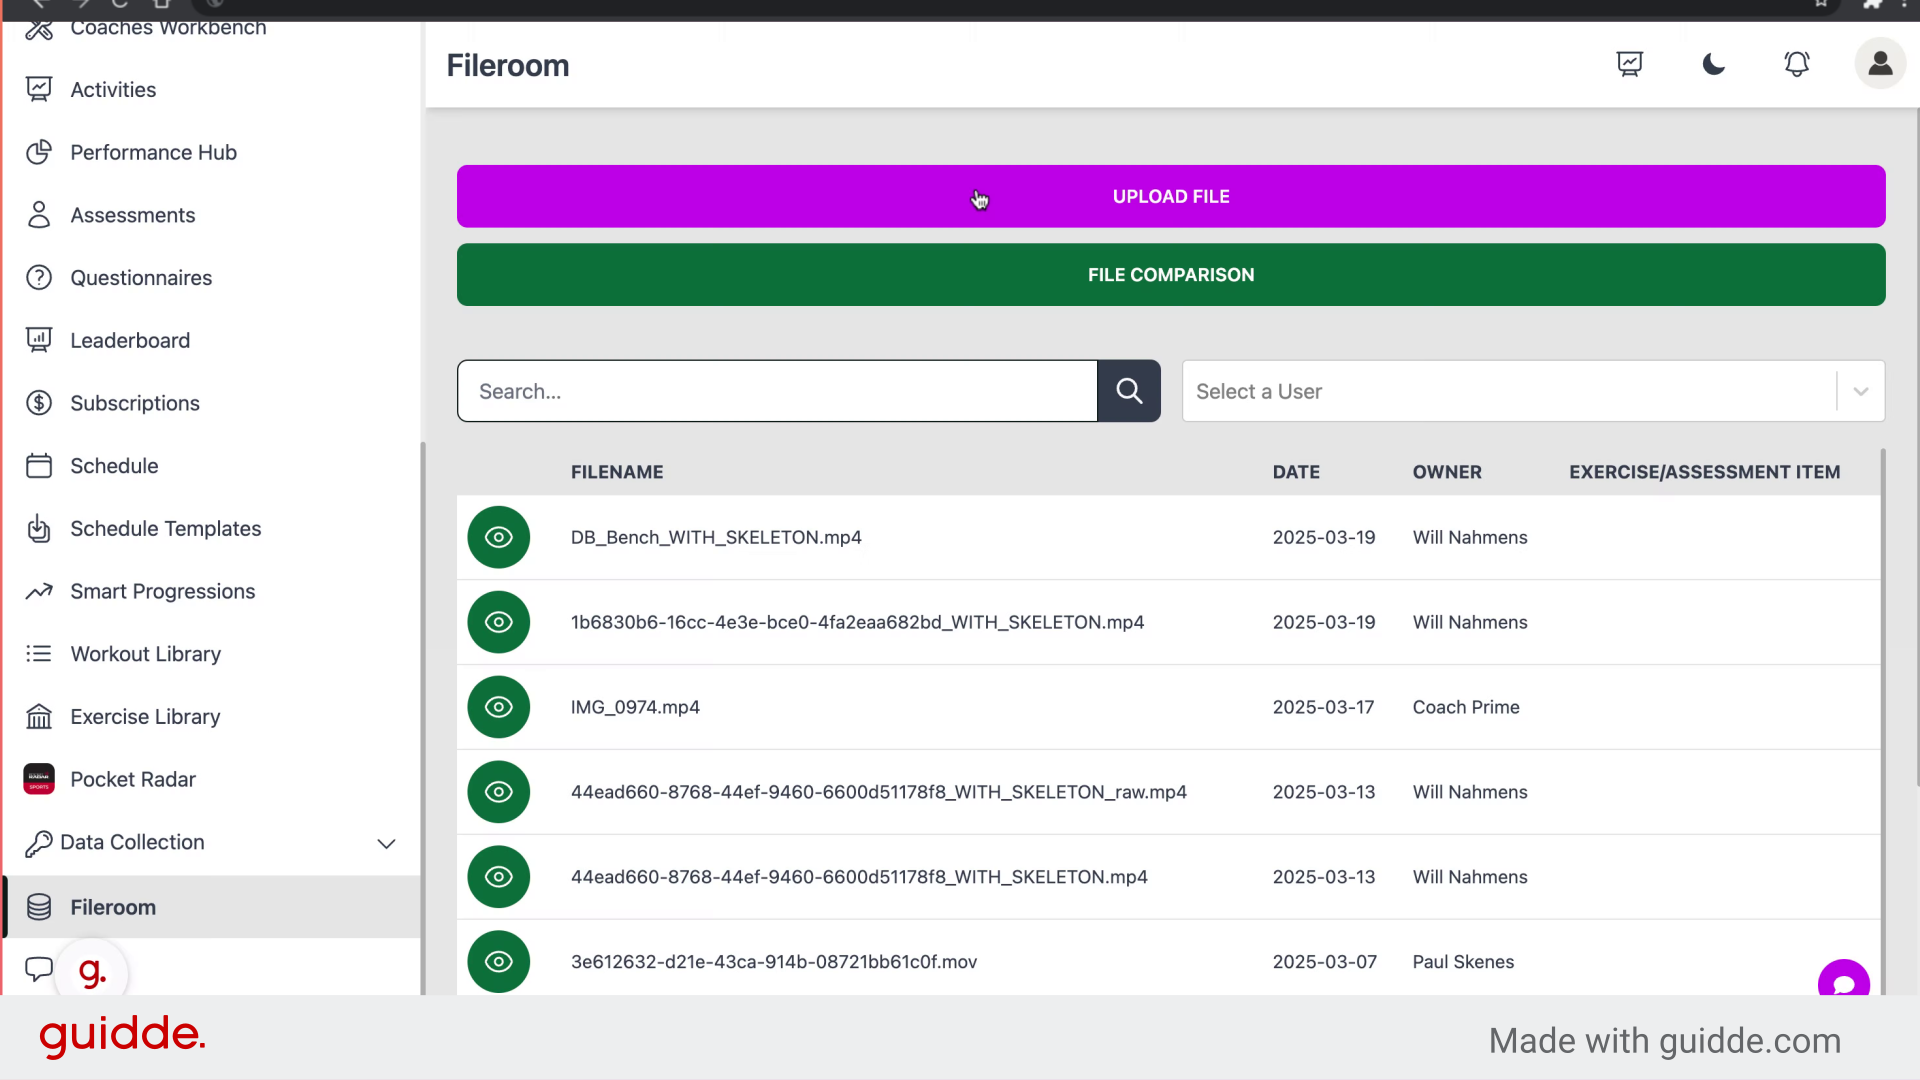
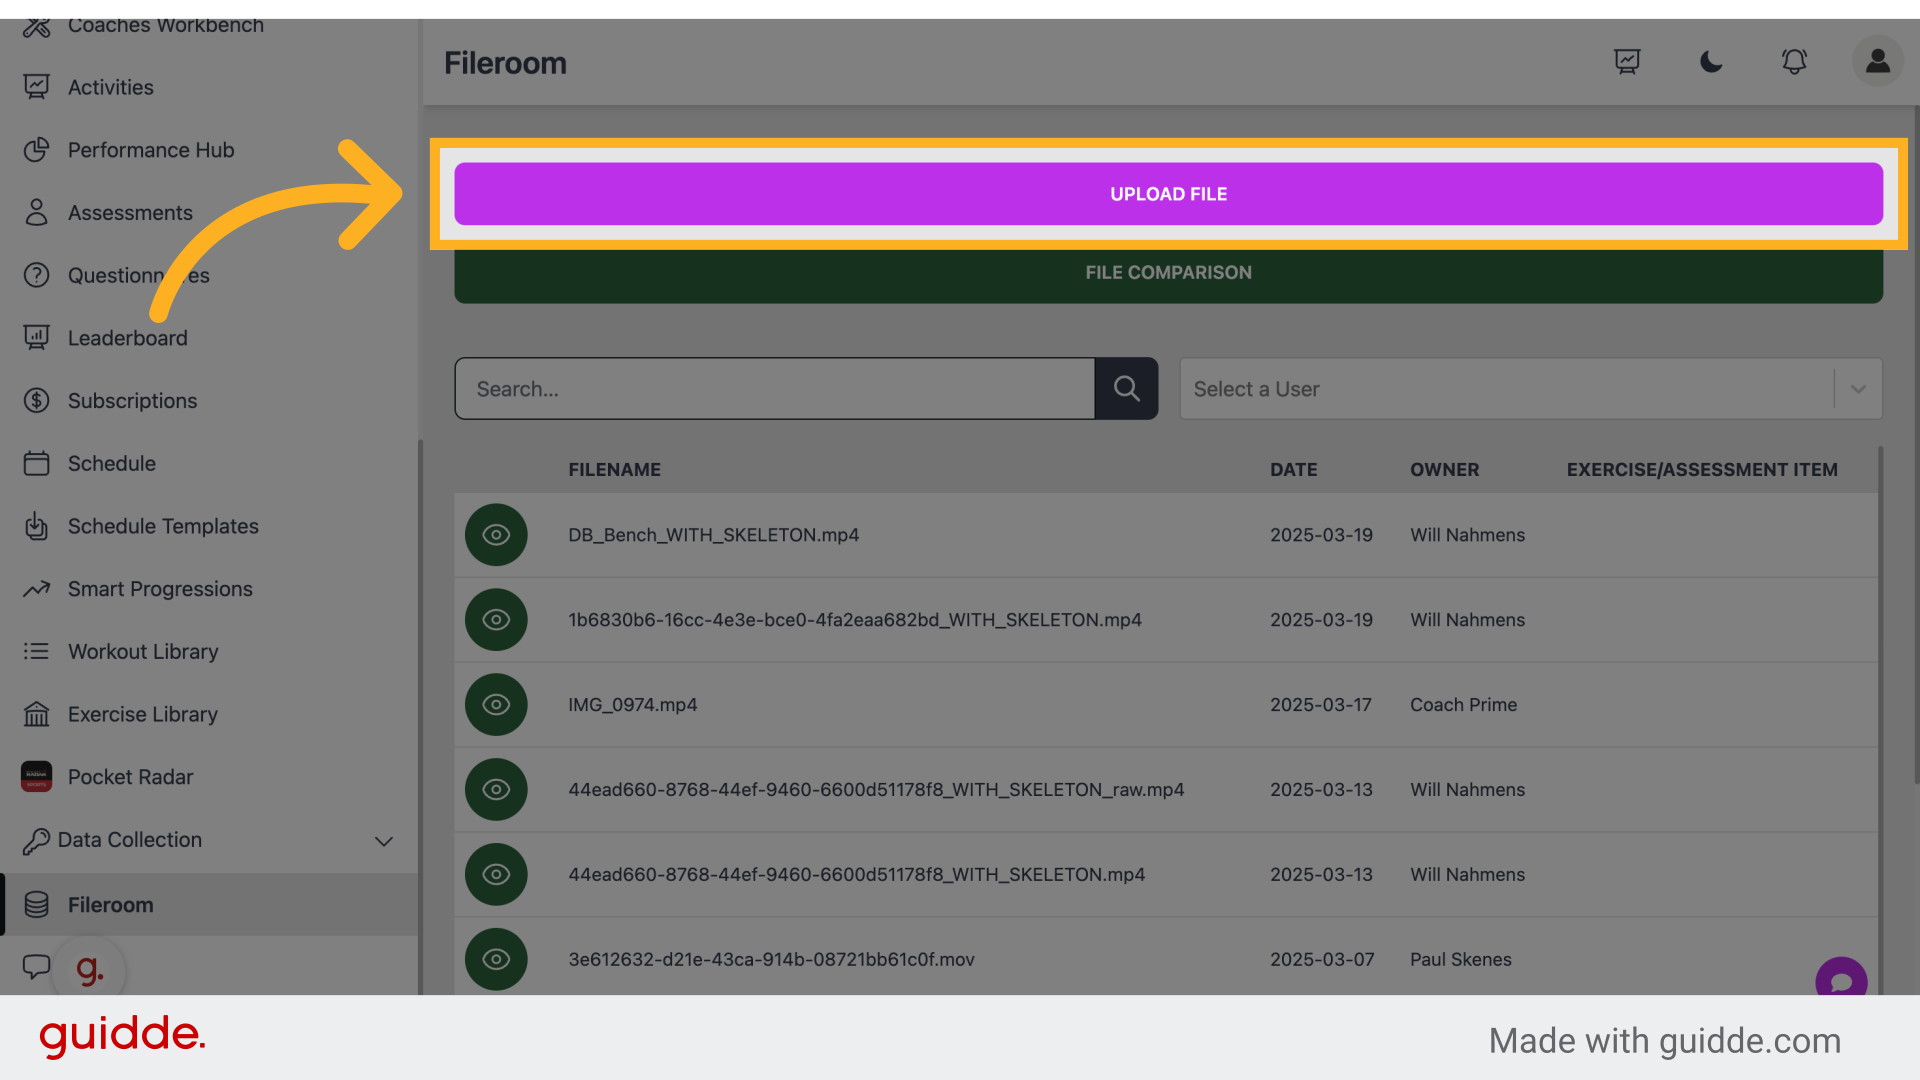
2. Click "Upload File"
Upload a file.
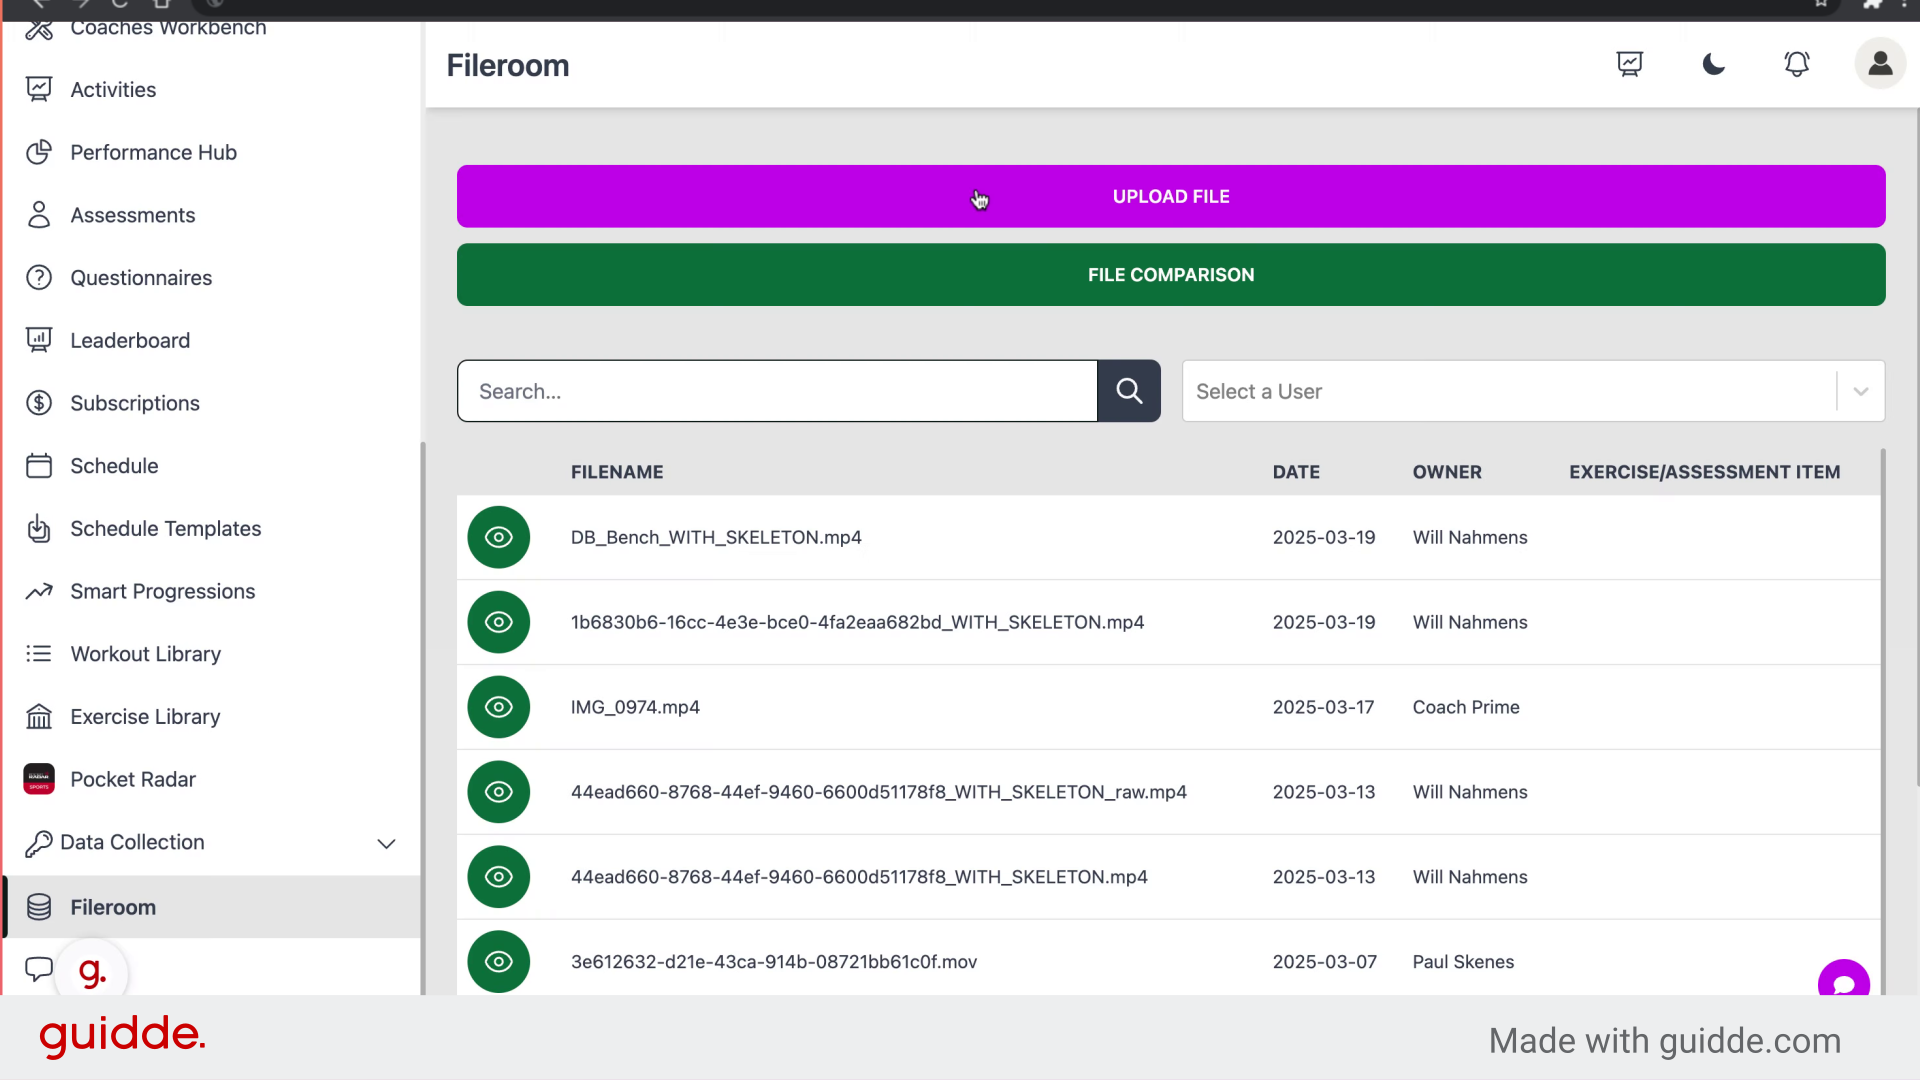
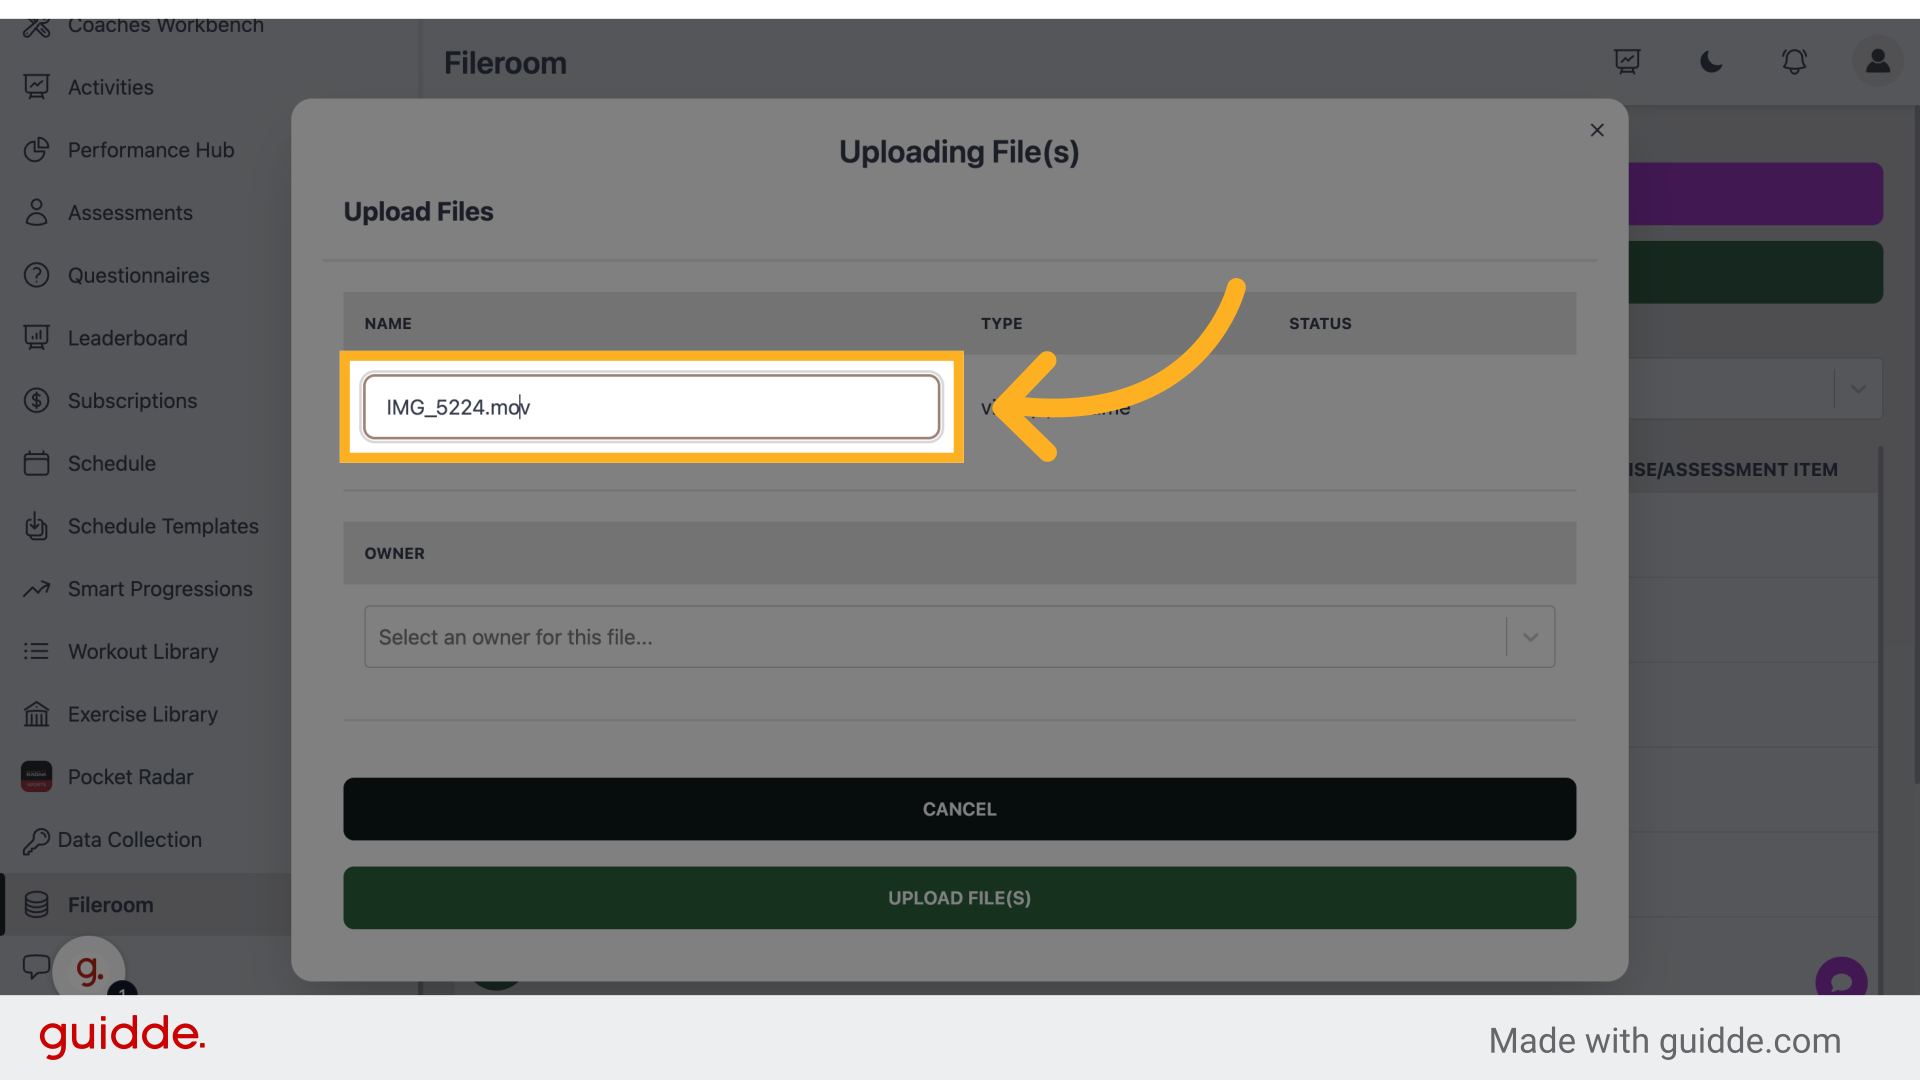
3. Fill "C:\fakepath\IMG_5224.mov"
Fill in "C:\fakepath\IMG_5224.mov"
4. Click "IMG_5224.mov"
Select IMG_5224.mov.
5. Click "IMG_5224.mov"
Select IMG_5224.mov.
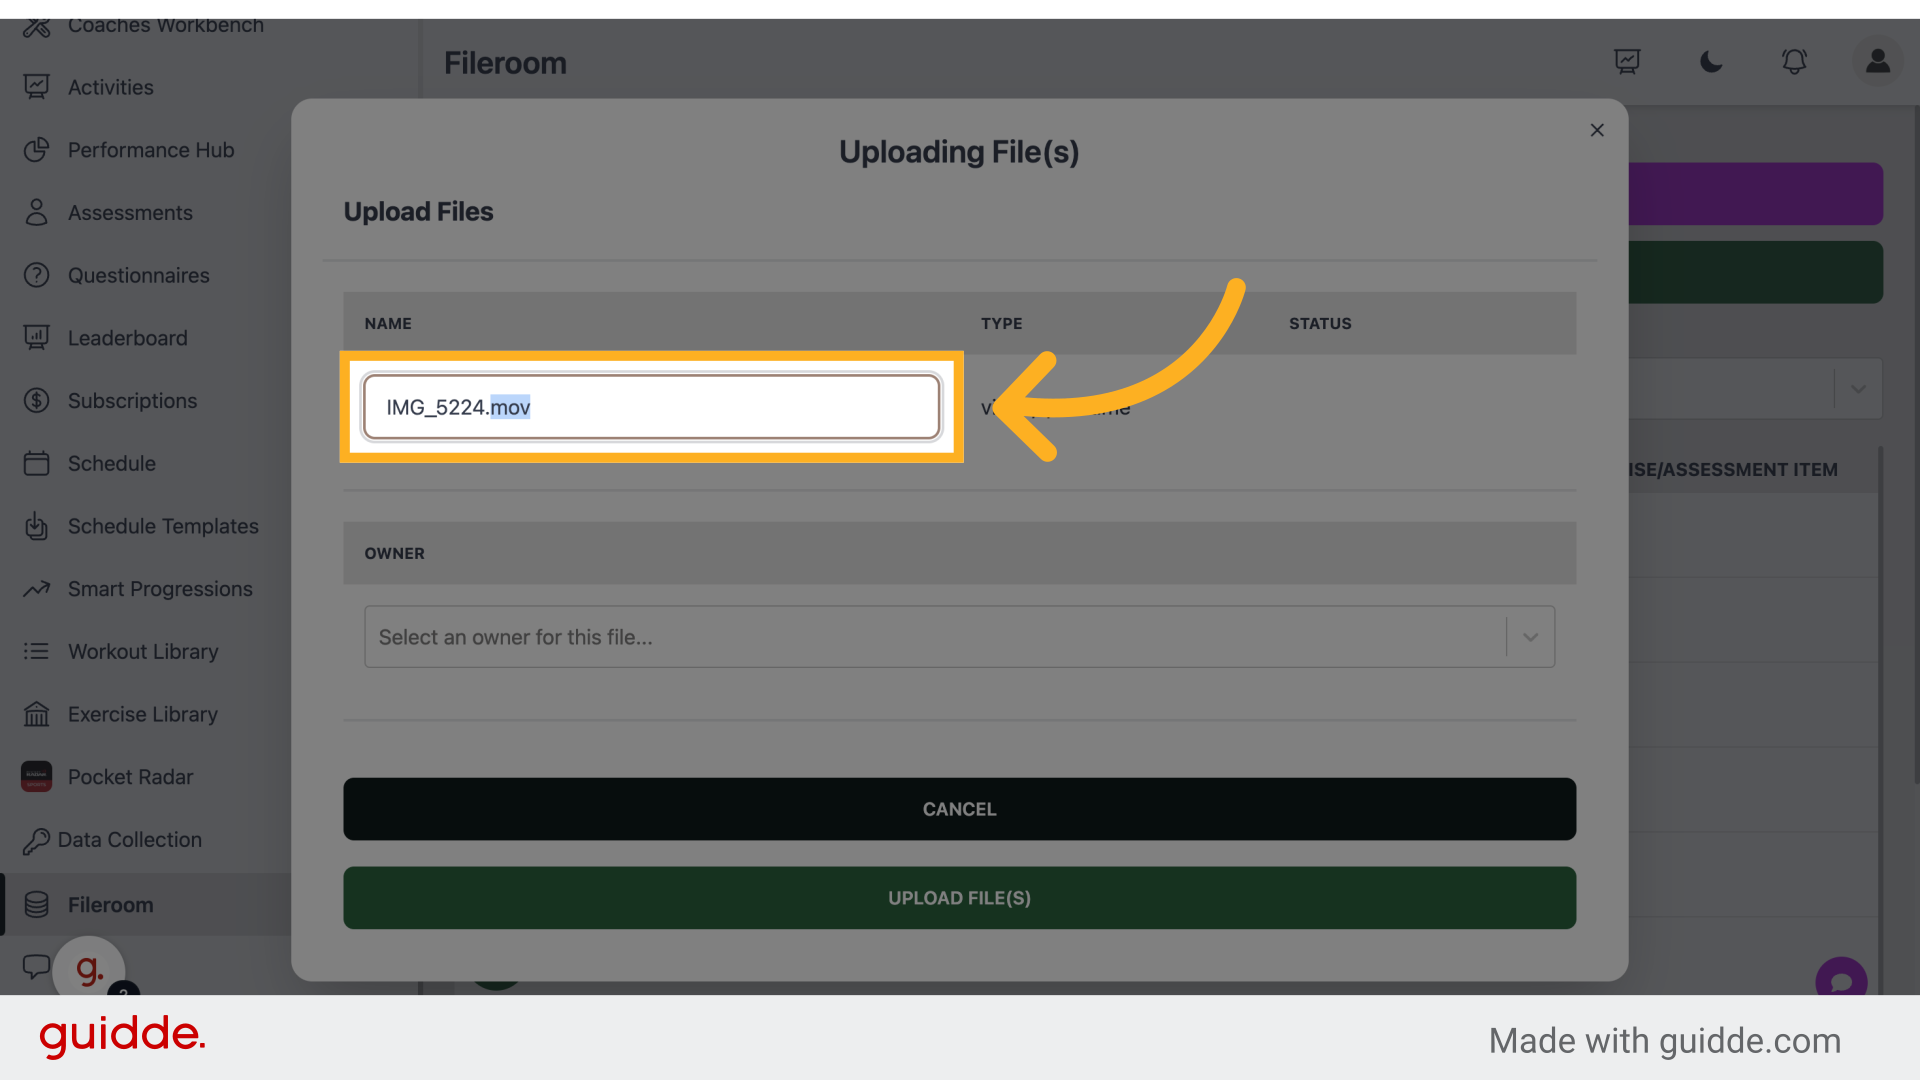
6. Click "IMG_5224.mov"
Select IMG_5224.mov.
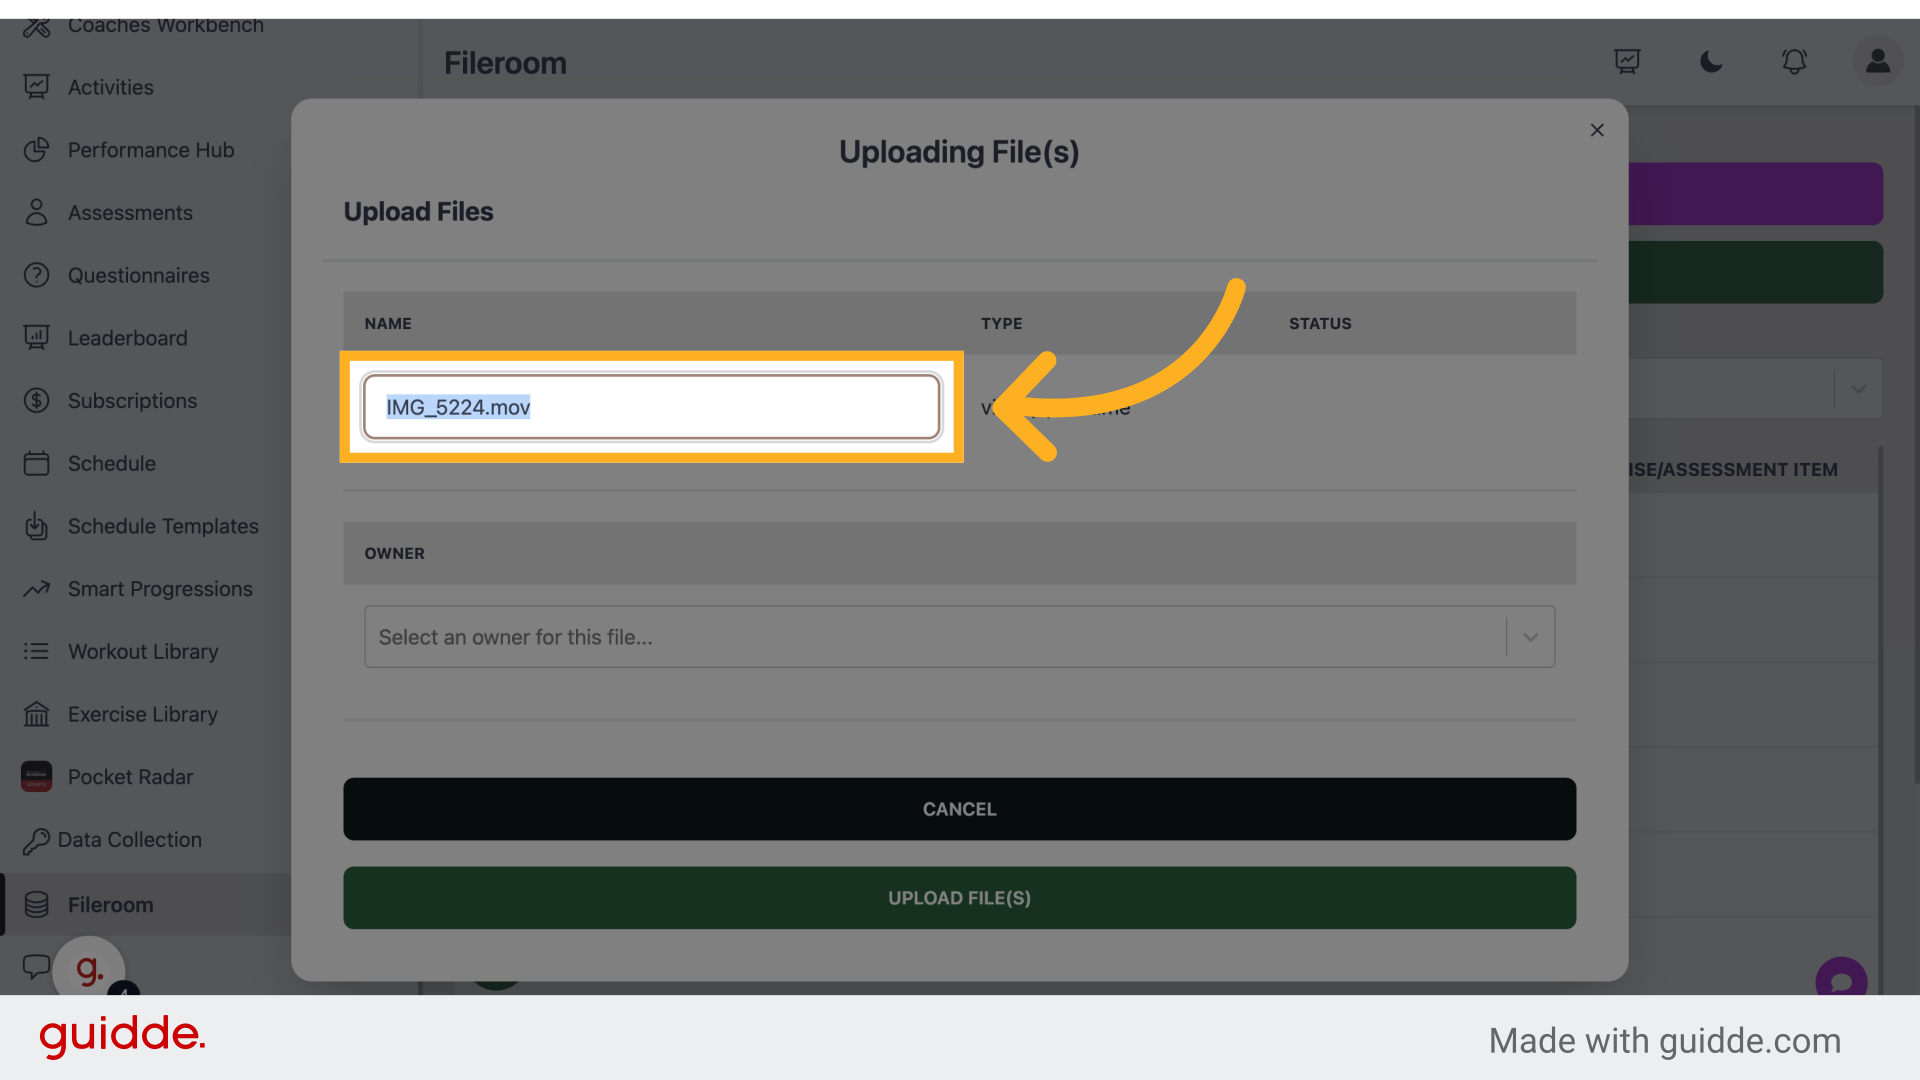
7. Fill "Video_Test"
Enter "Video_Test" in the provided field
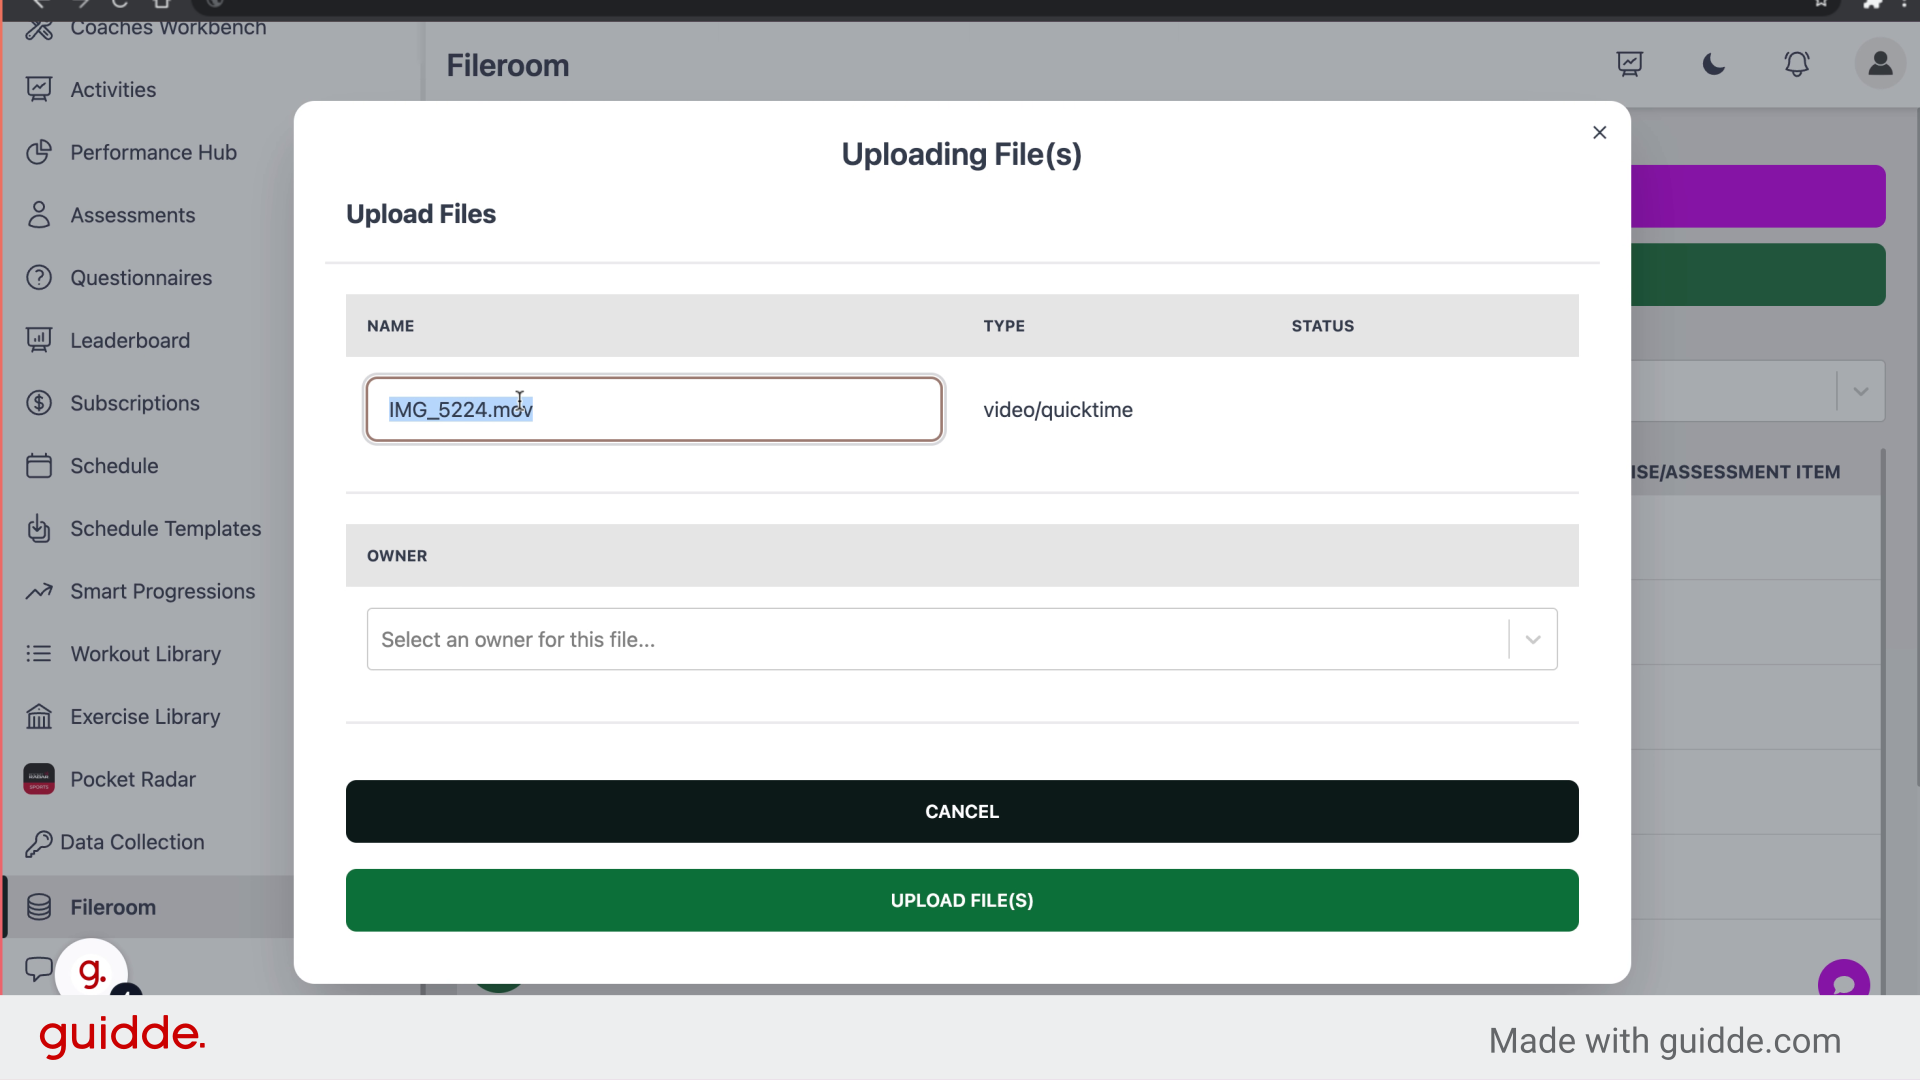
8. Click here
Click to proceed.
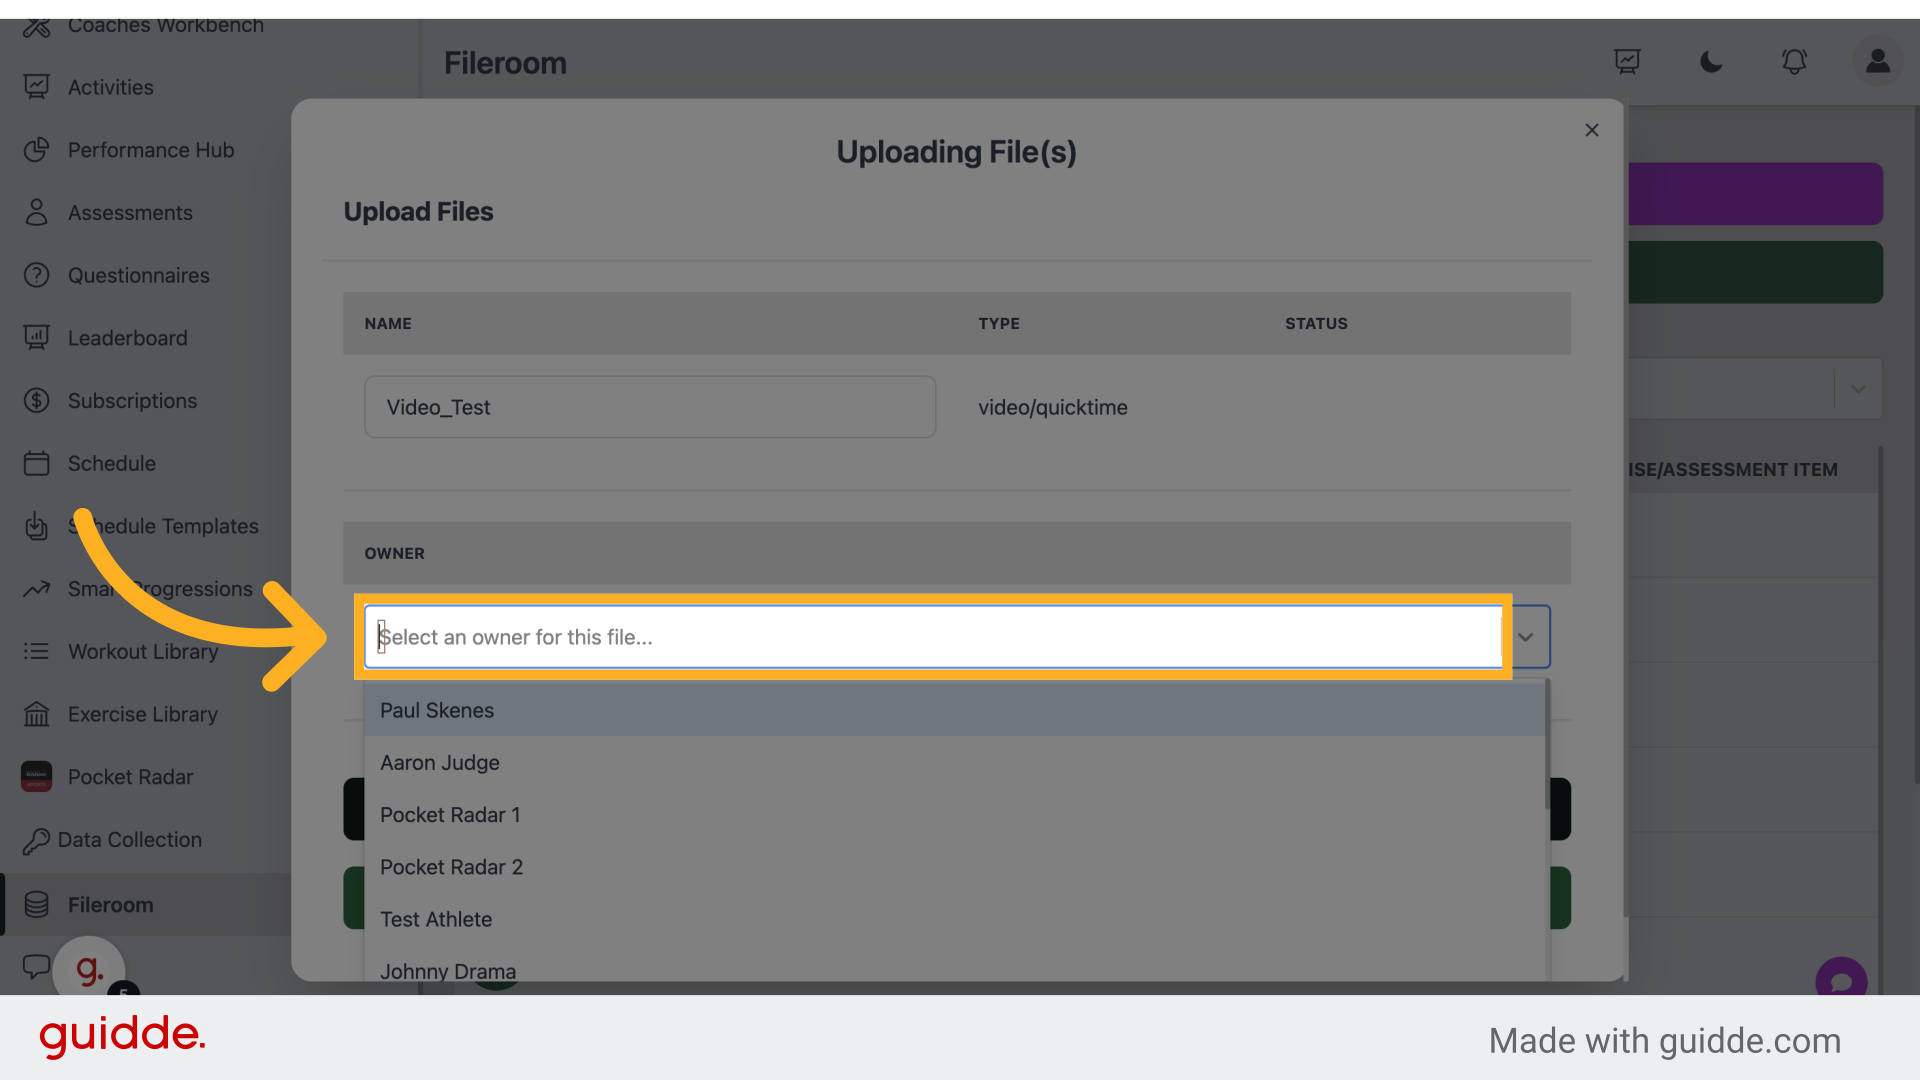
9. Click "Test Athlete"
Select Test Athlete.
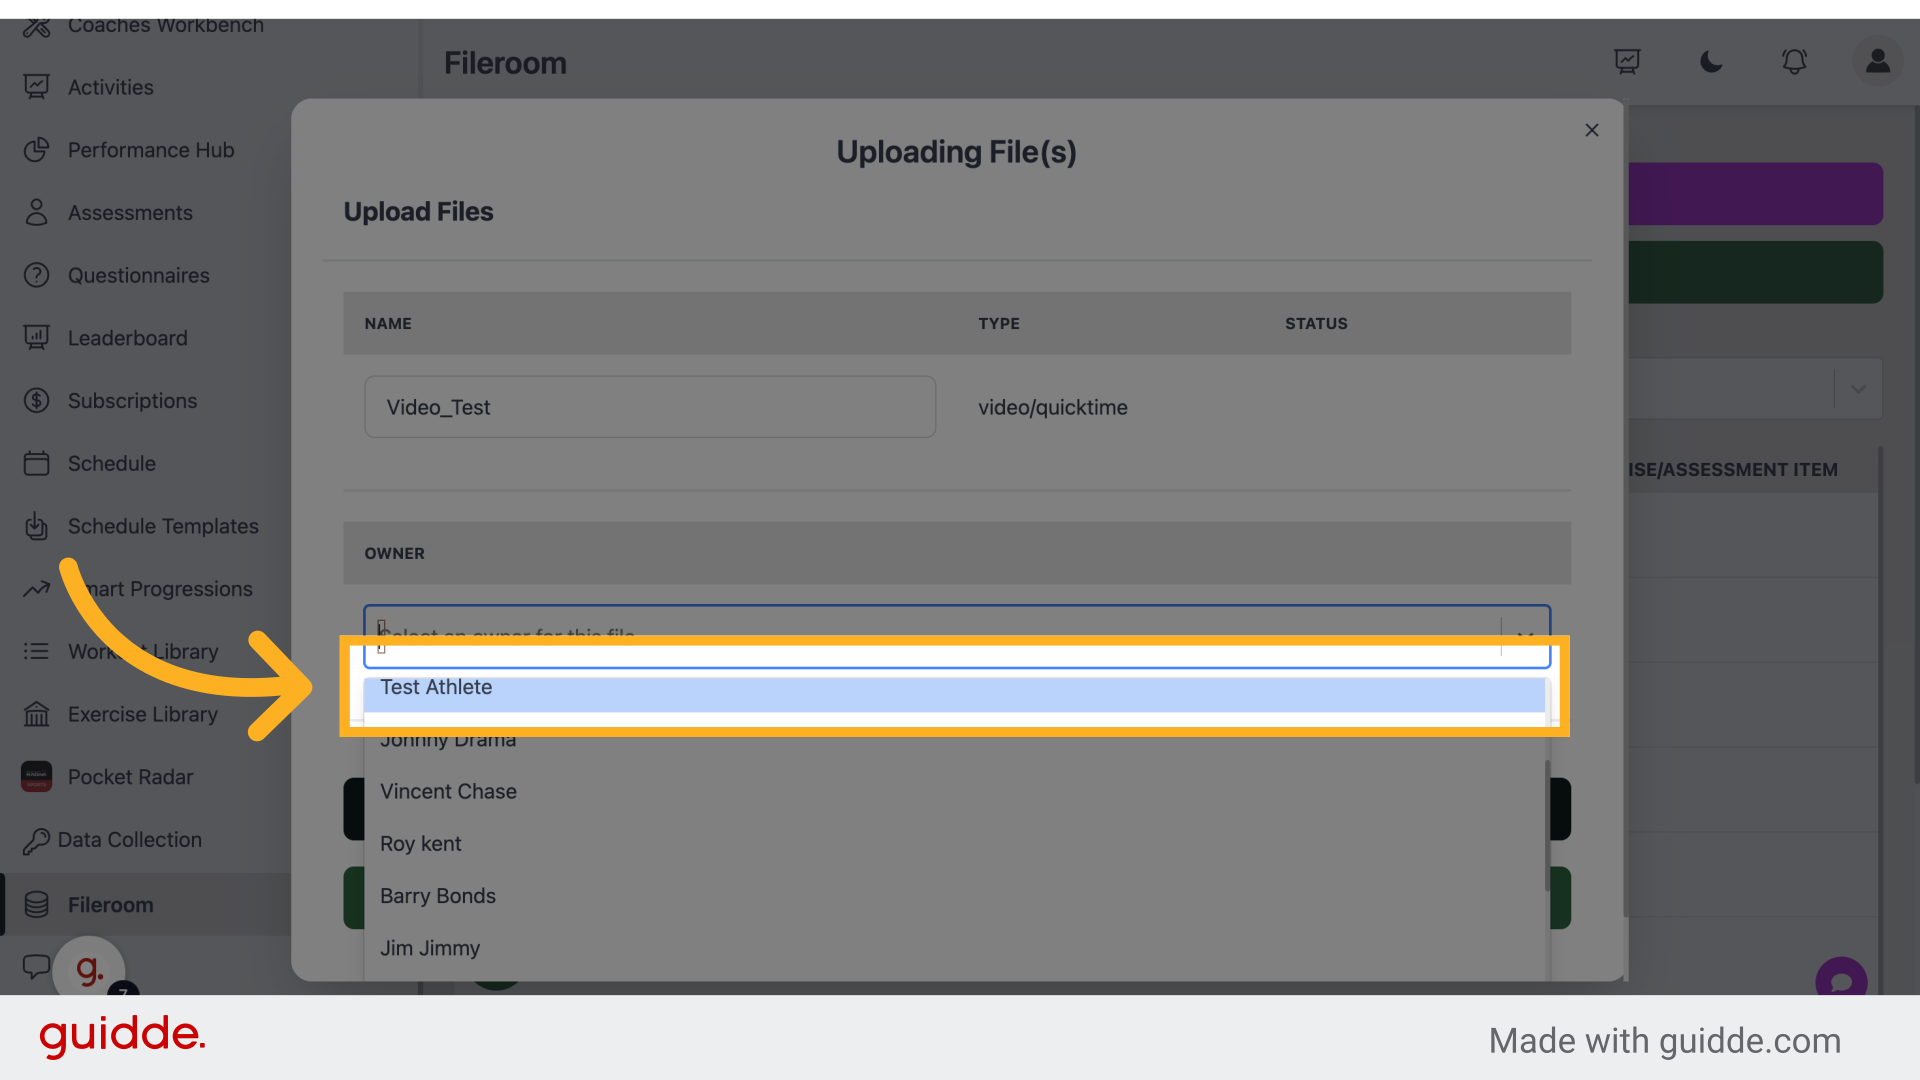
10. Click "Upload File(s)"
Upload file(s).
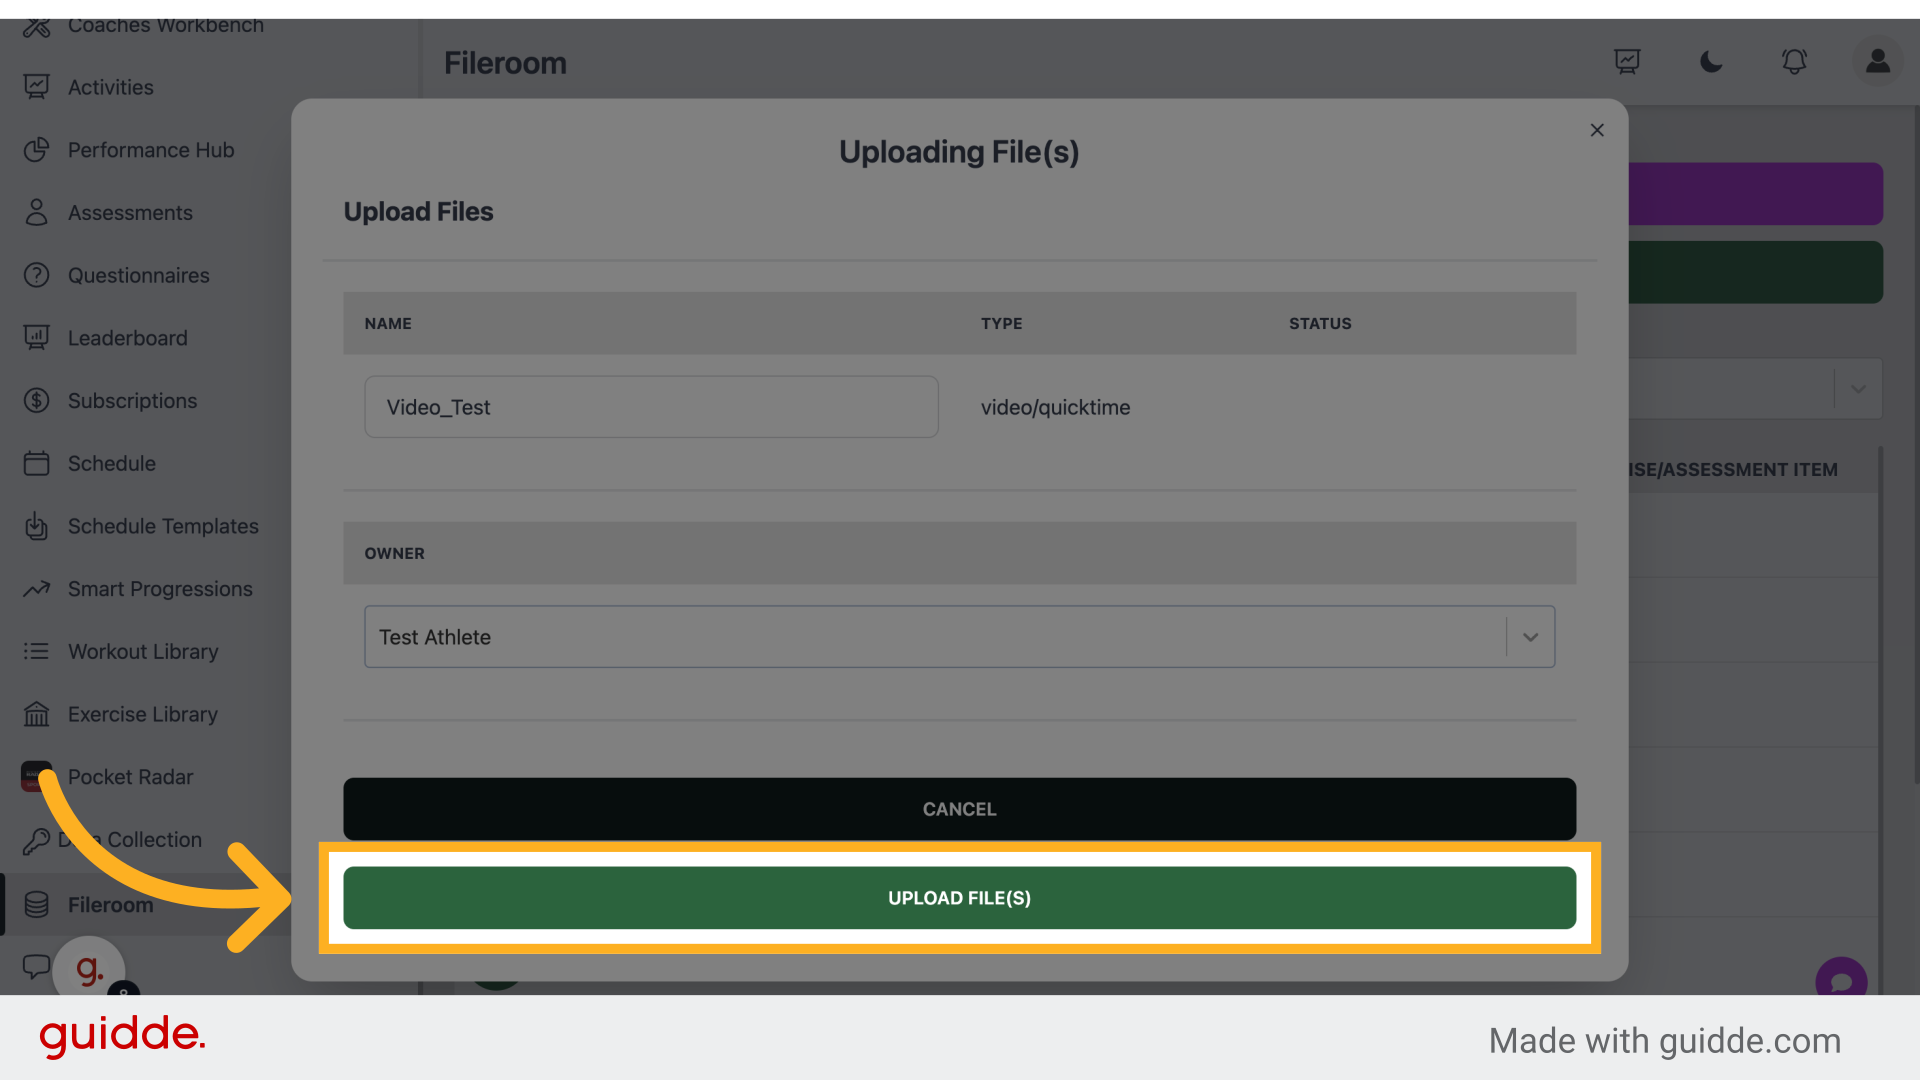
11. Click "0%"
Select 0%.
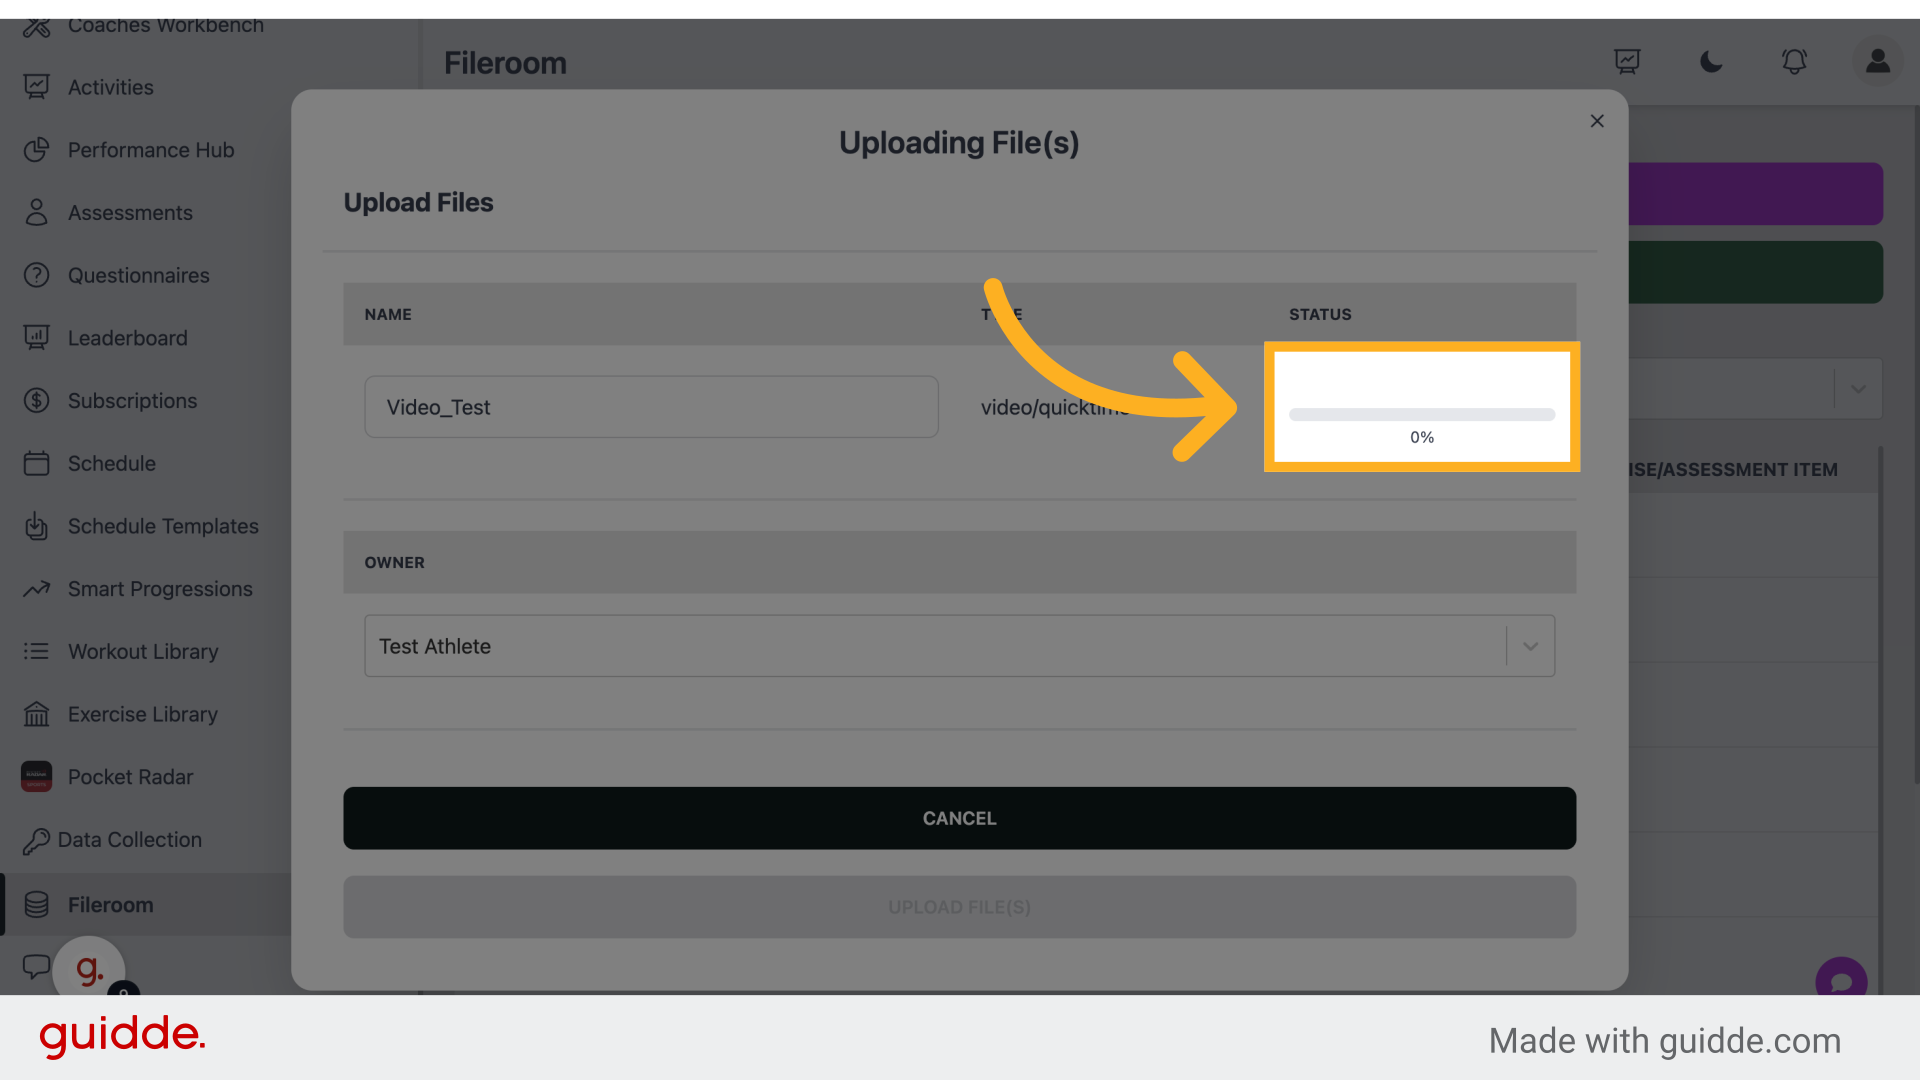
12. Click "0%"
Select 0%.
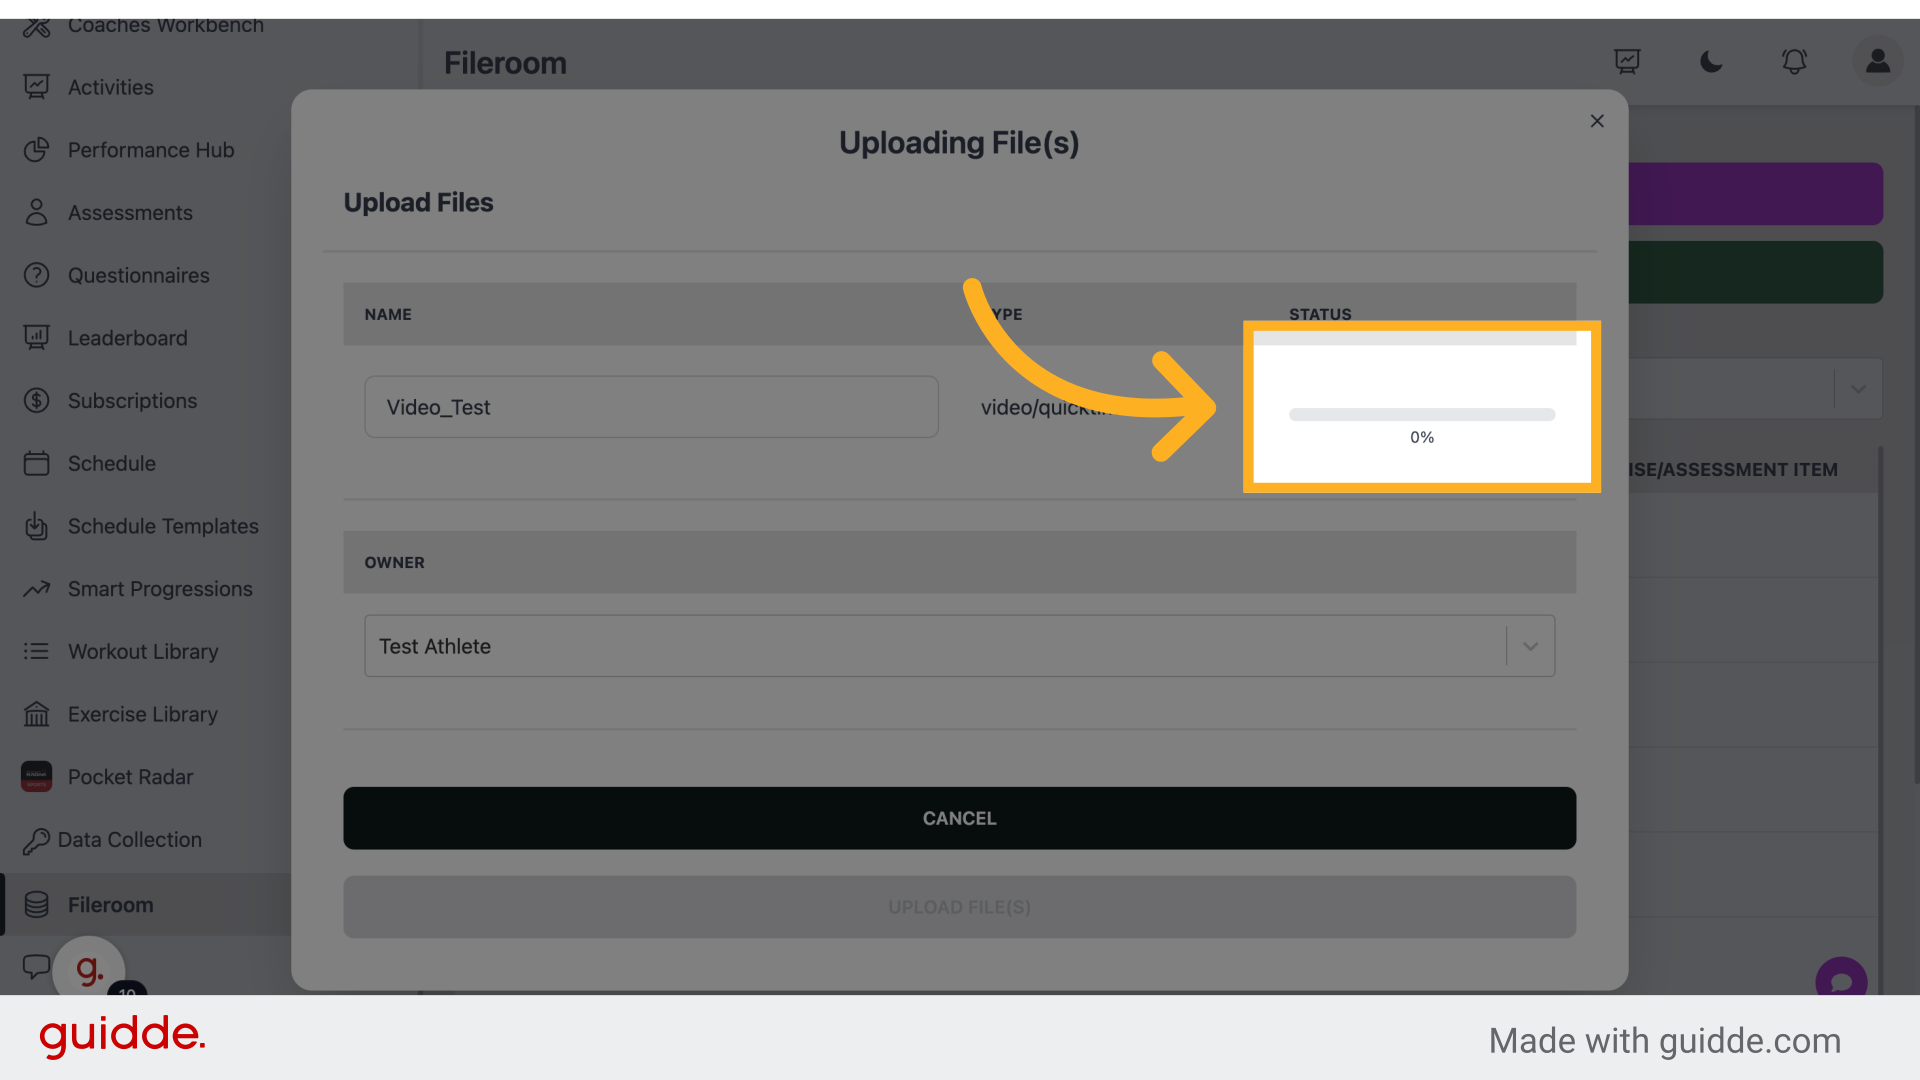
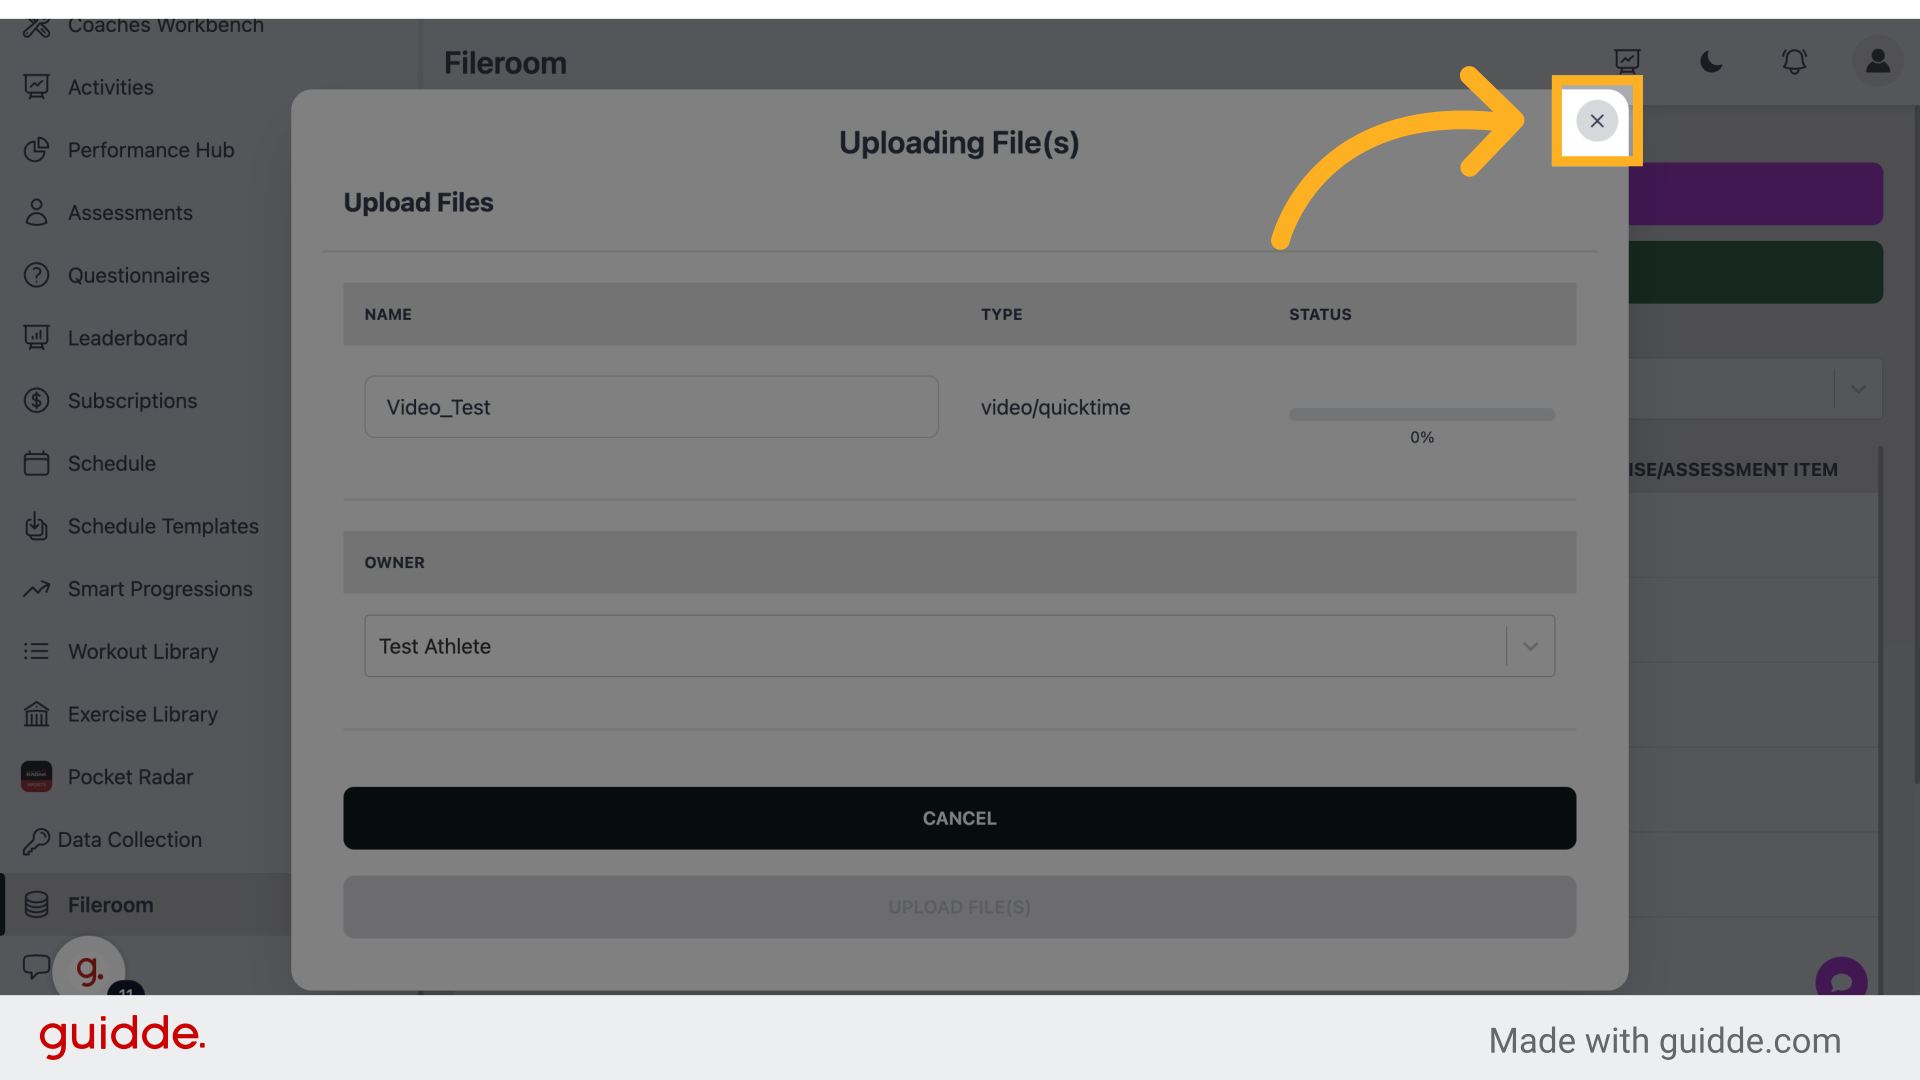
13. Click "✕"
Close the window.
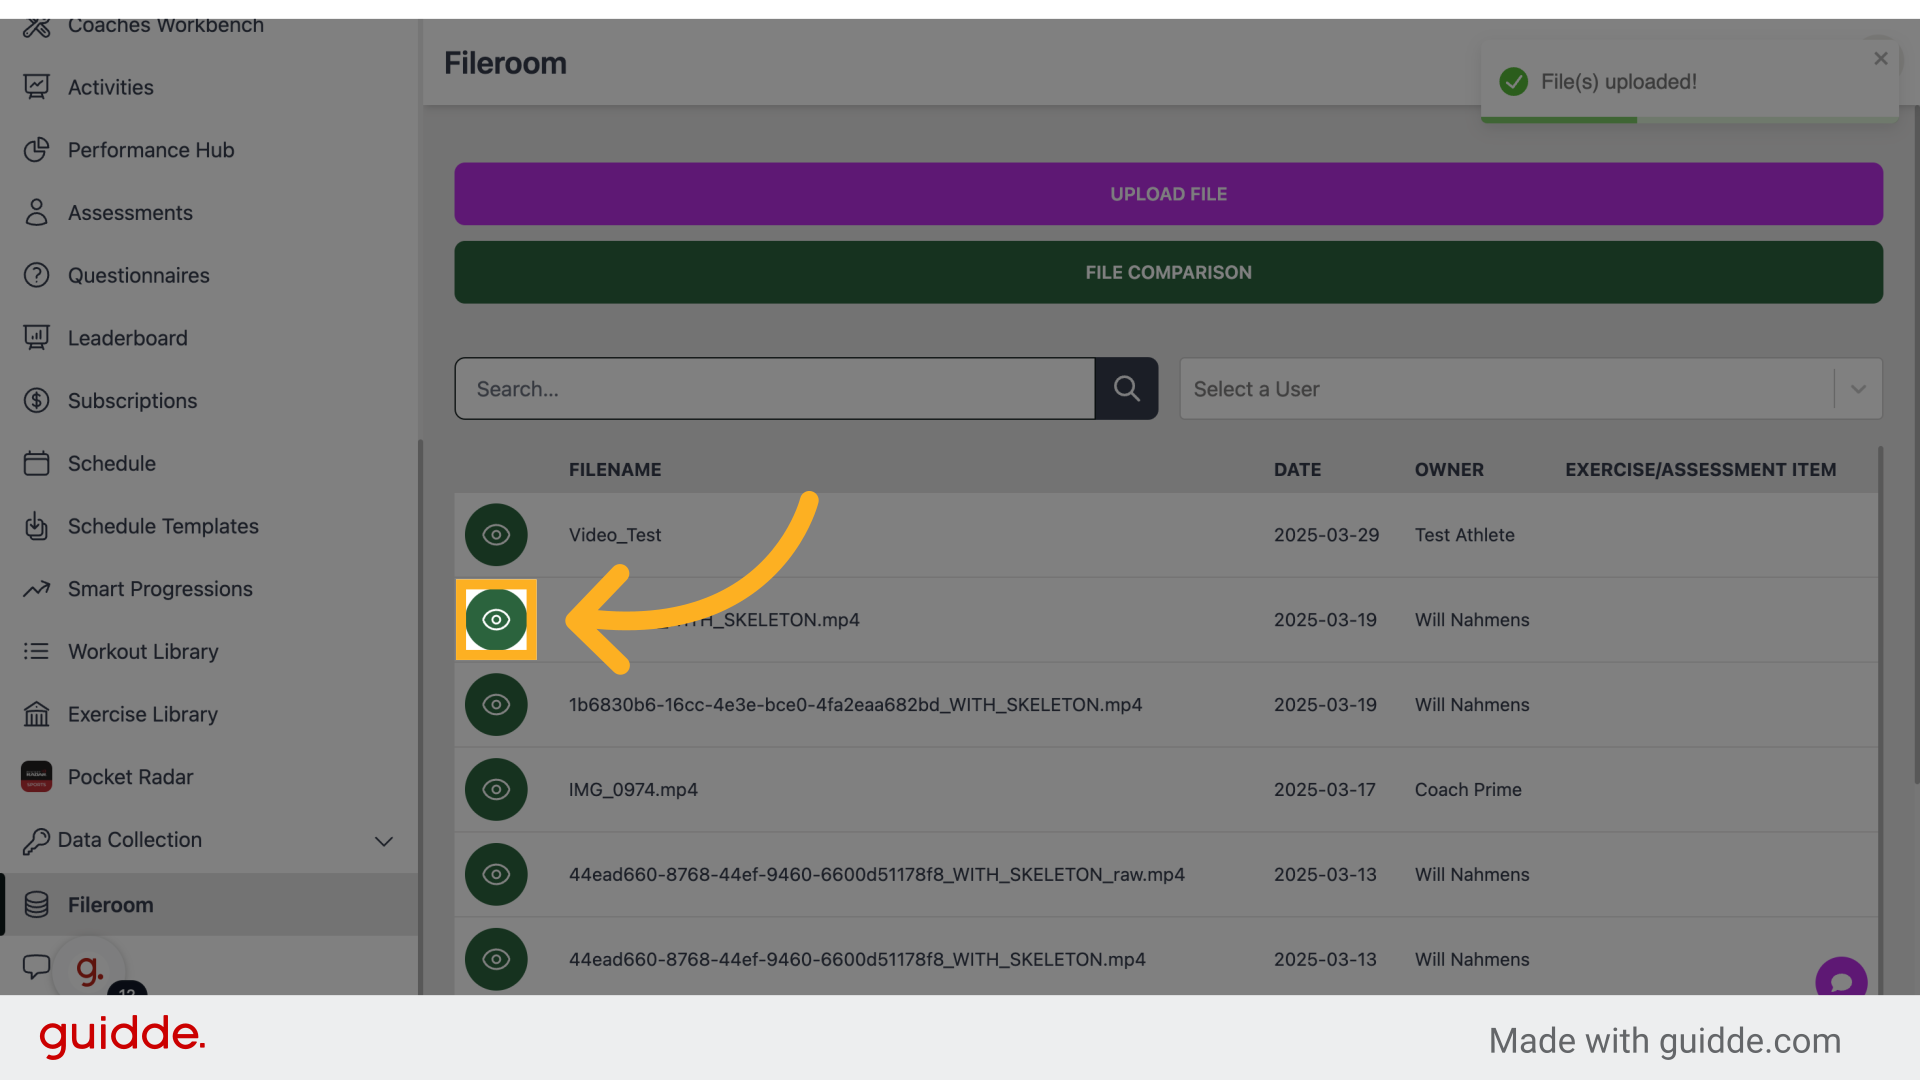
14. Click here
Click to navigate.
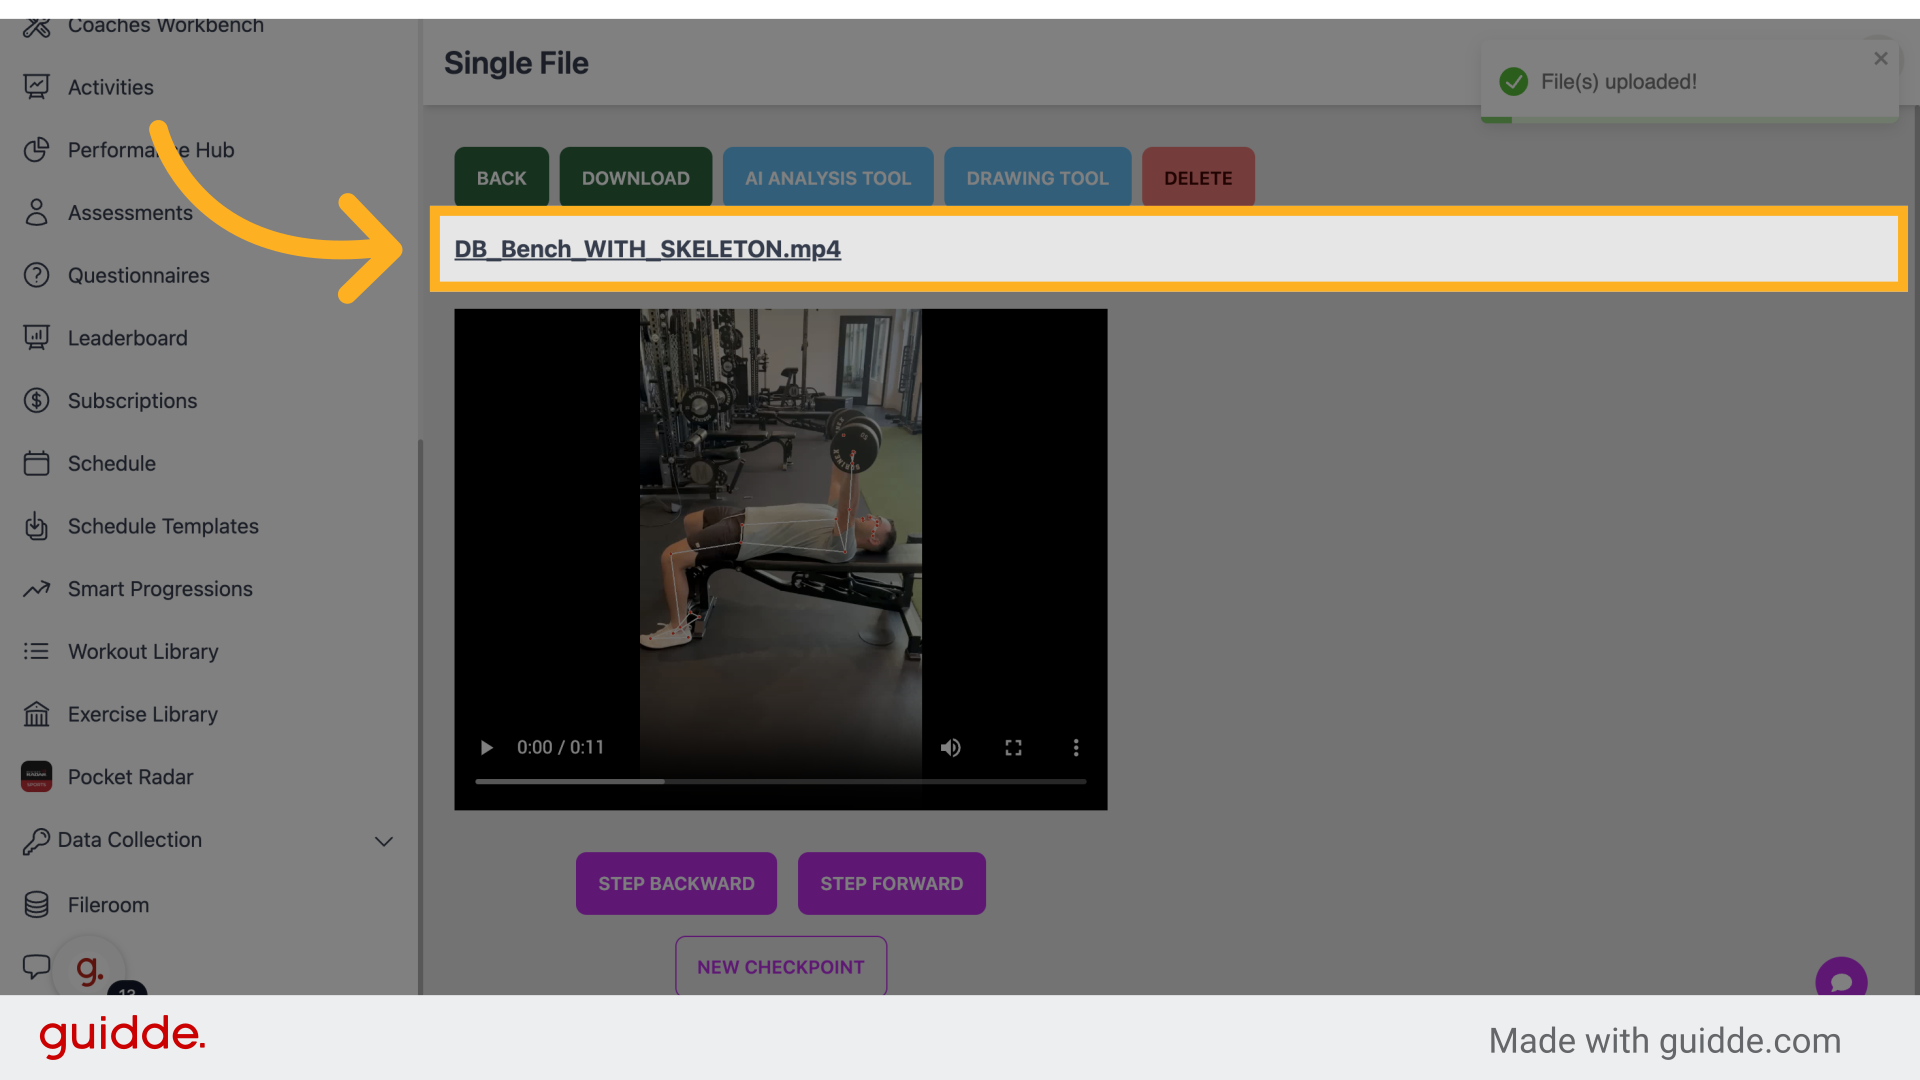
15. Click "DB_Bench_WITH_SKELETON.mp4"
Select DB_Bench_WITH_SKELETON.mp4.
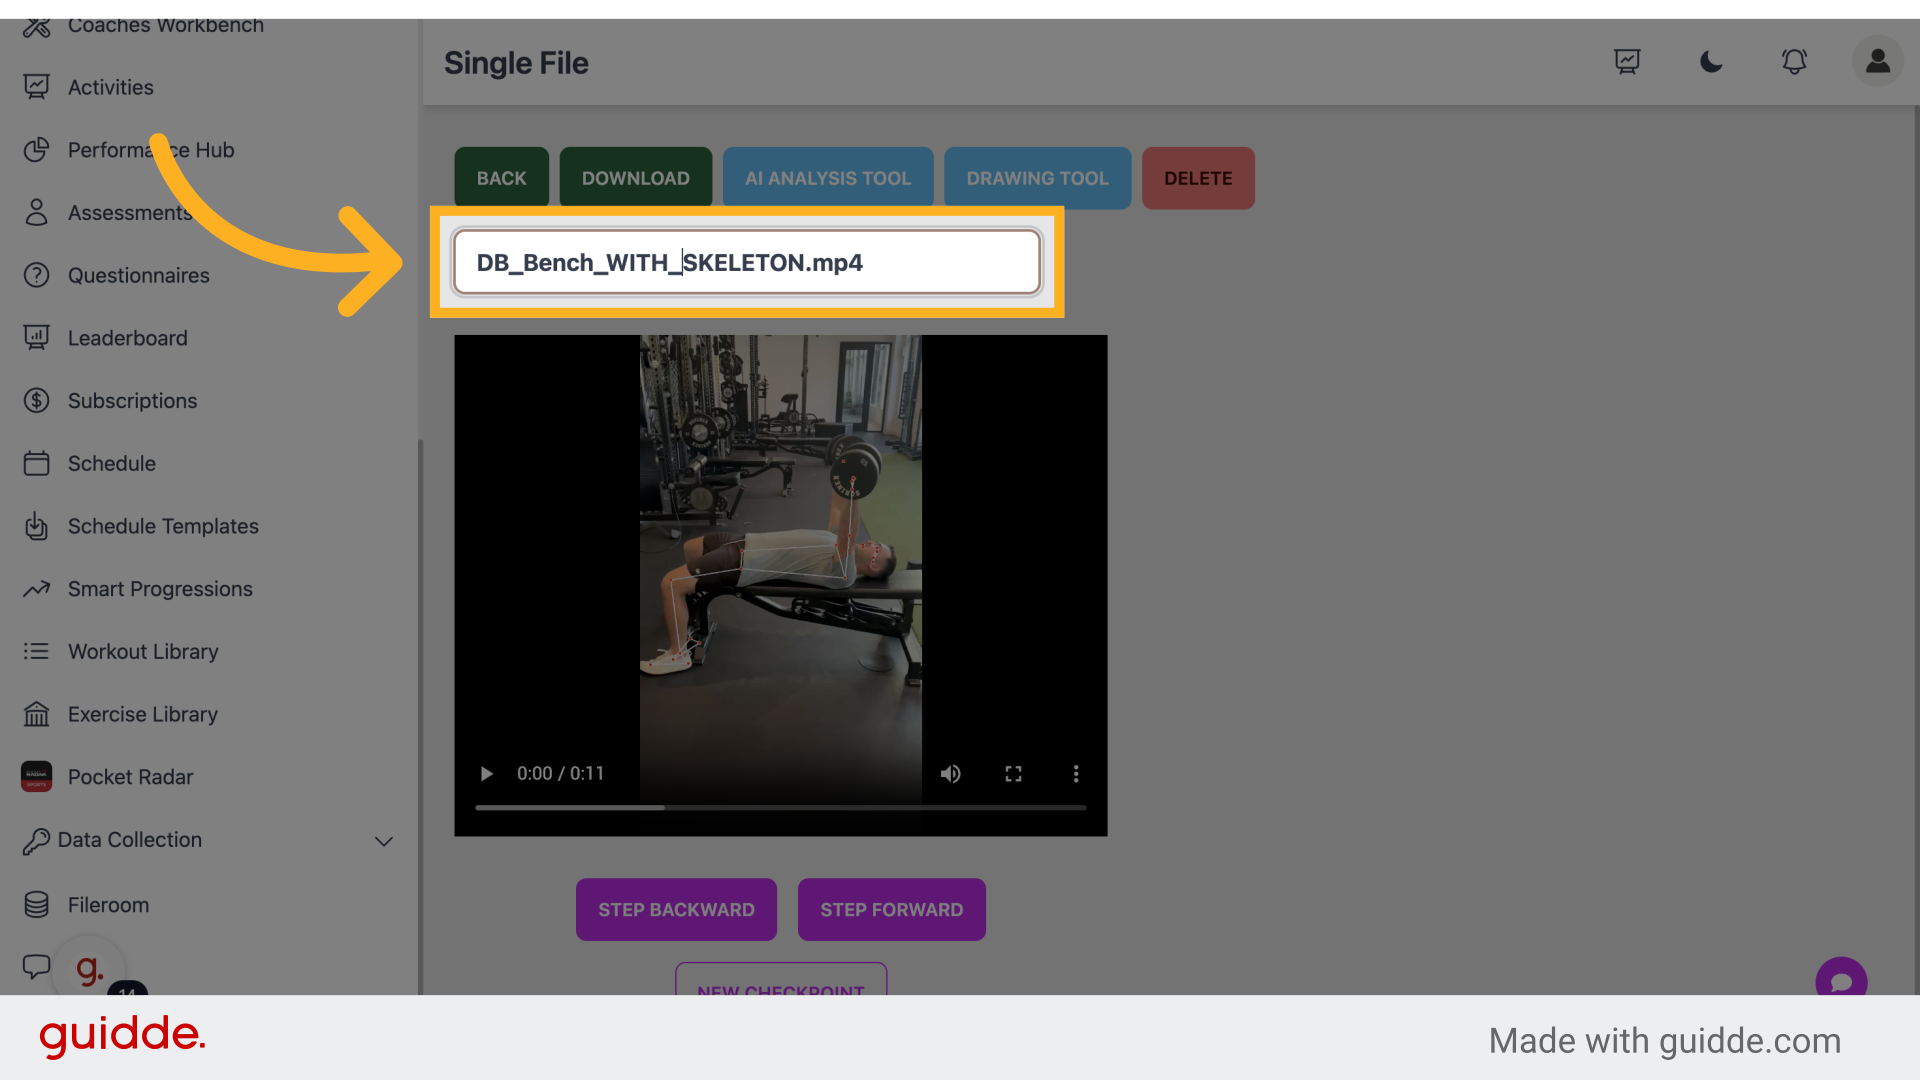
16. Click "DB_Bench_WITH_SKELETON.mp4"
Select DB_Bench_WITH_SKELETON.mp4.
17. Click "DB_Bench_WITH_SKELETON.mp4"
Select DB_Bench_WITH_SKELETON.mp4.
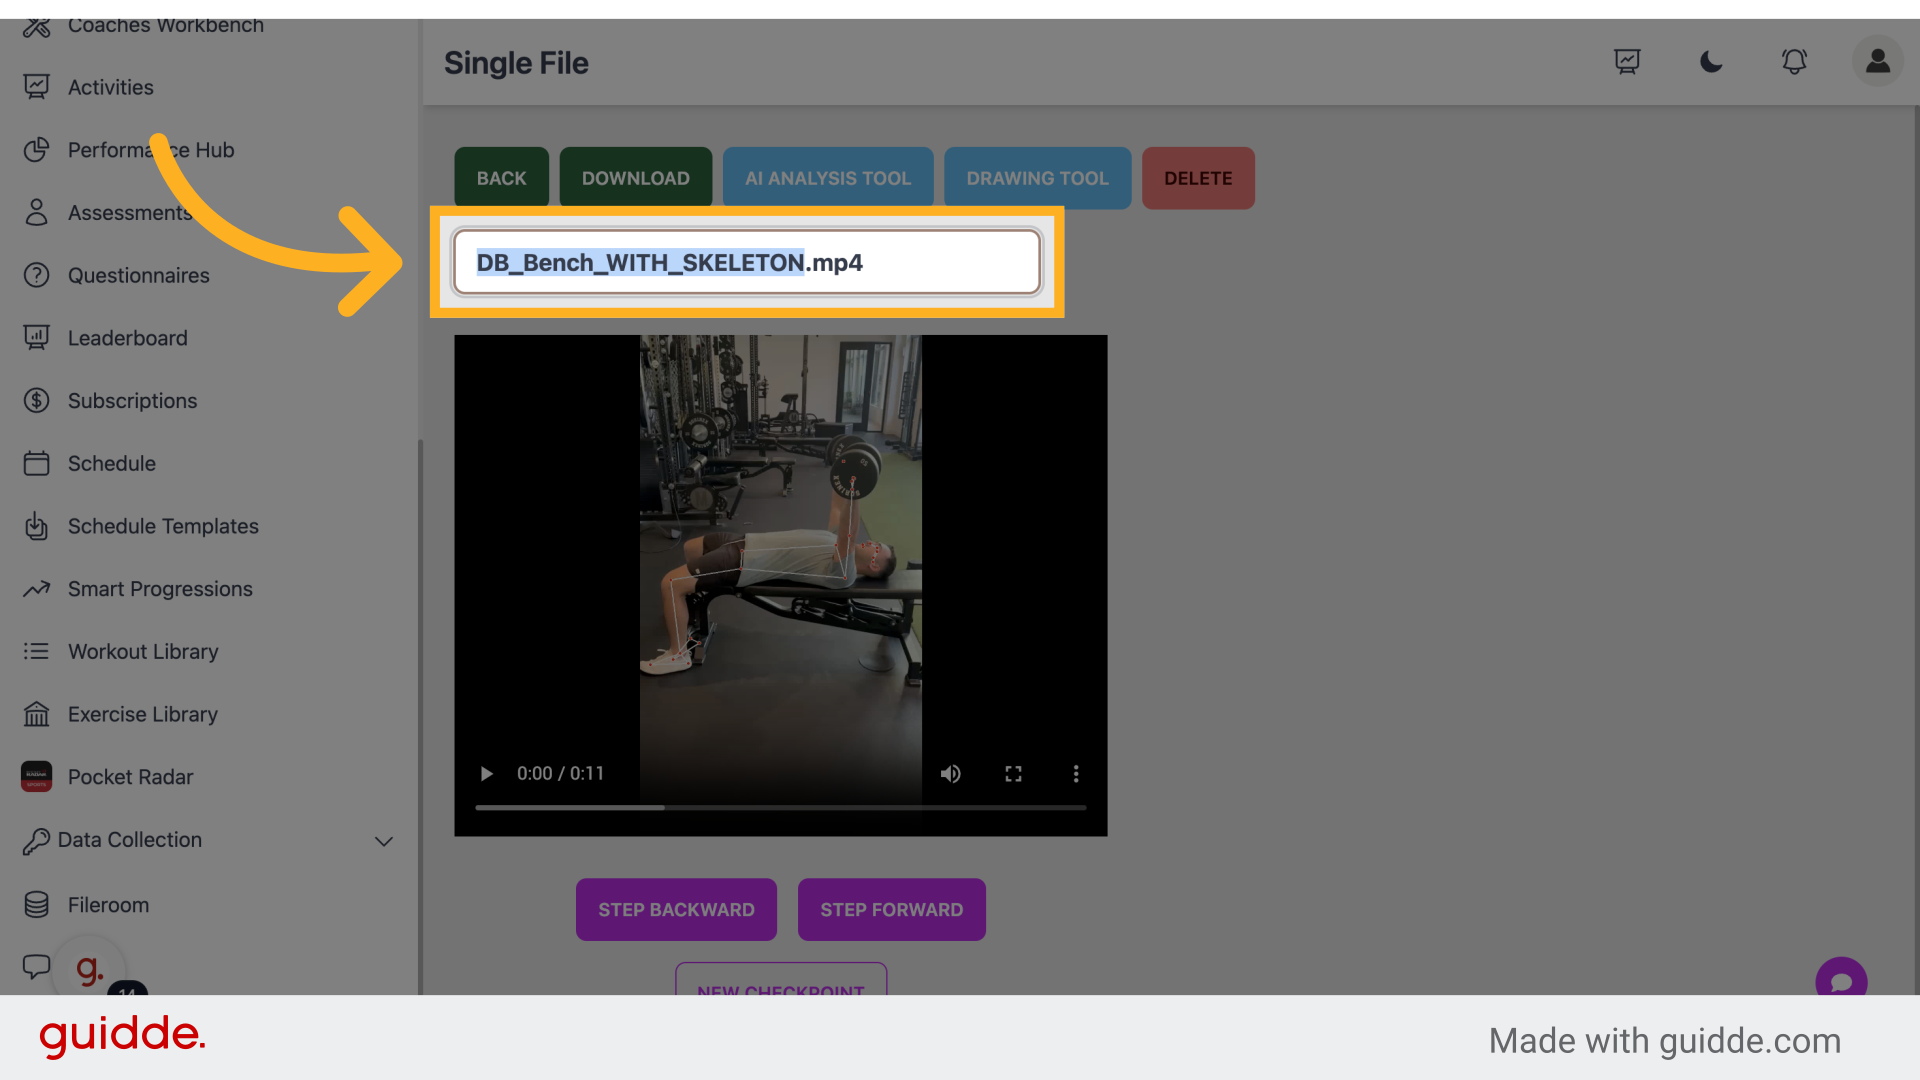
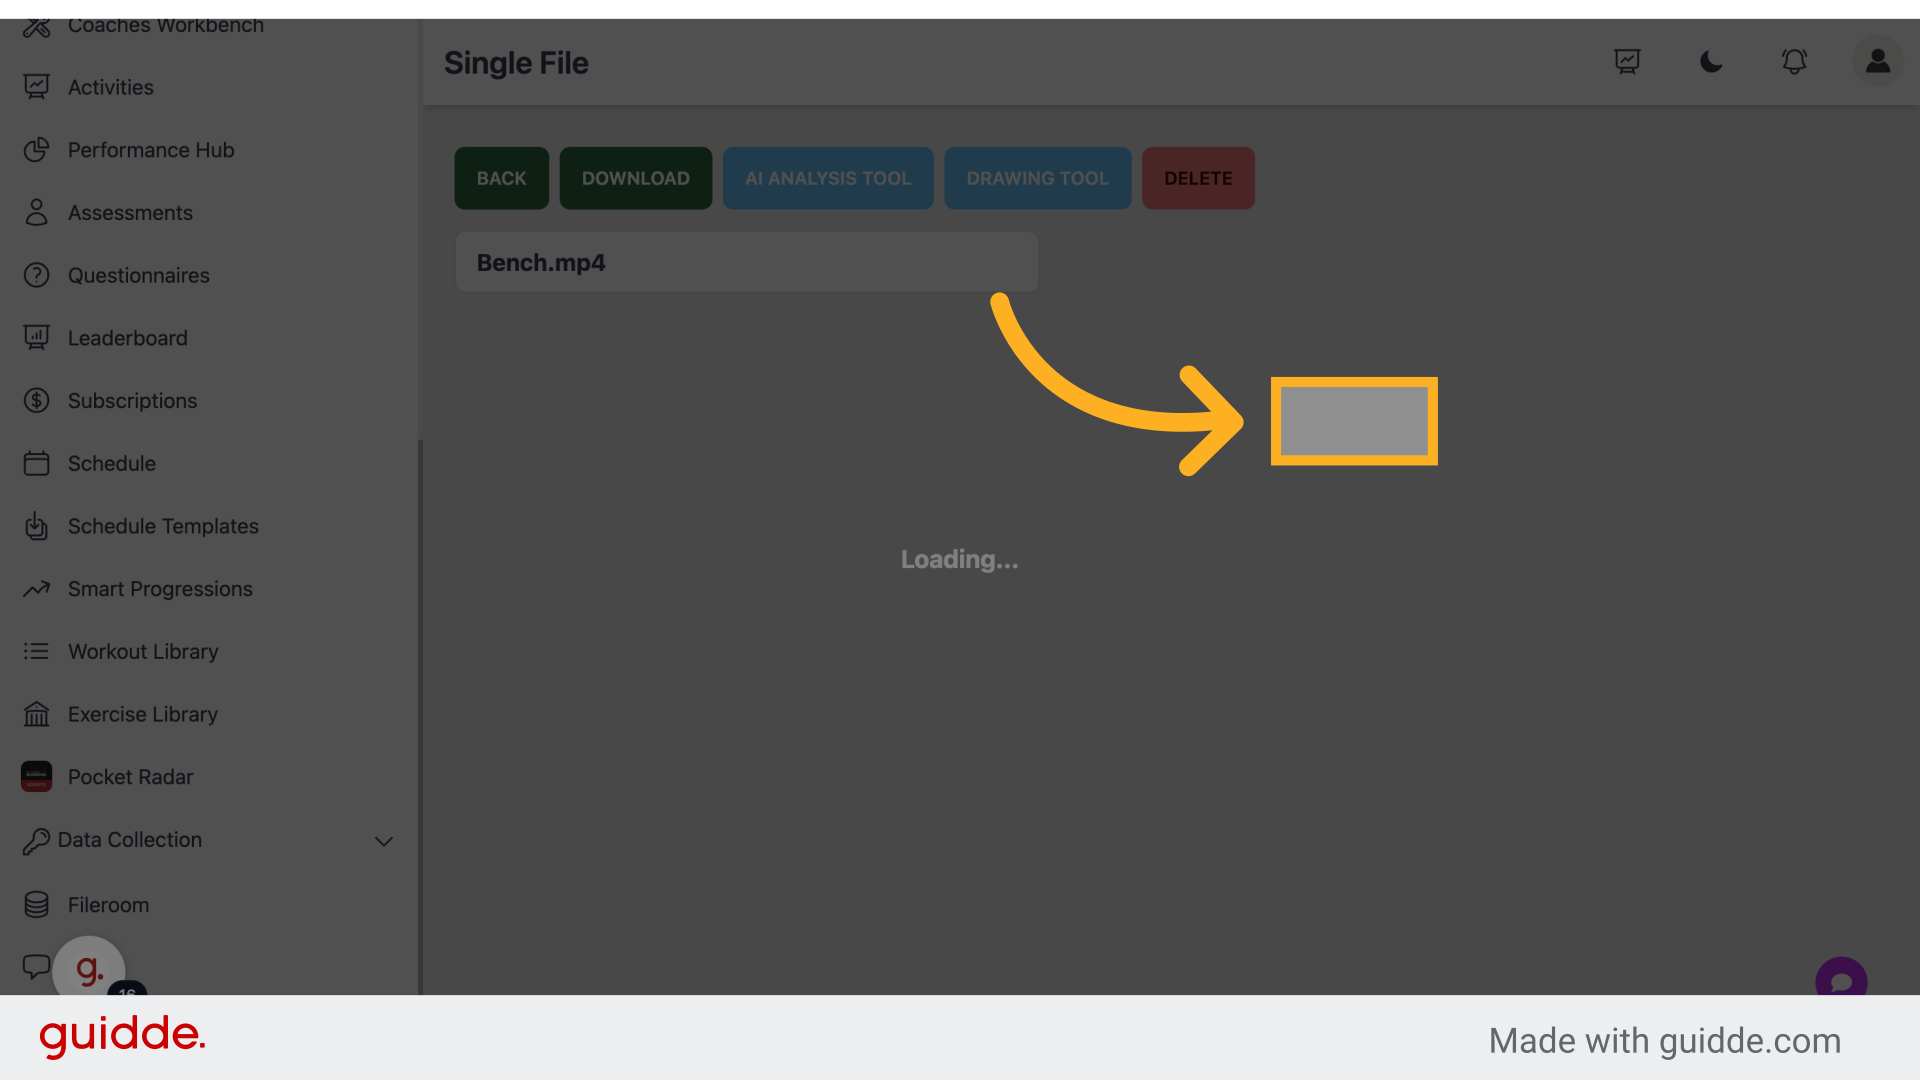
18. Fill "Bench.mp4"
Fill in the text box with "Bench.mp4"
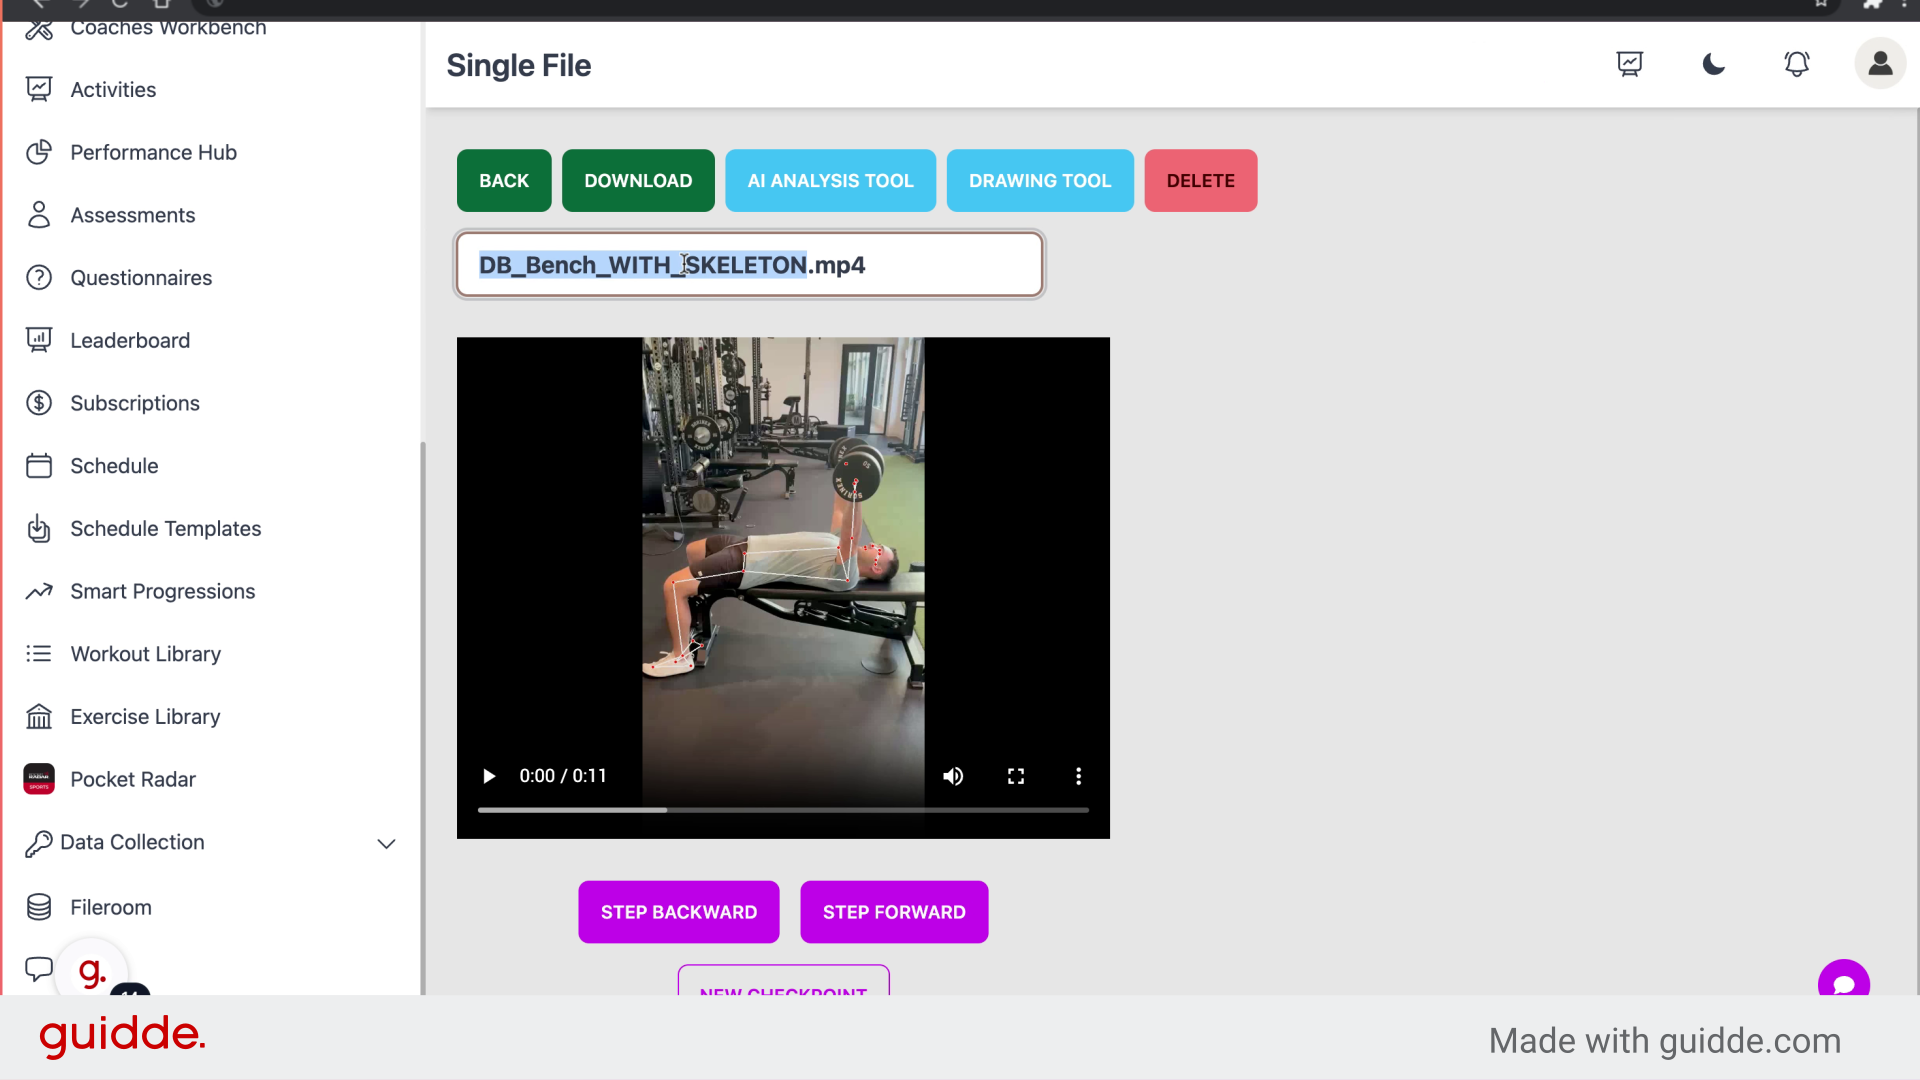
19. Click "BackDownloadAI Analysis toolDrawing toolDelete"
Access various tools.
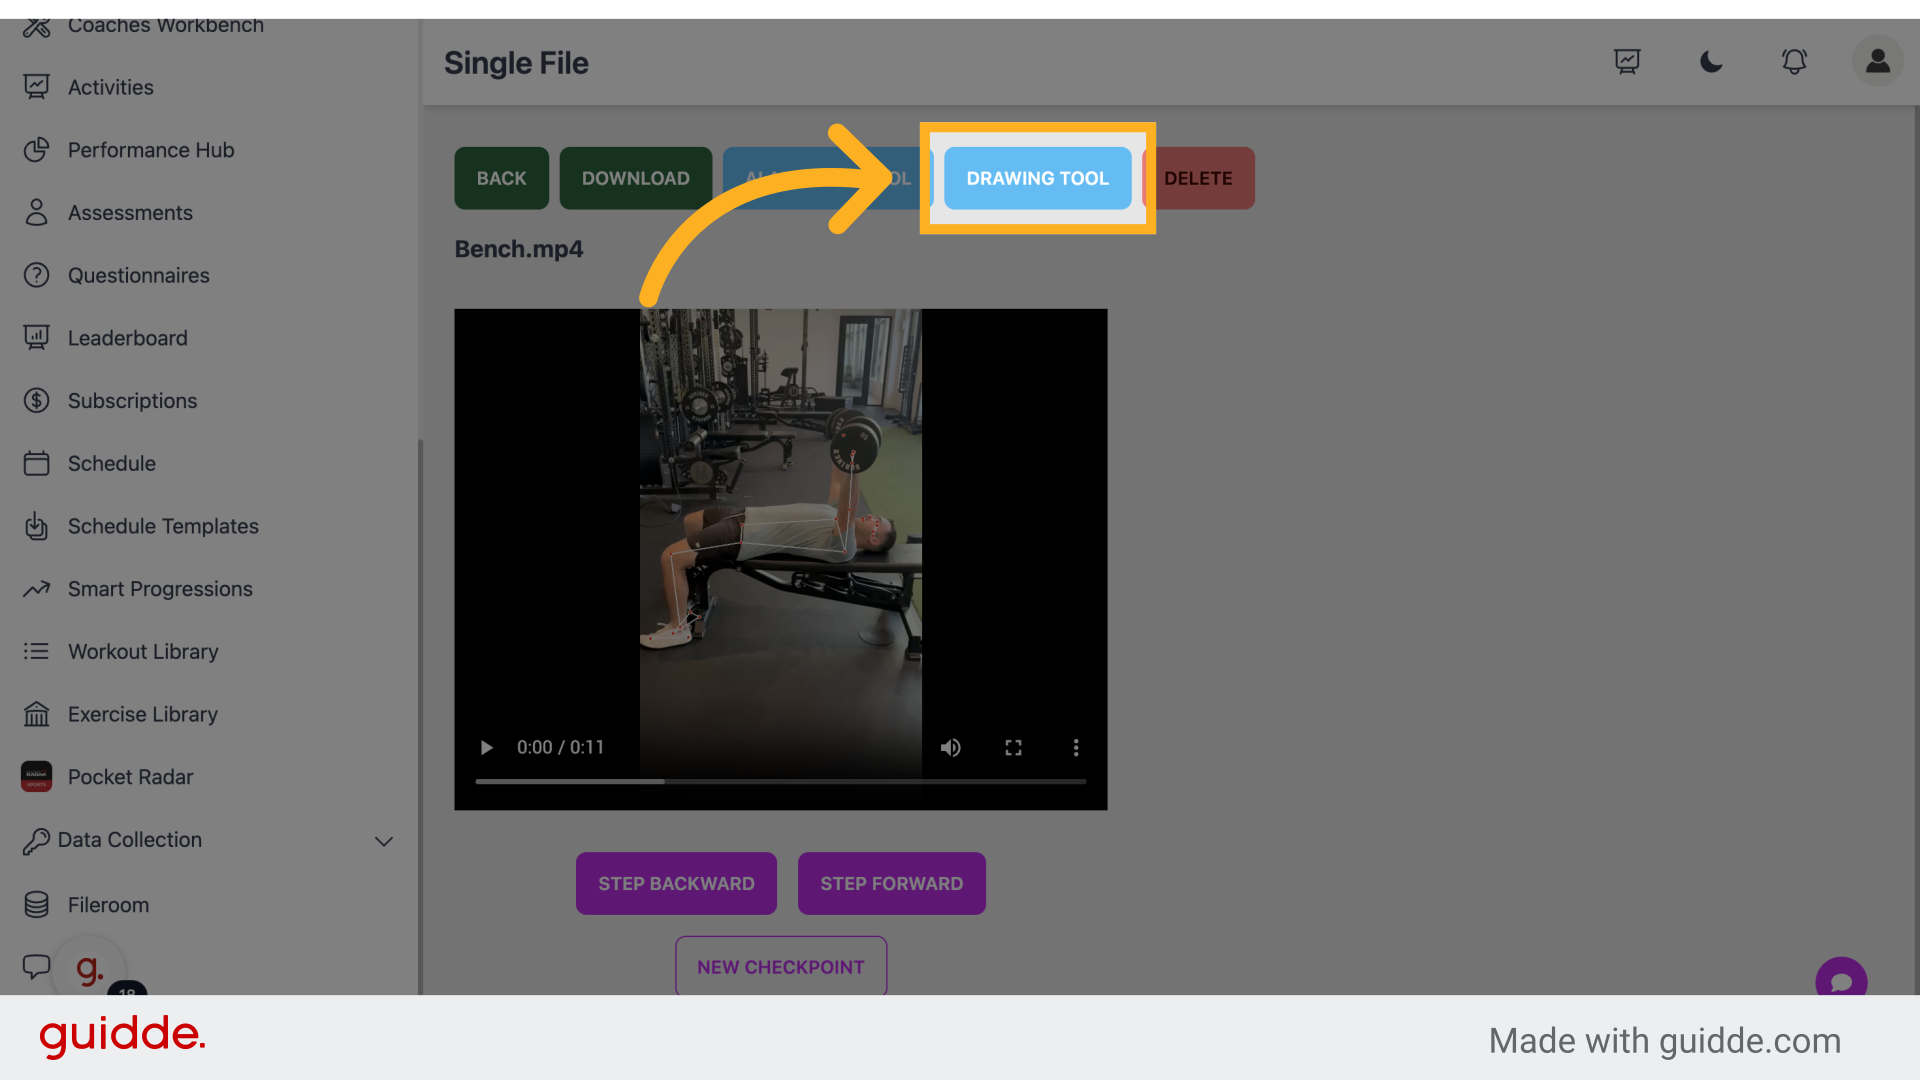
20. Click "Drawing tool"
Select Drawing tool.
21. Click here
Click to proceed.
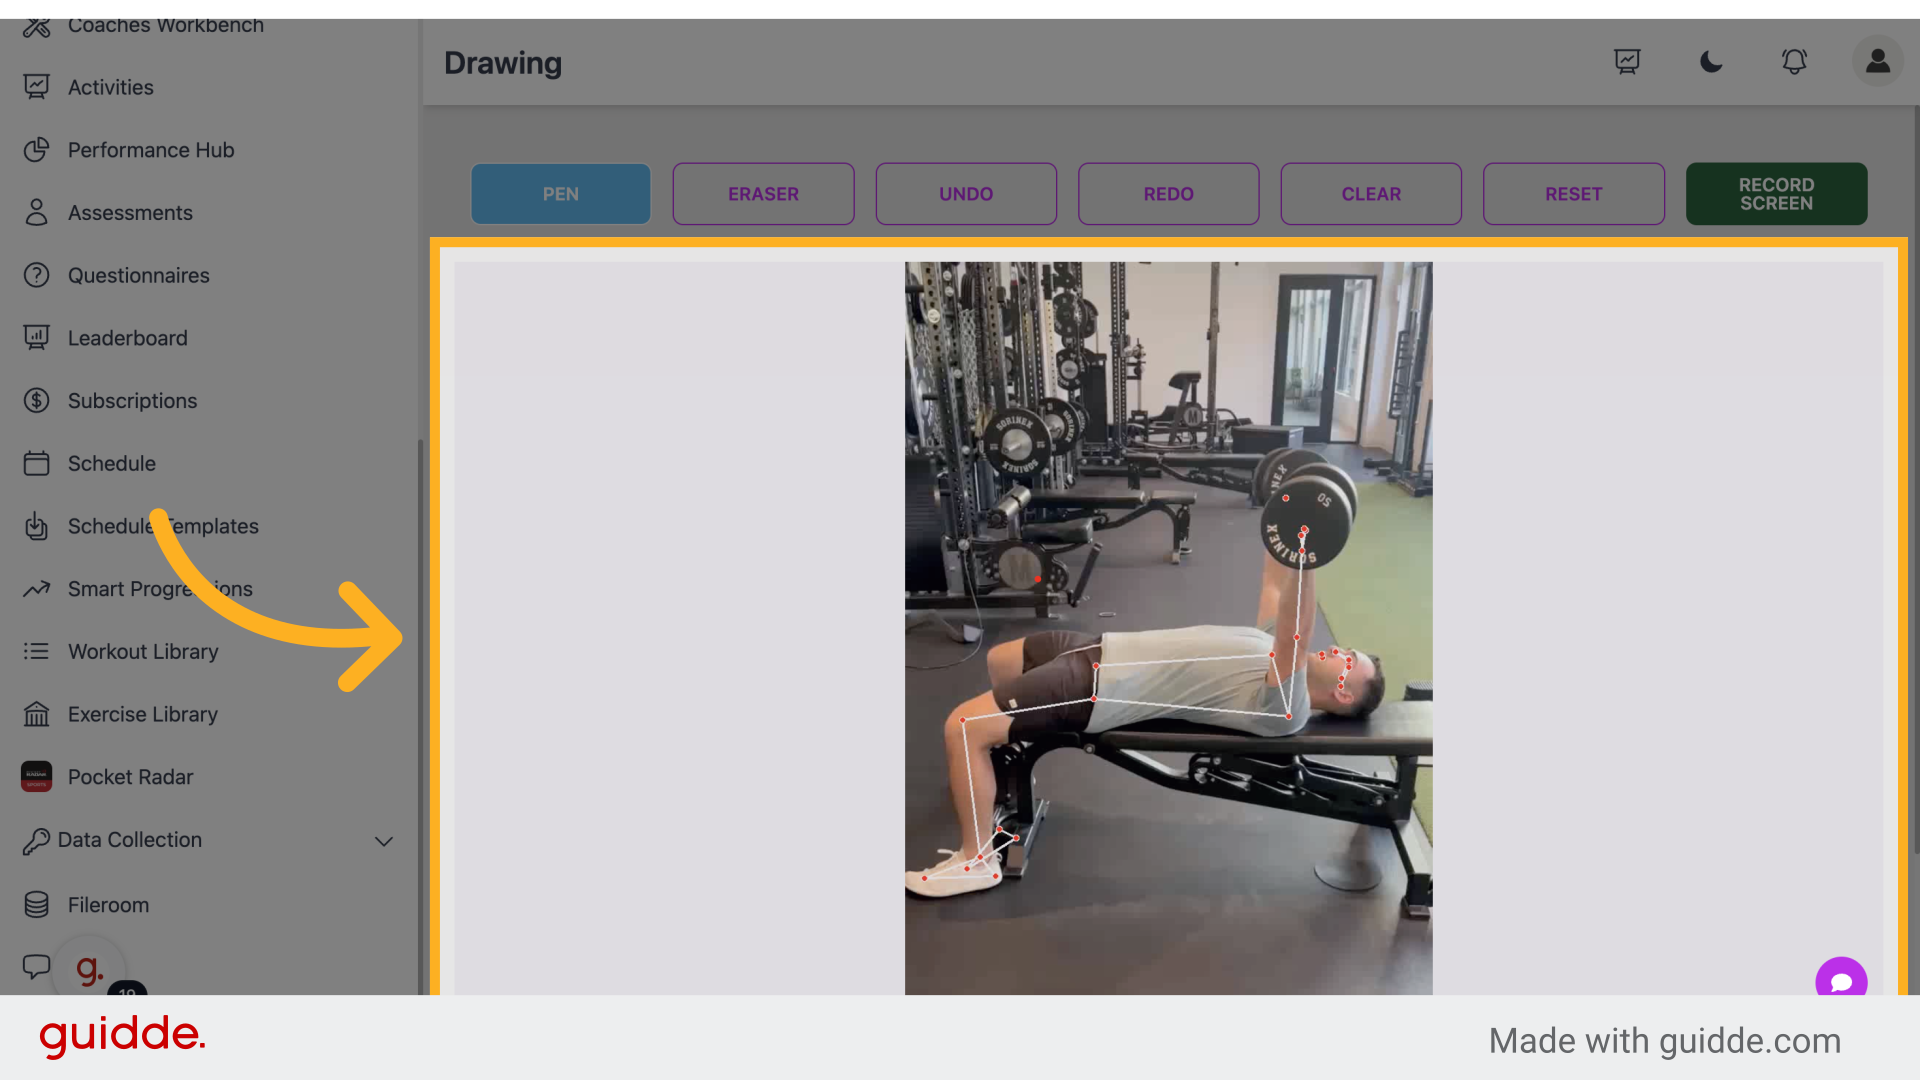
22. Click "Record screen"
Start recording the screen.
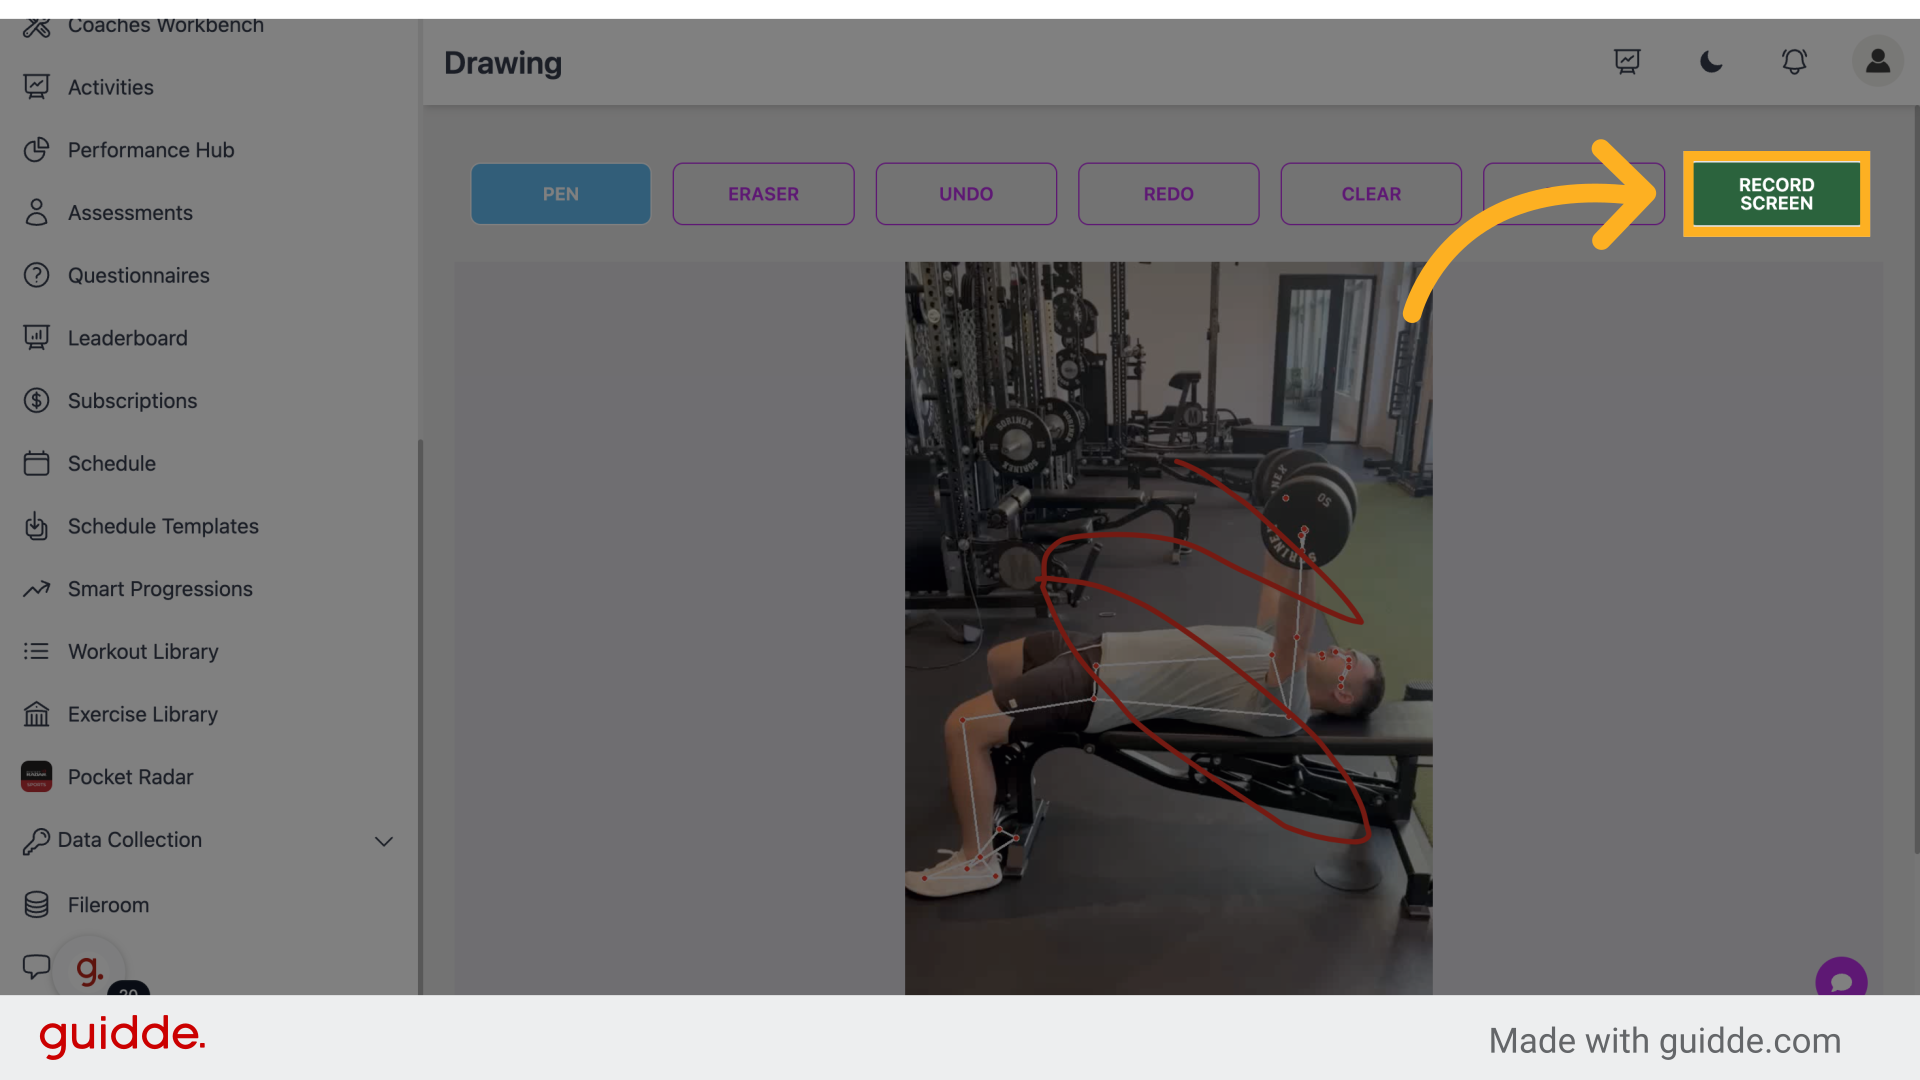
23. Click "Step Forward"
Move one step forward.
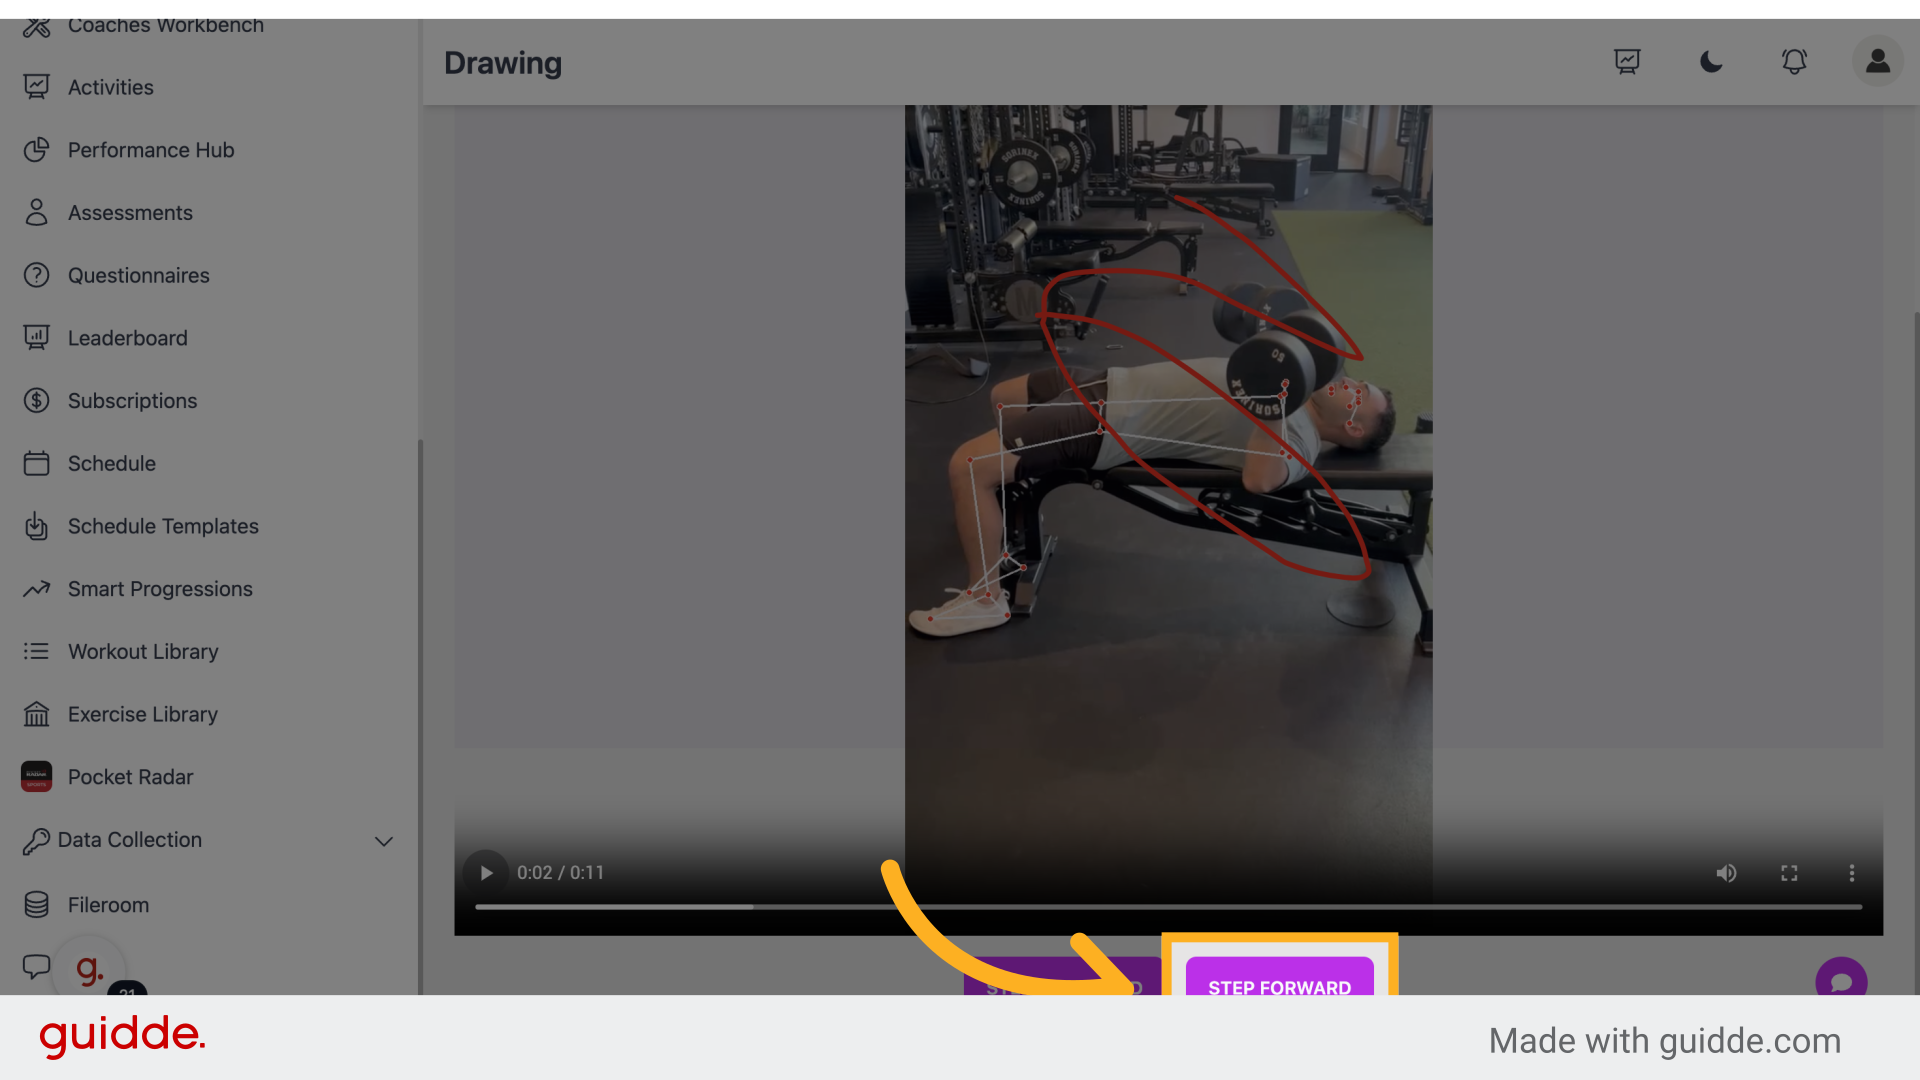
24. Click "Step Forward"
Move one step forward.
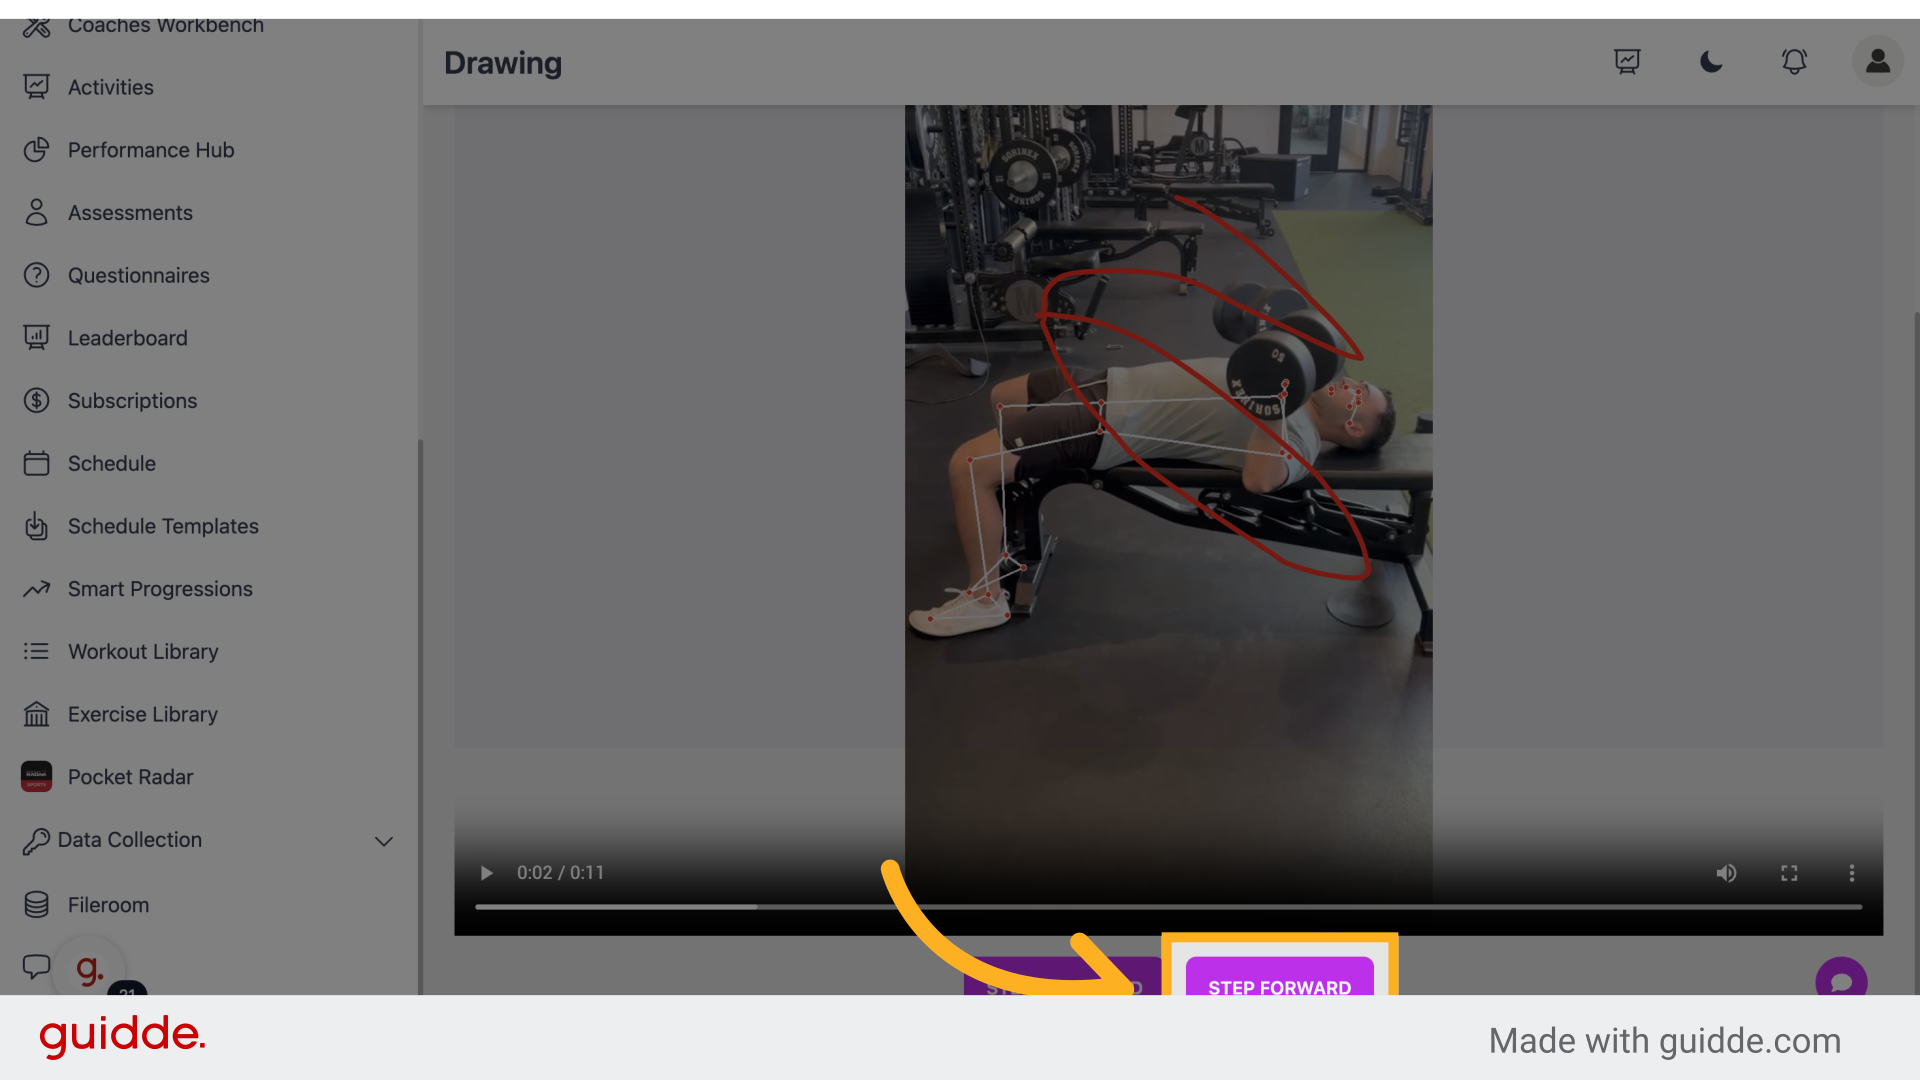
25. Click "Step Forward"
Move one step forward.
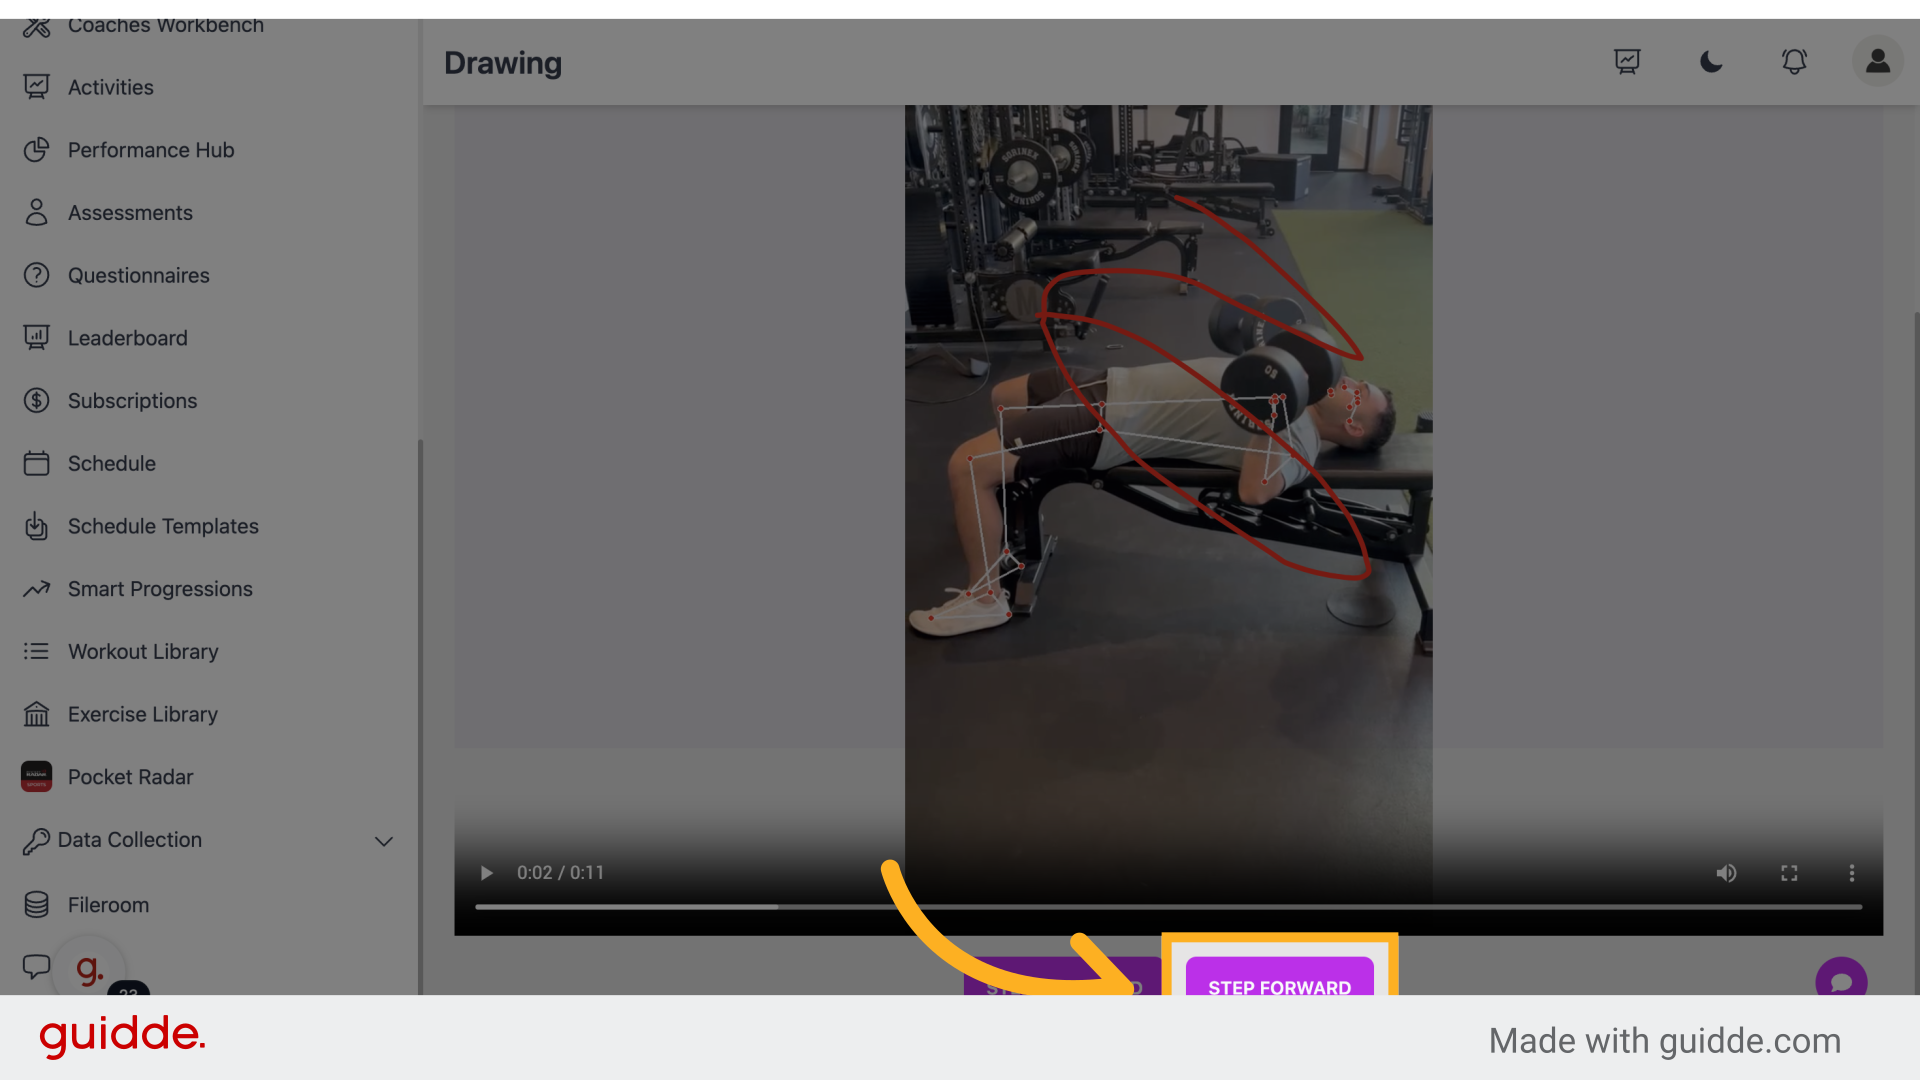
26. Click "Step Forward"
Move one step forward.
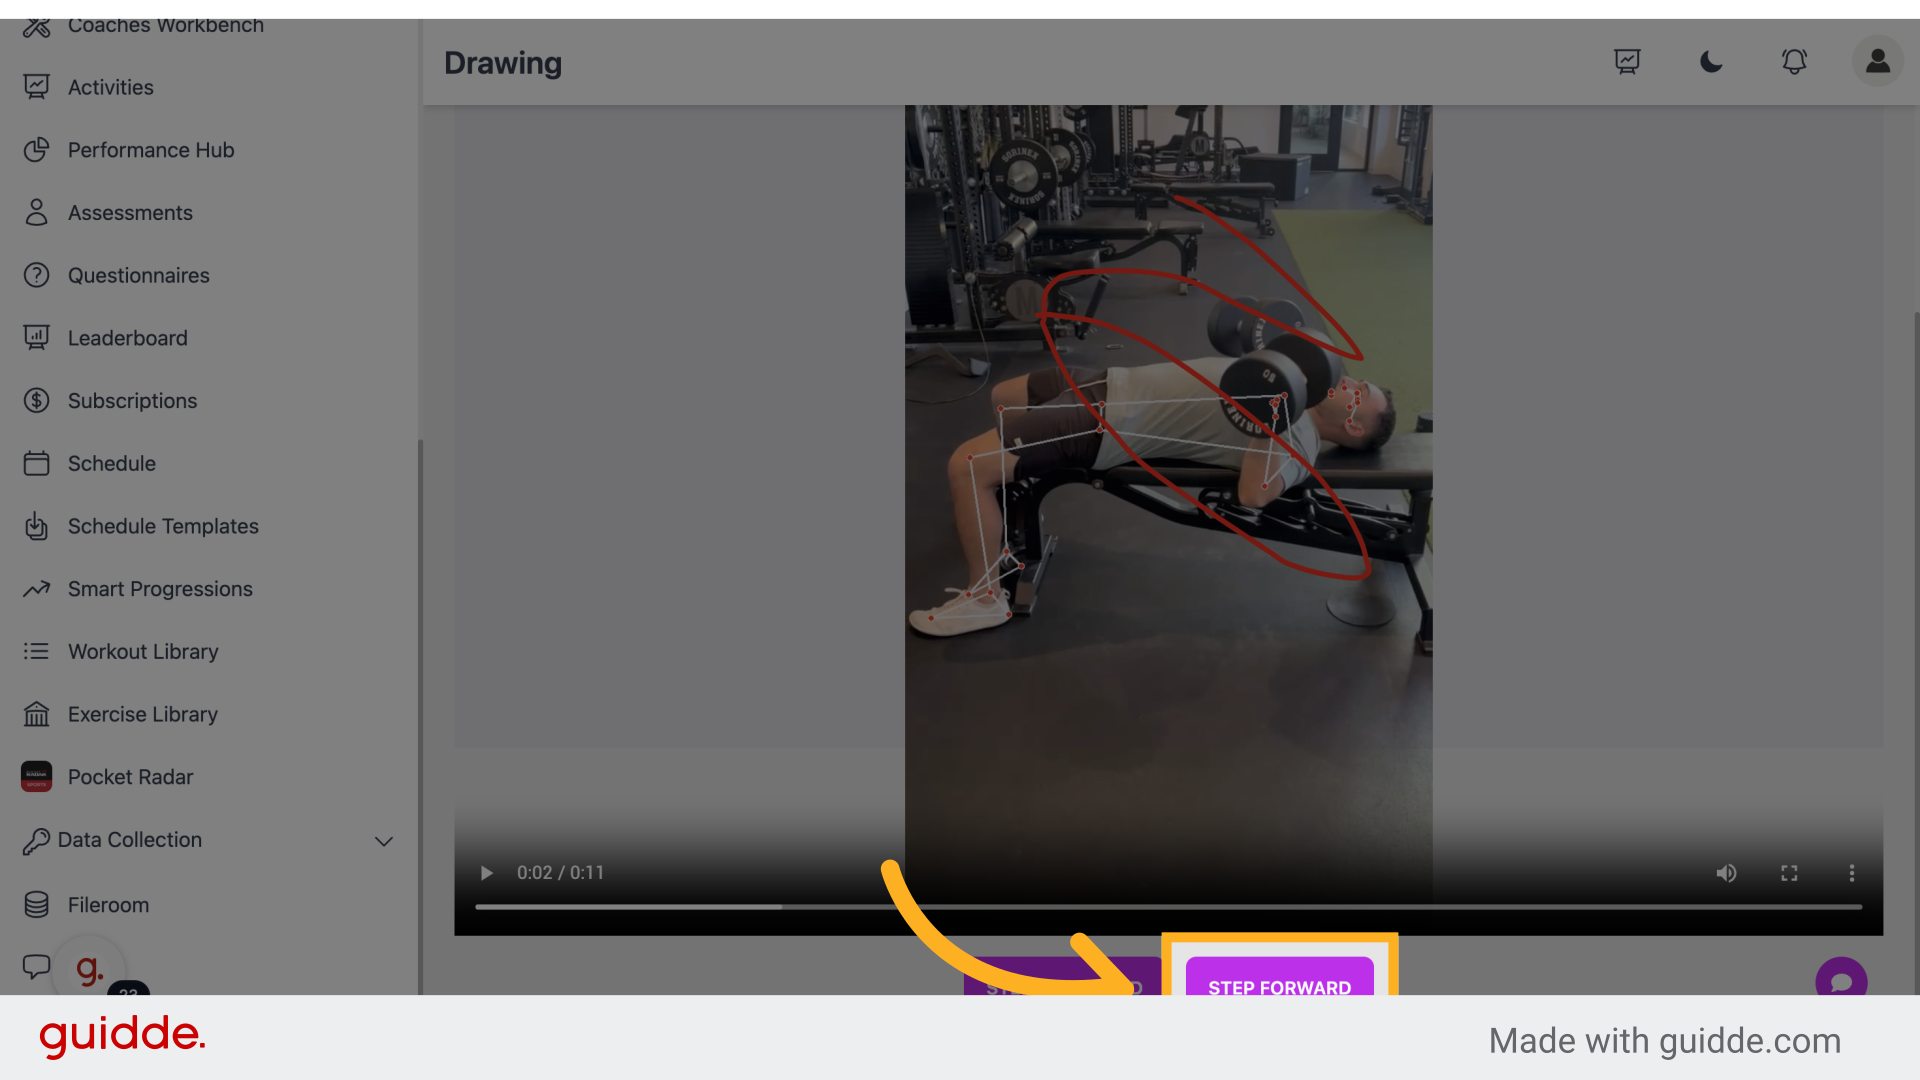
27. Click "Step Forward"
Move one step forward.
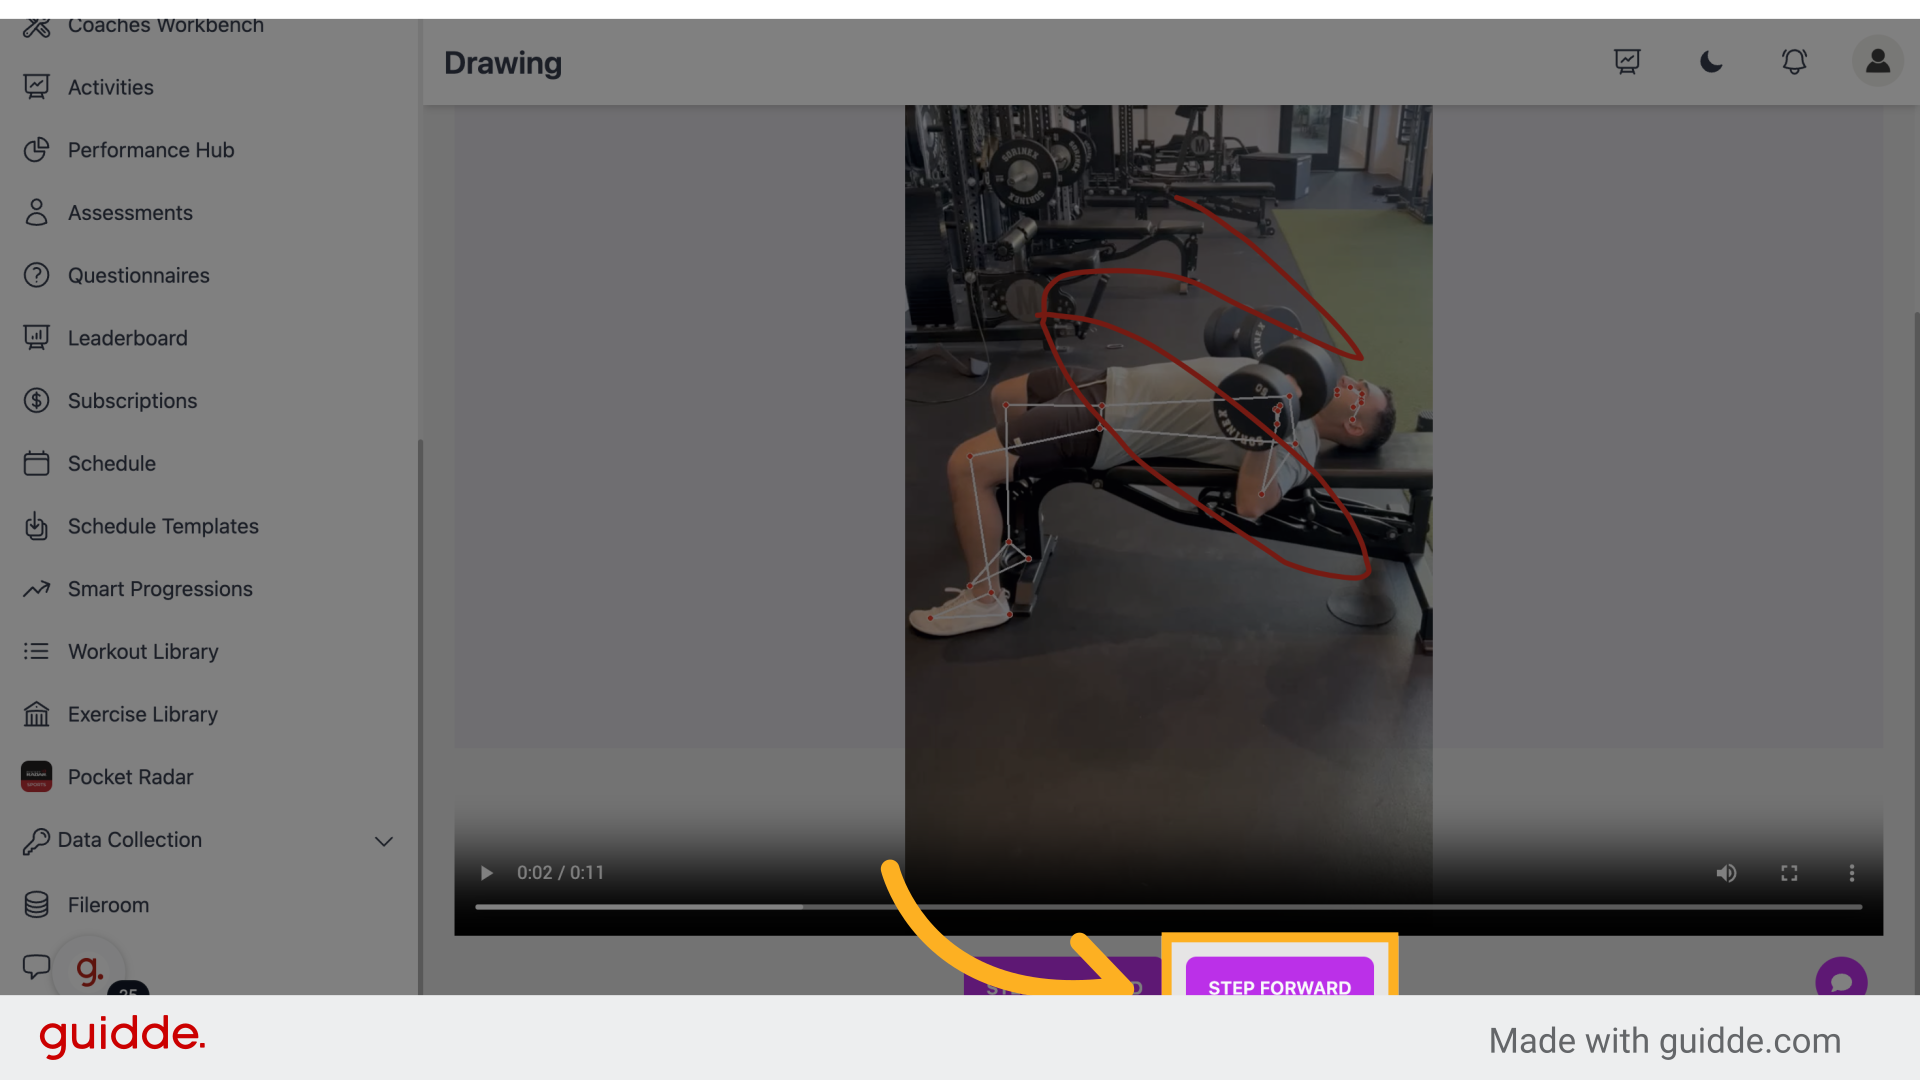
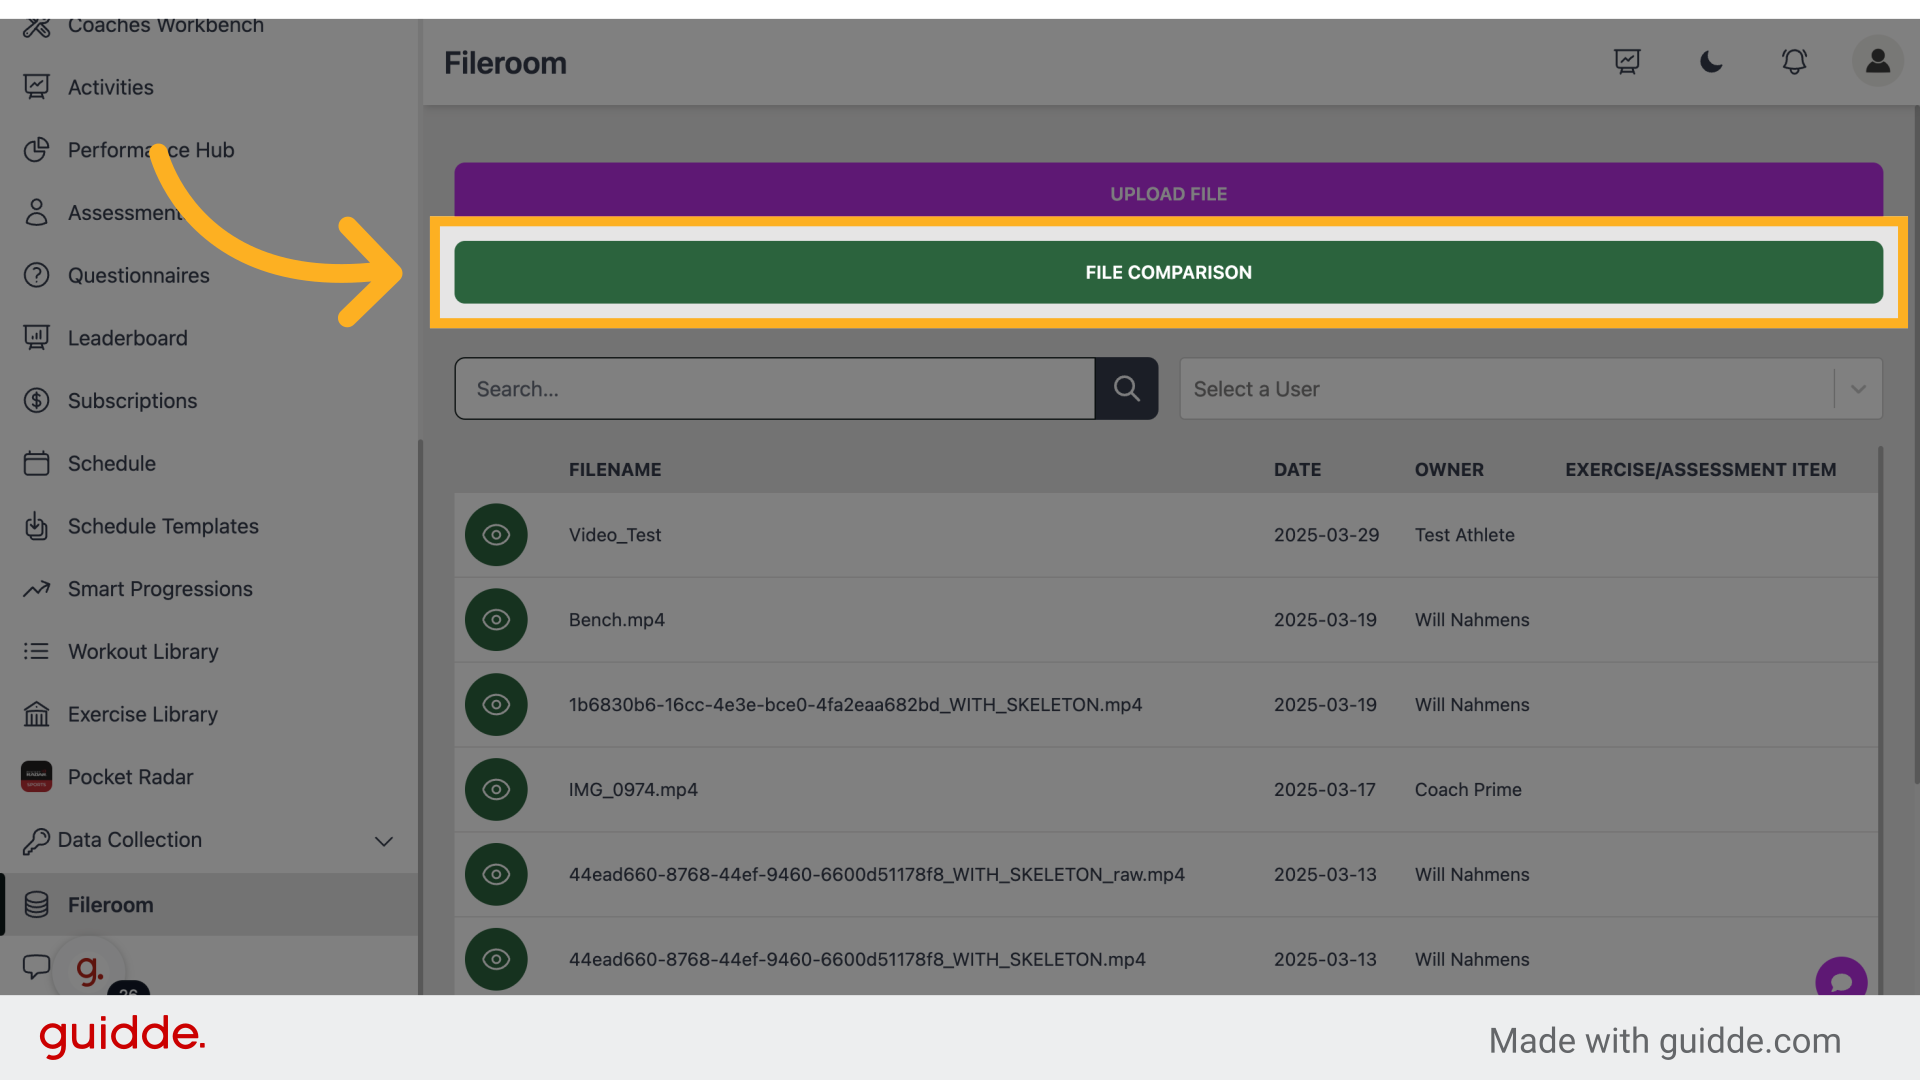
28. Click "File Comparison"
Access File Comparison.
29. Click here
Click to navigate.
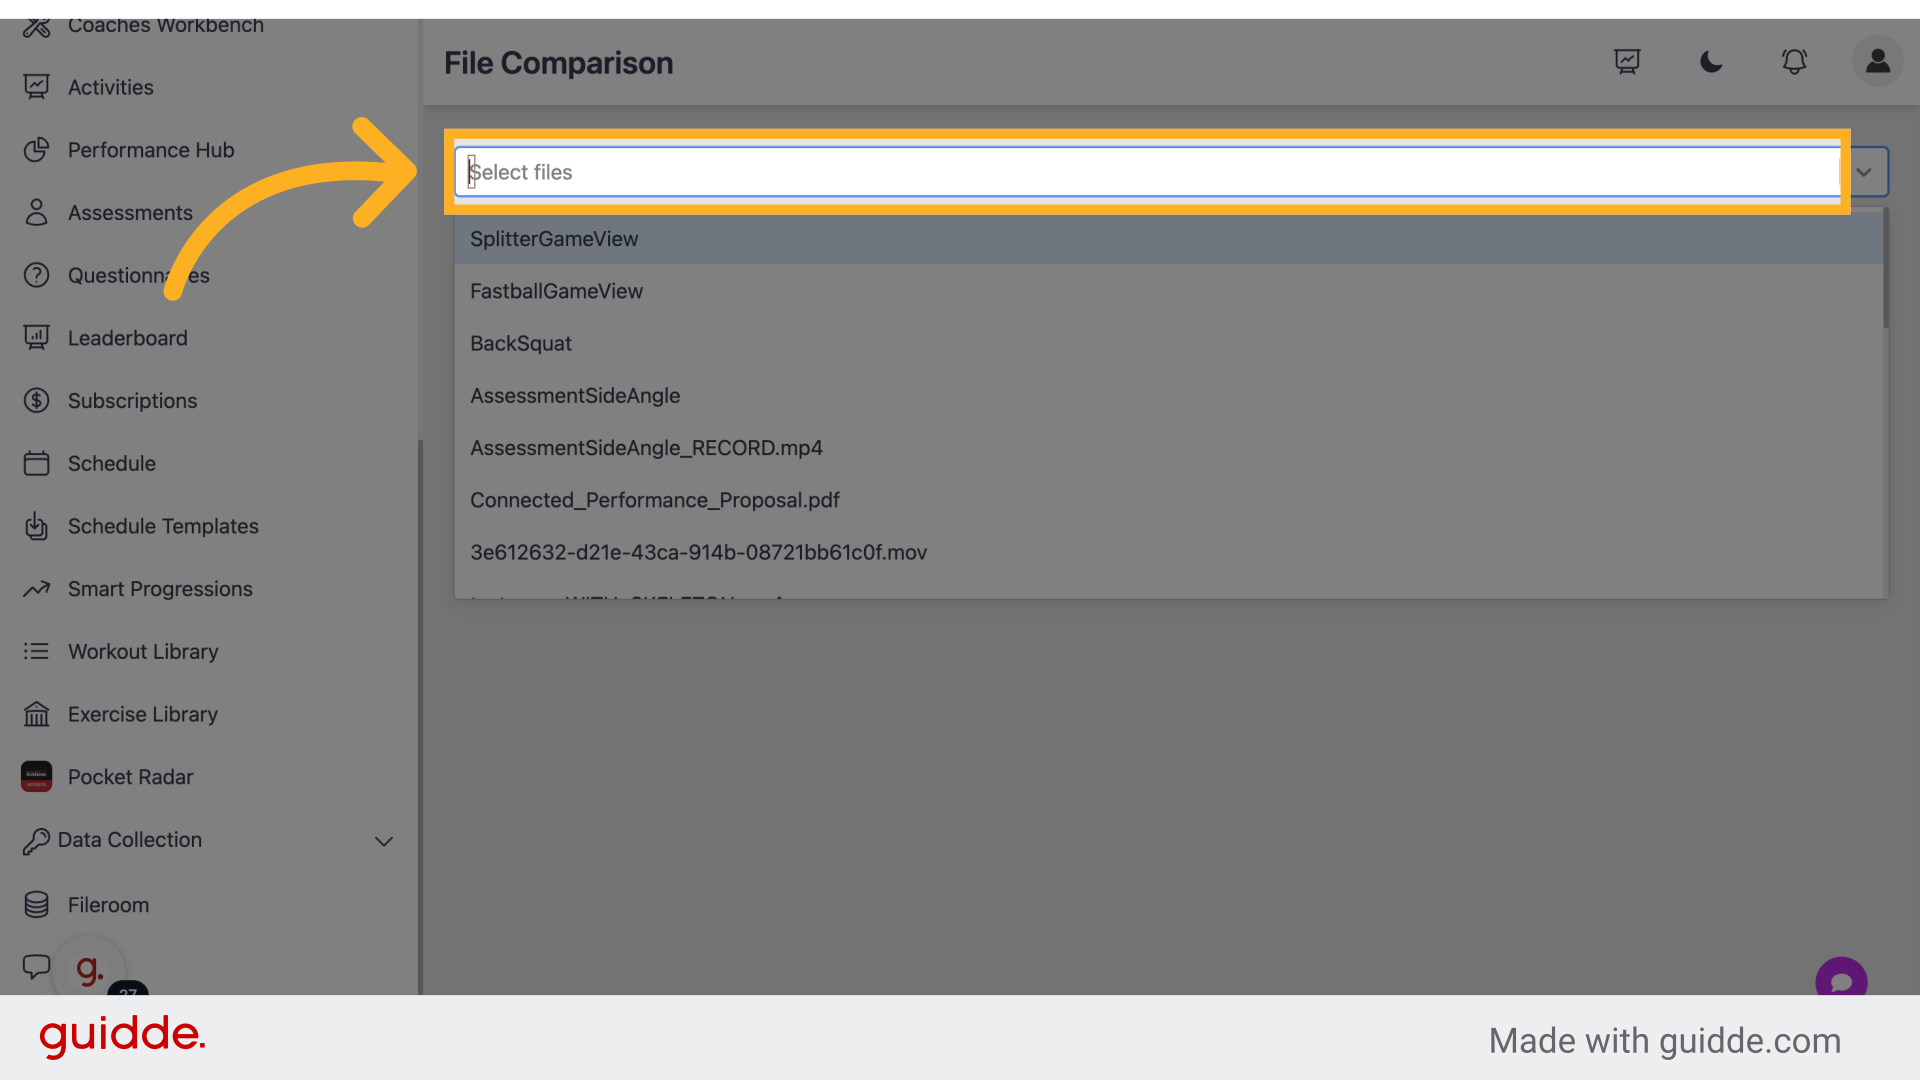
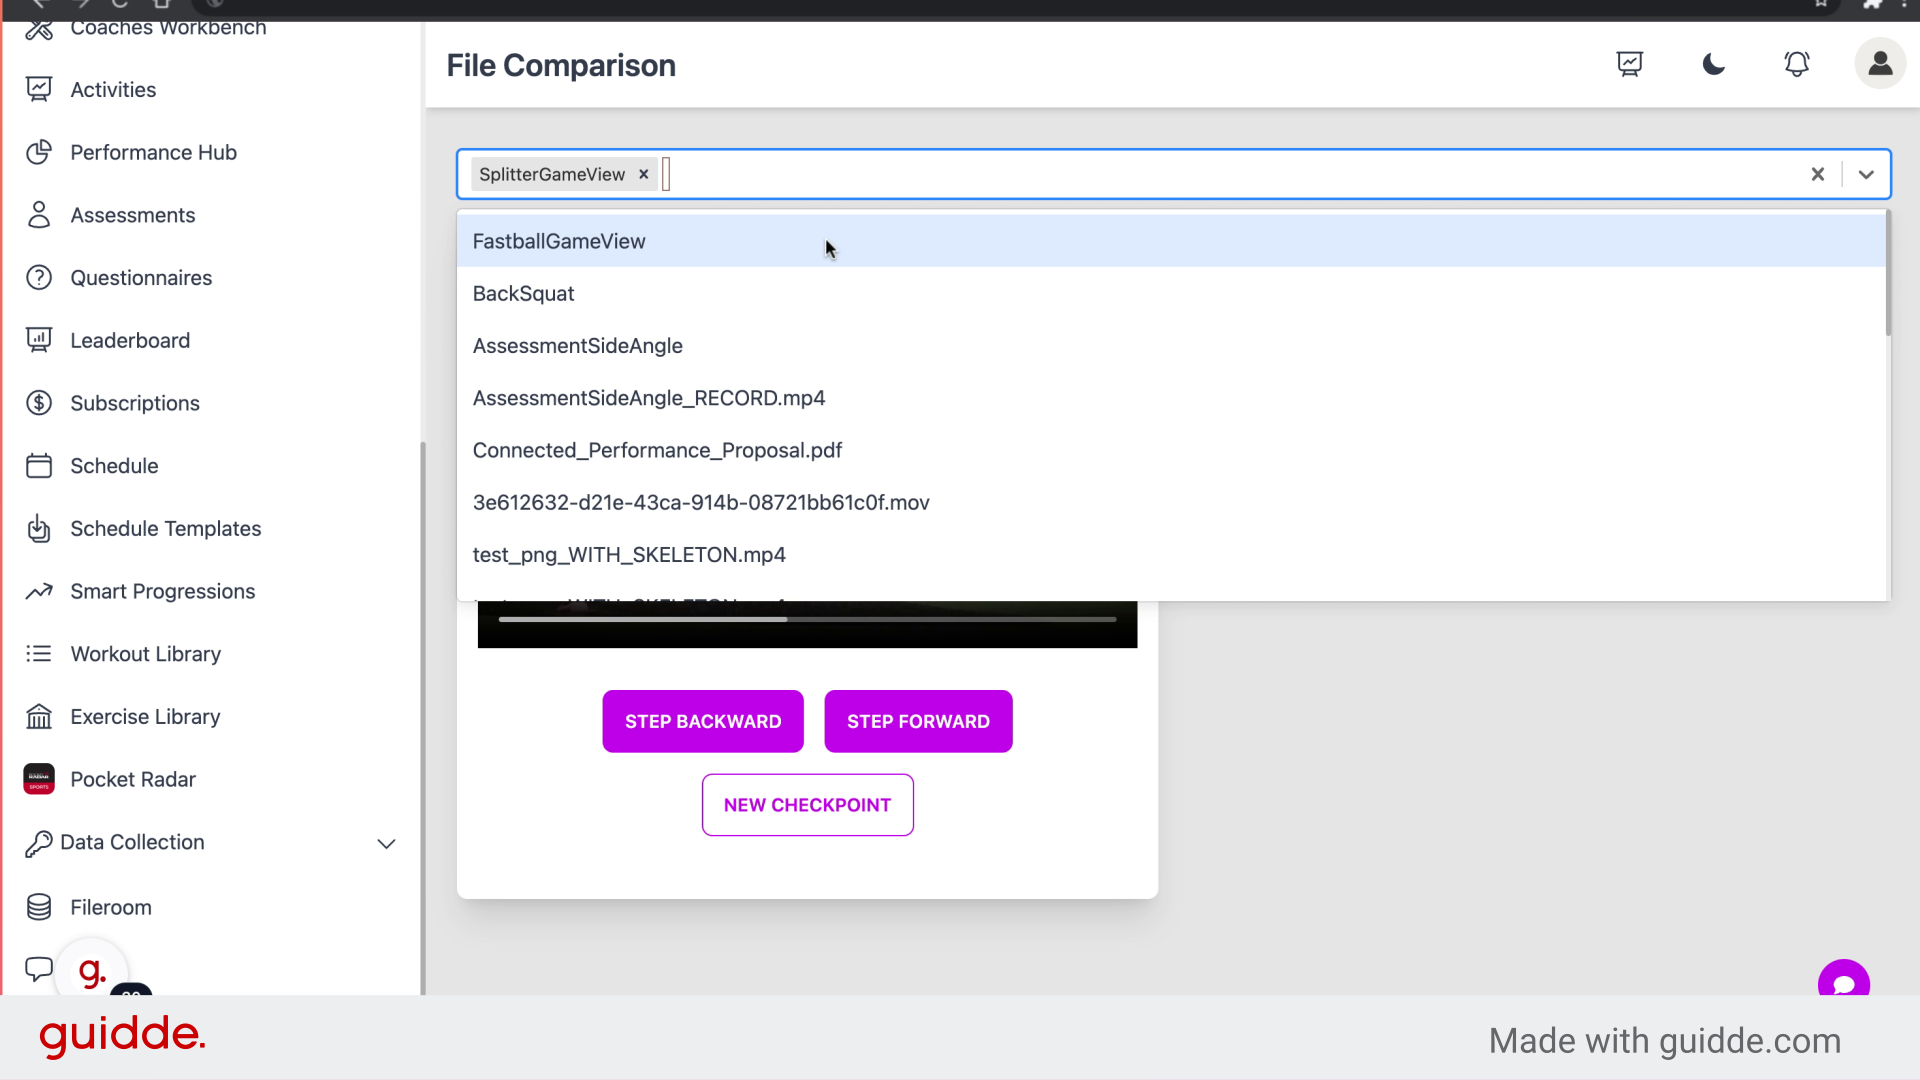
30. Click "SplitterGameView"
Select SplitterGameView.
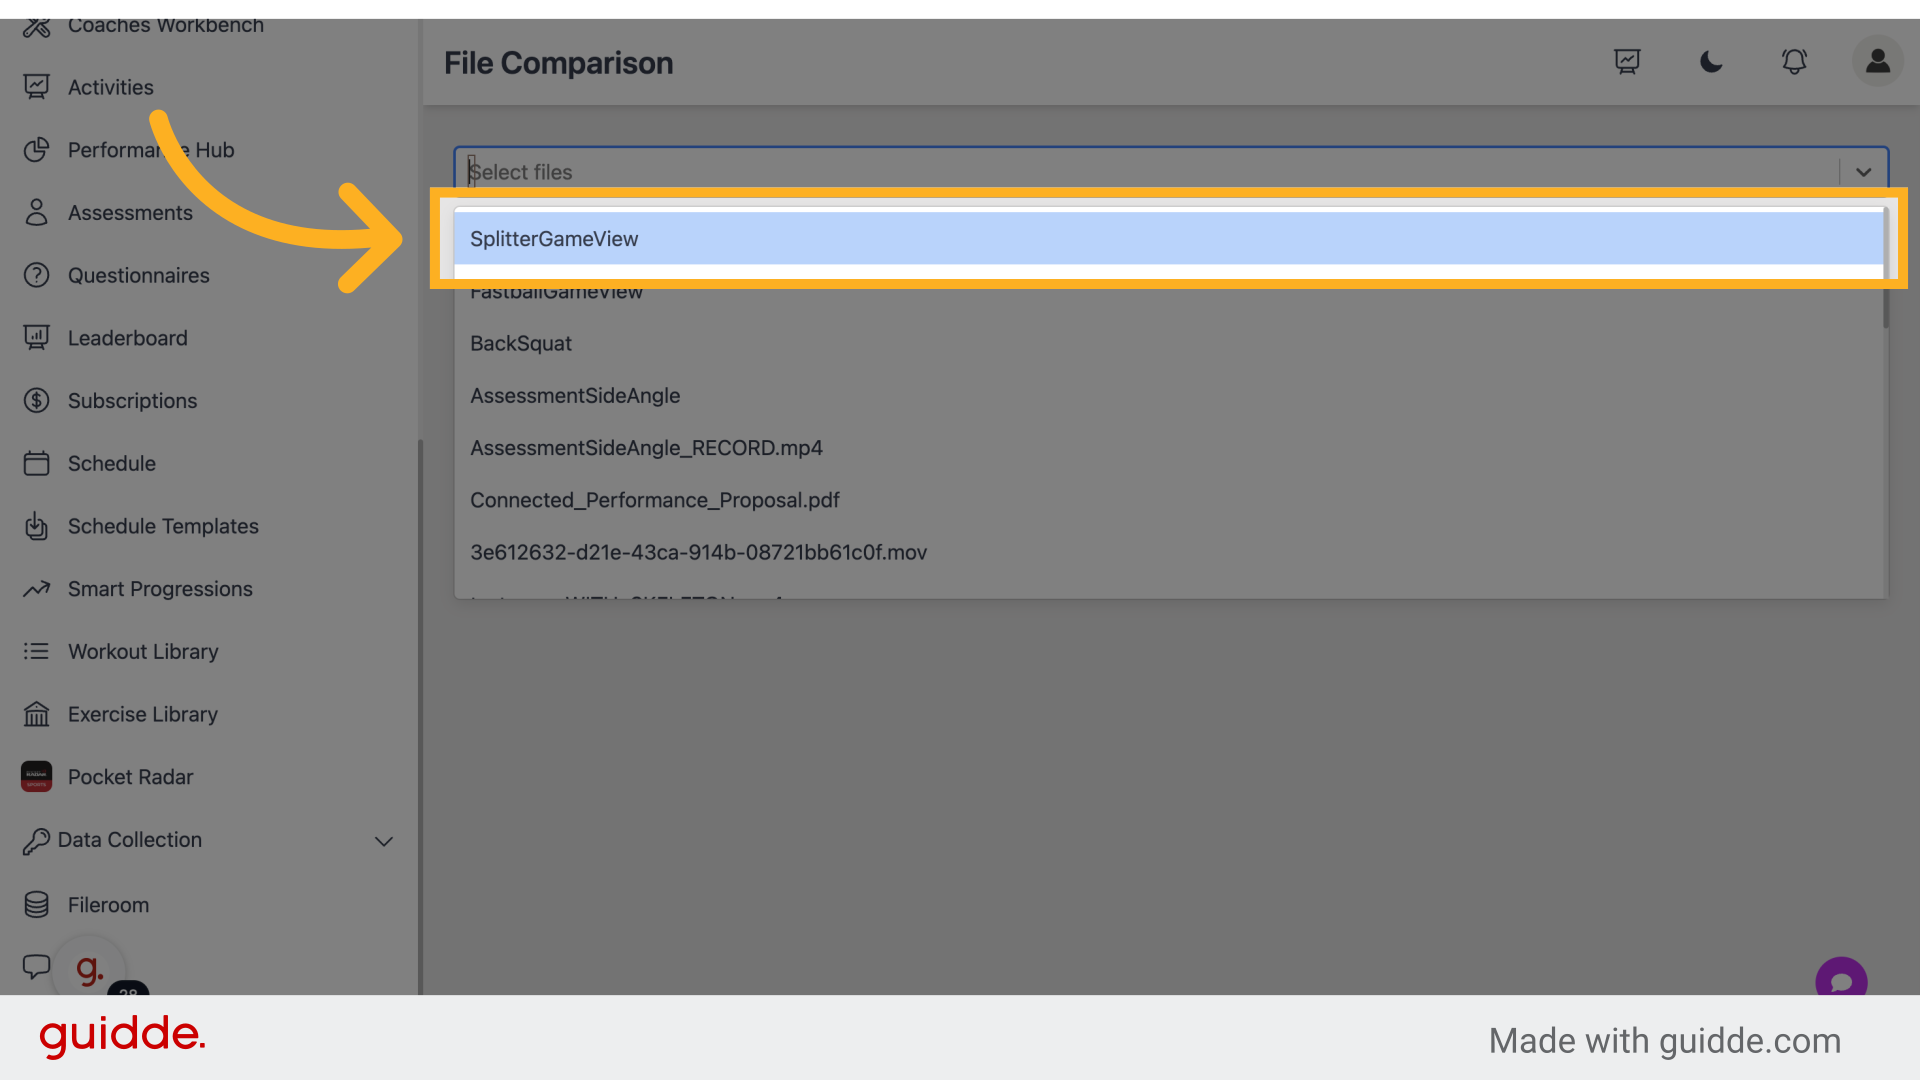
31. Click here
Click to navigate.
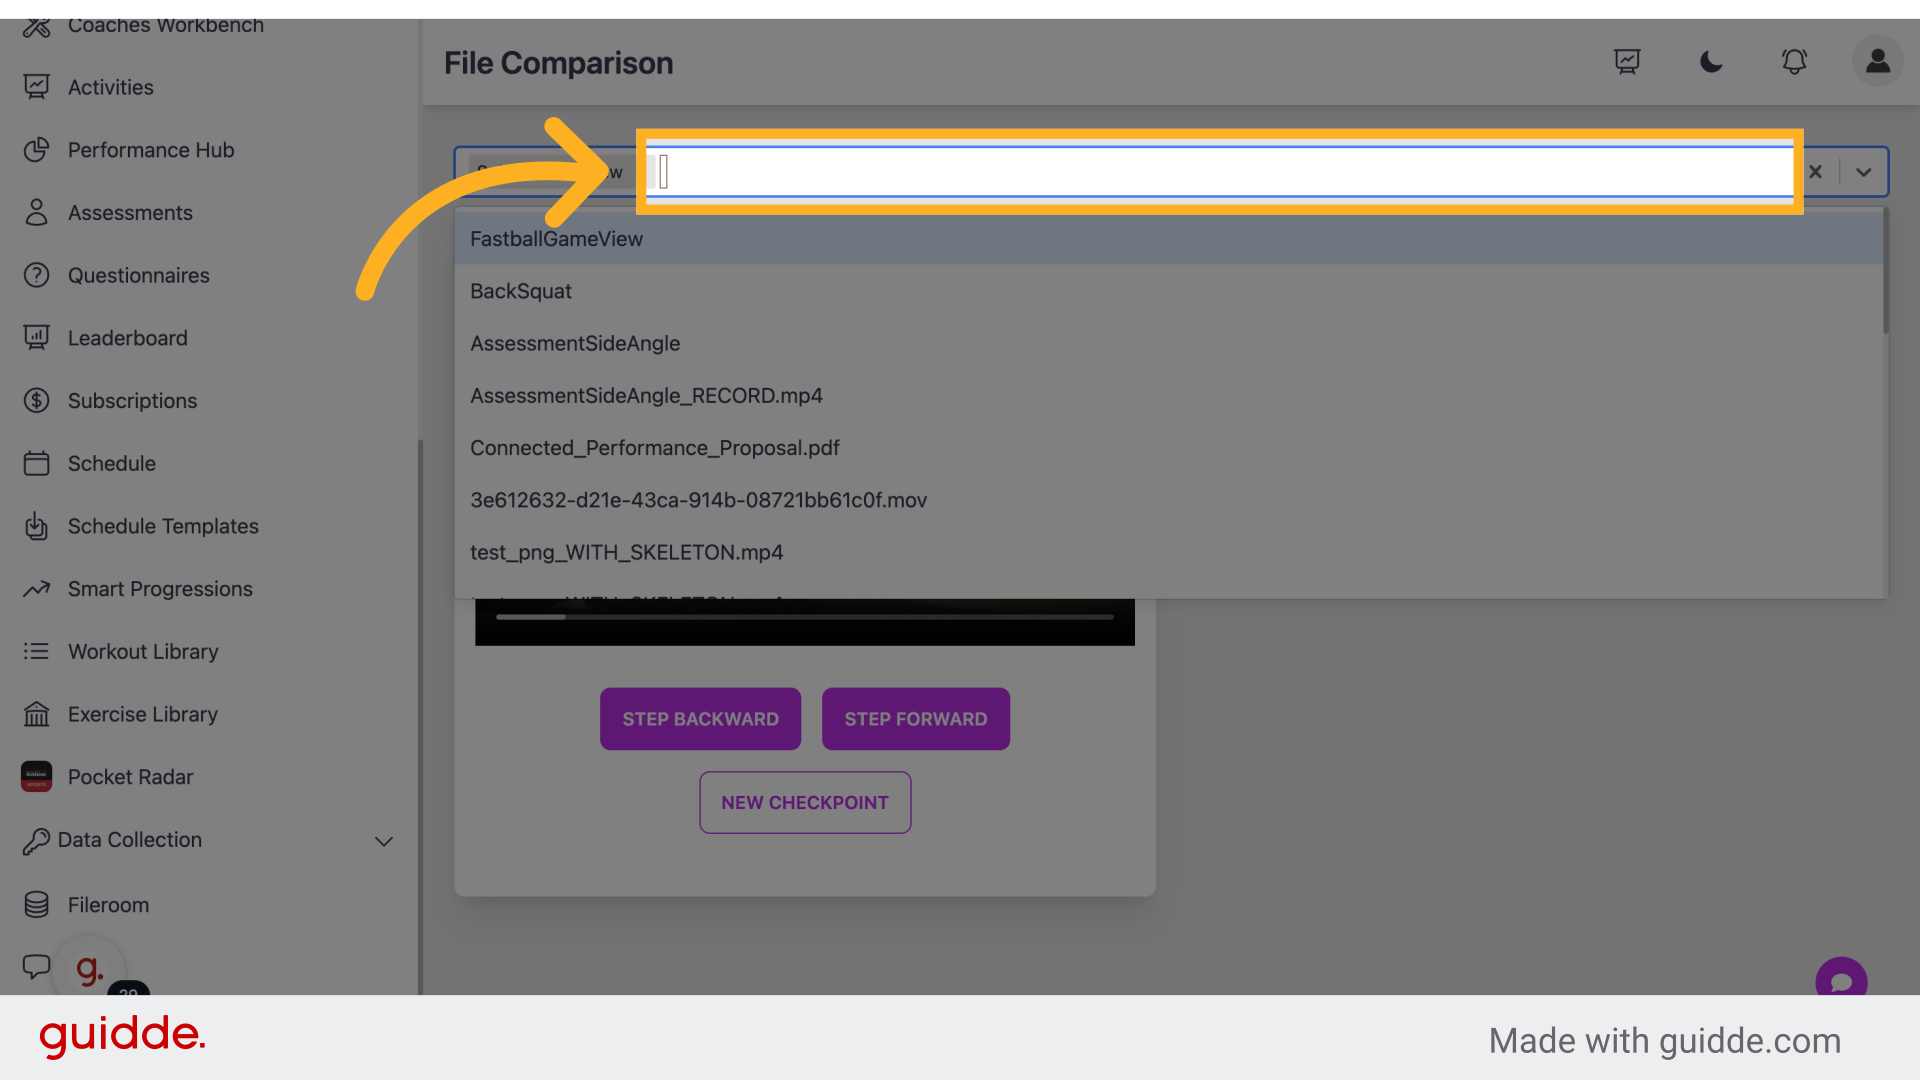
32. Click "FastballGameView"
Select FastballGameView.
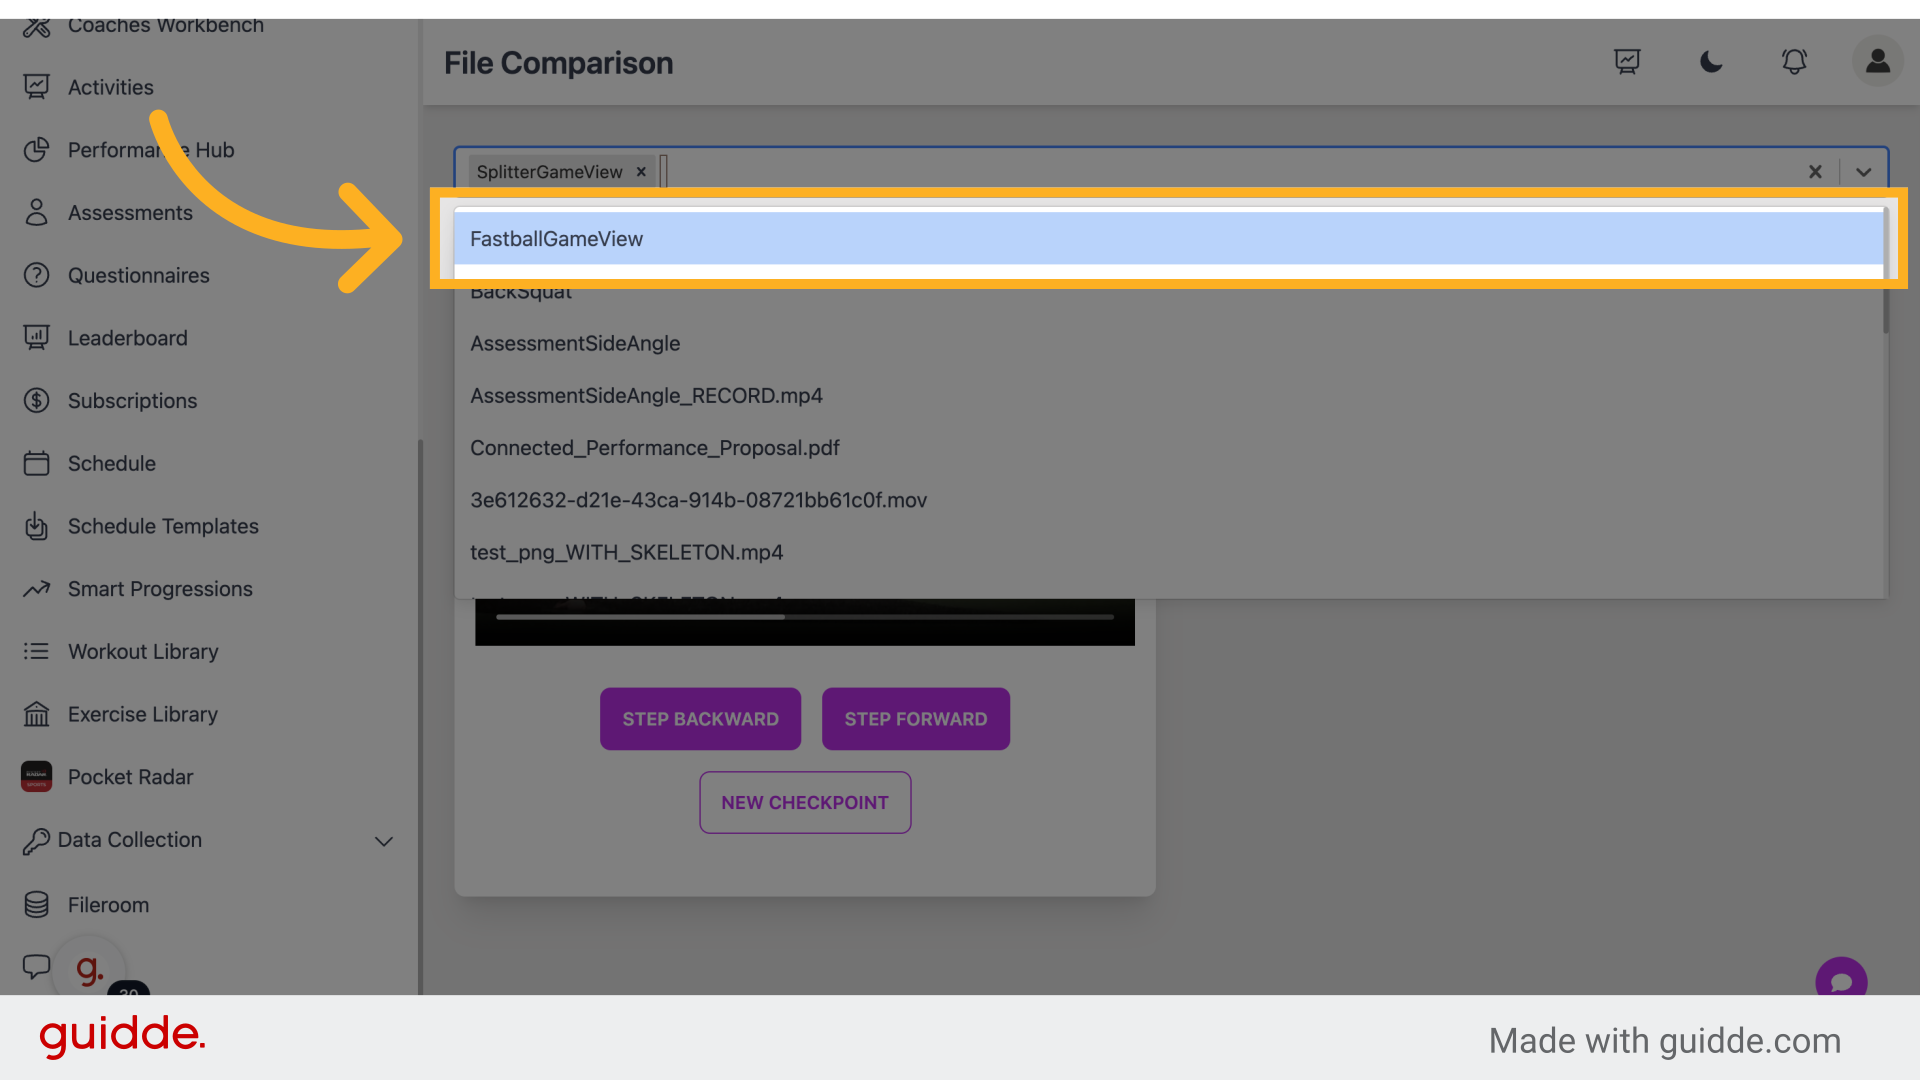
33. Fill "Video error"
Enter the desired text.
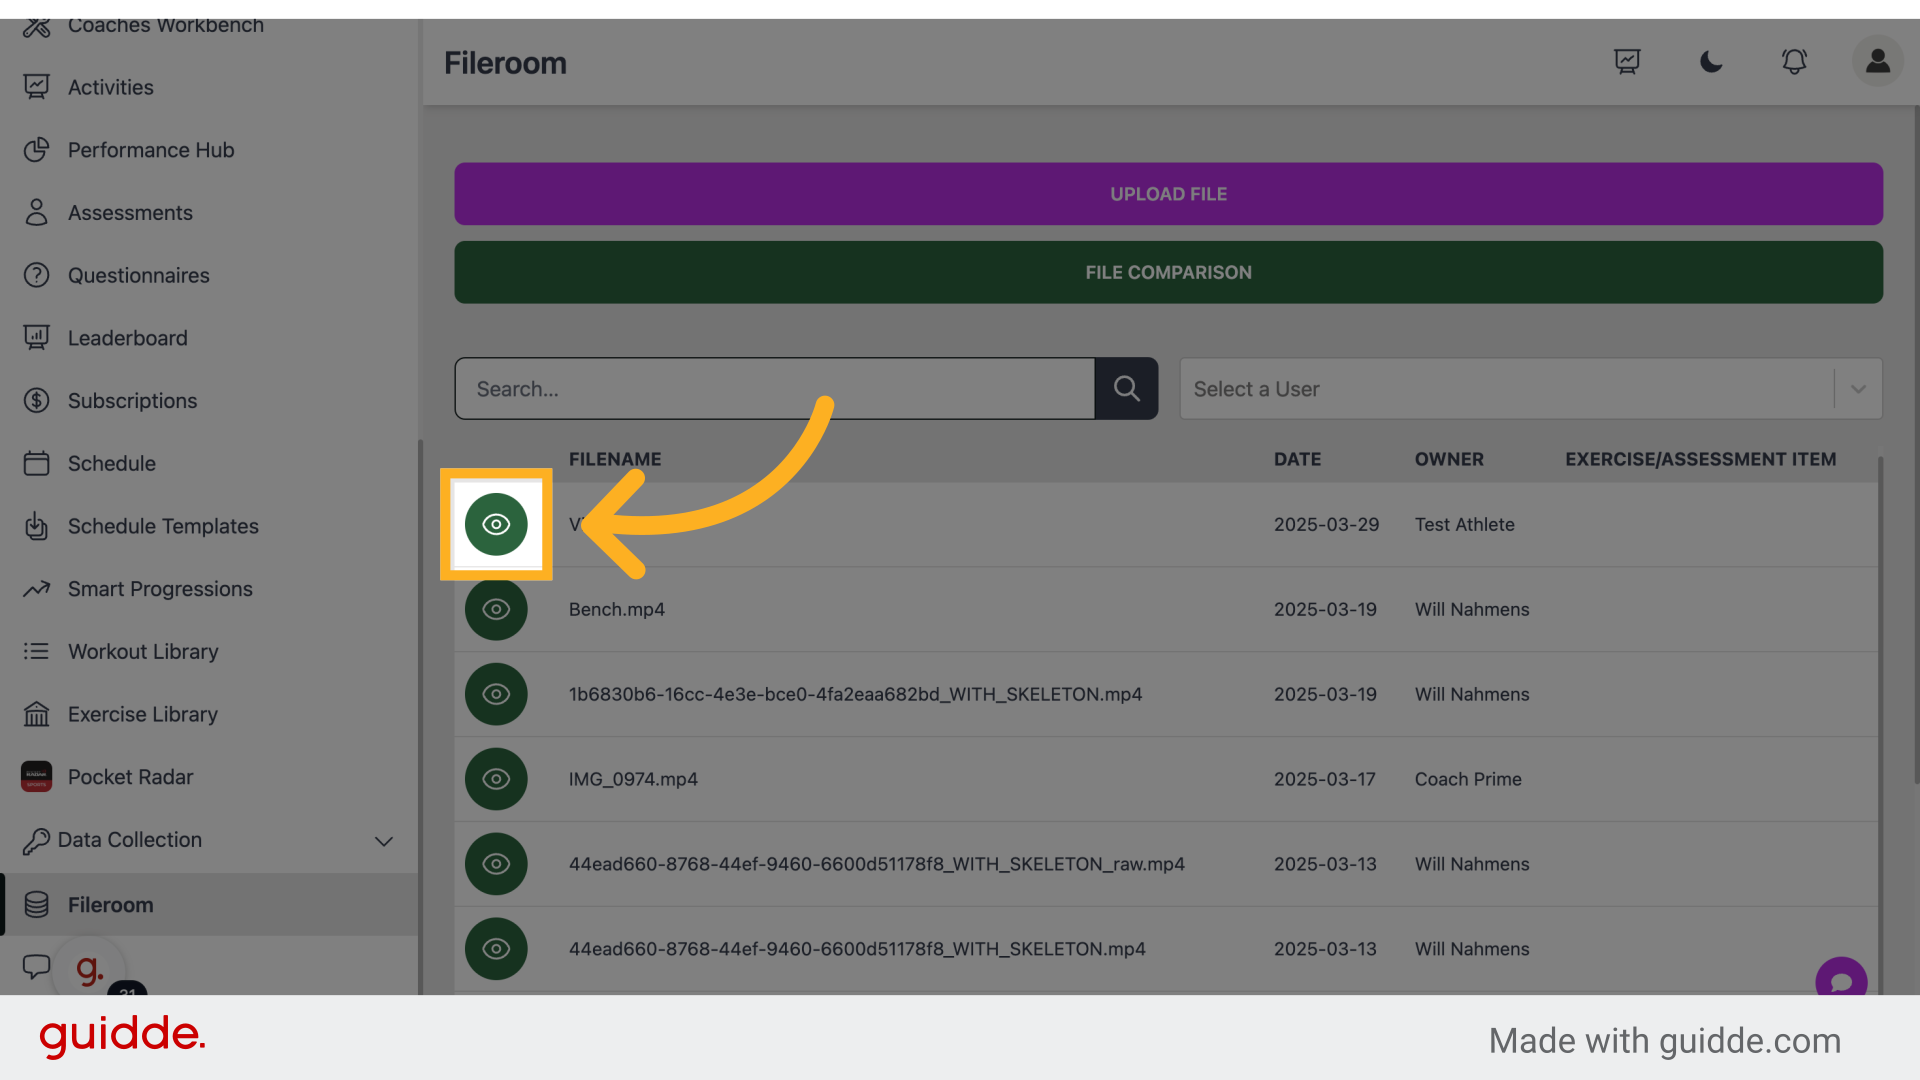
34. Click here
Click to navigate.
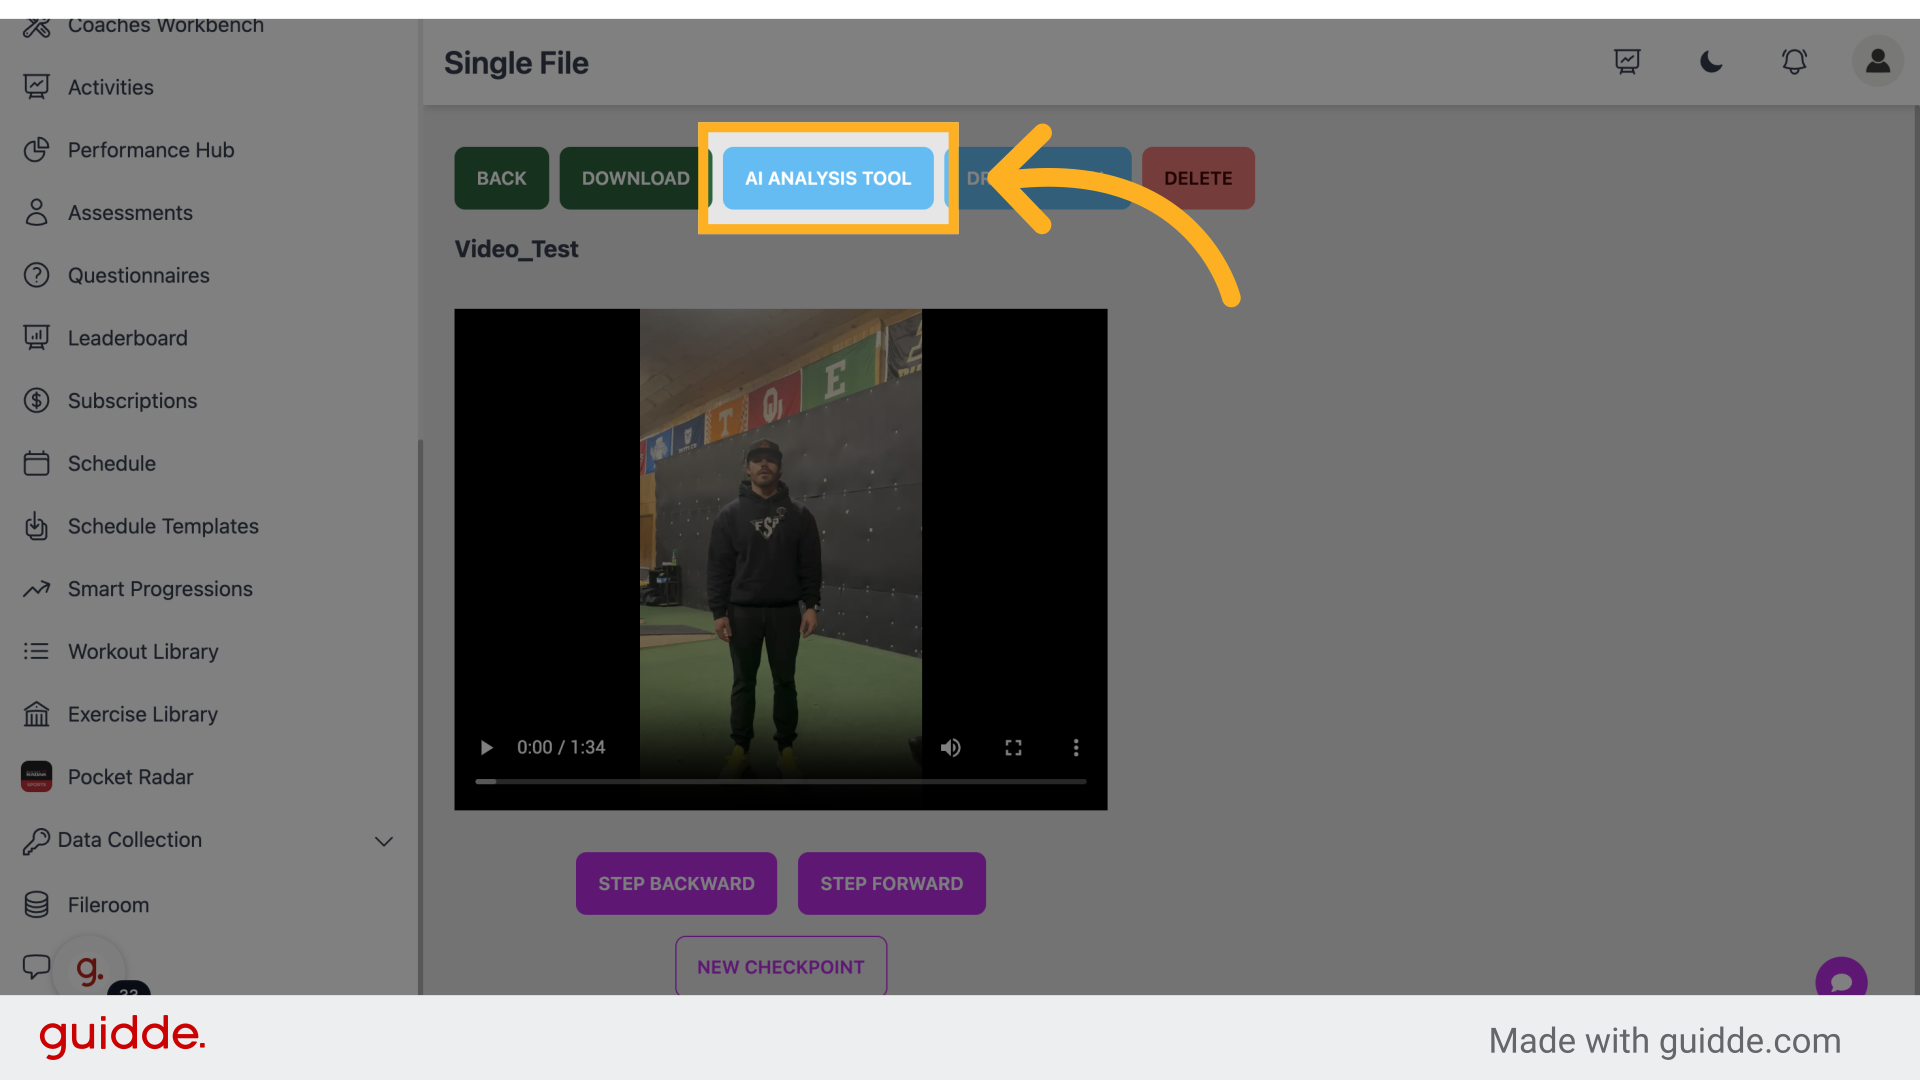
35. Click "AI Analysis tool"
Access AI Analysis tool.
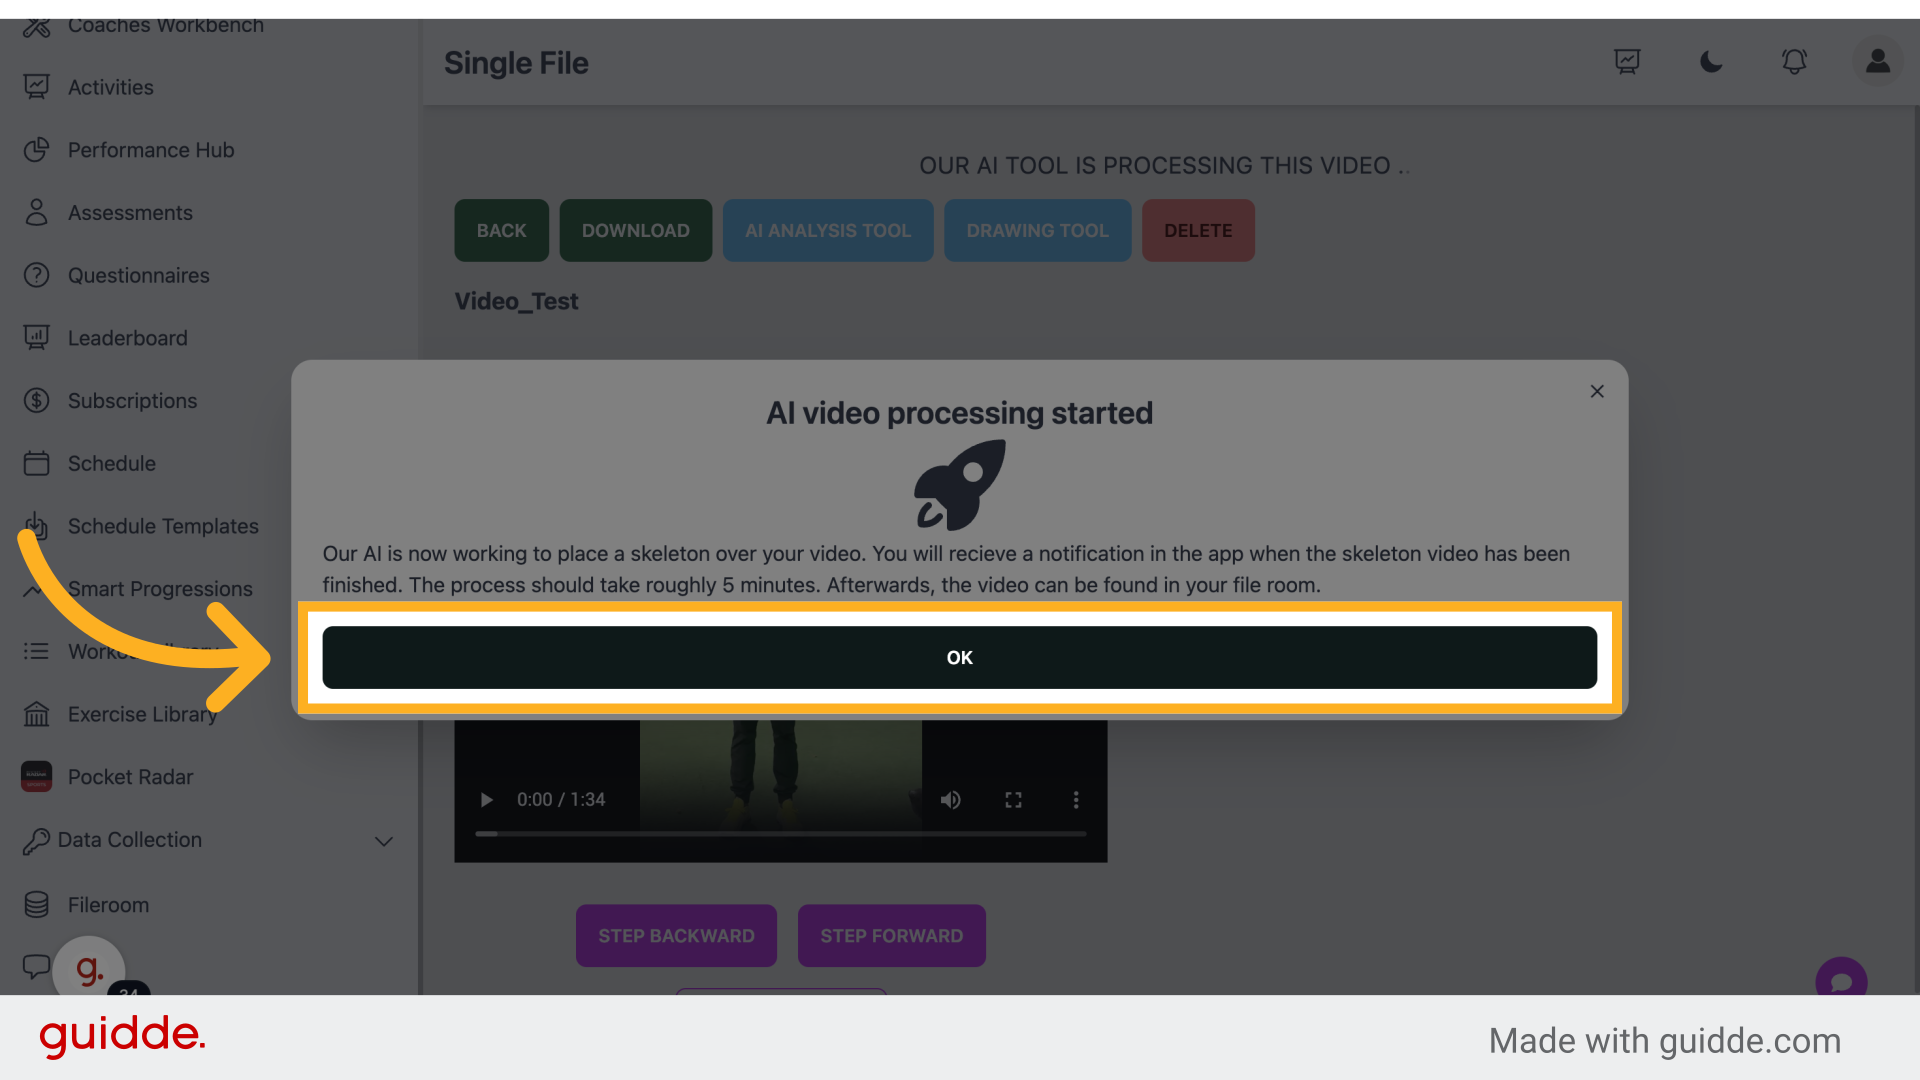
36. Click "OK"
Select OK.
37. Click "Back"
Go back.
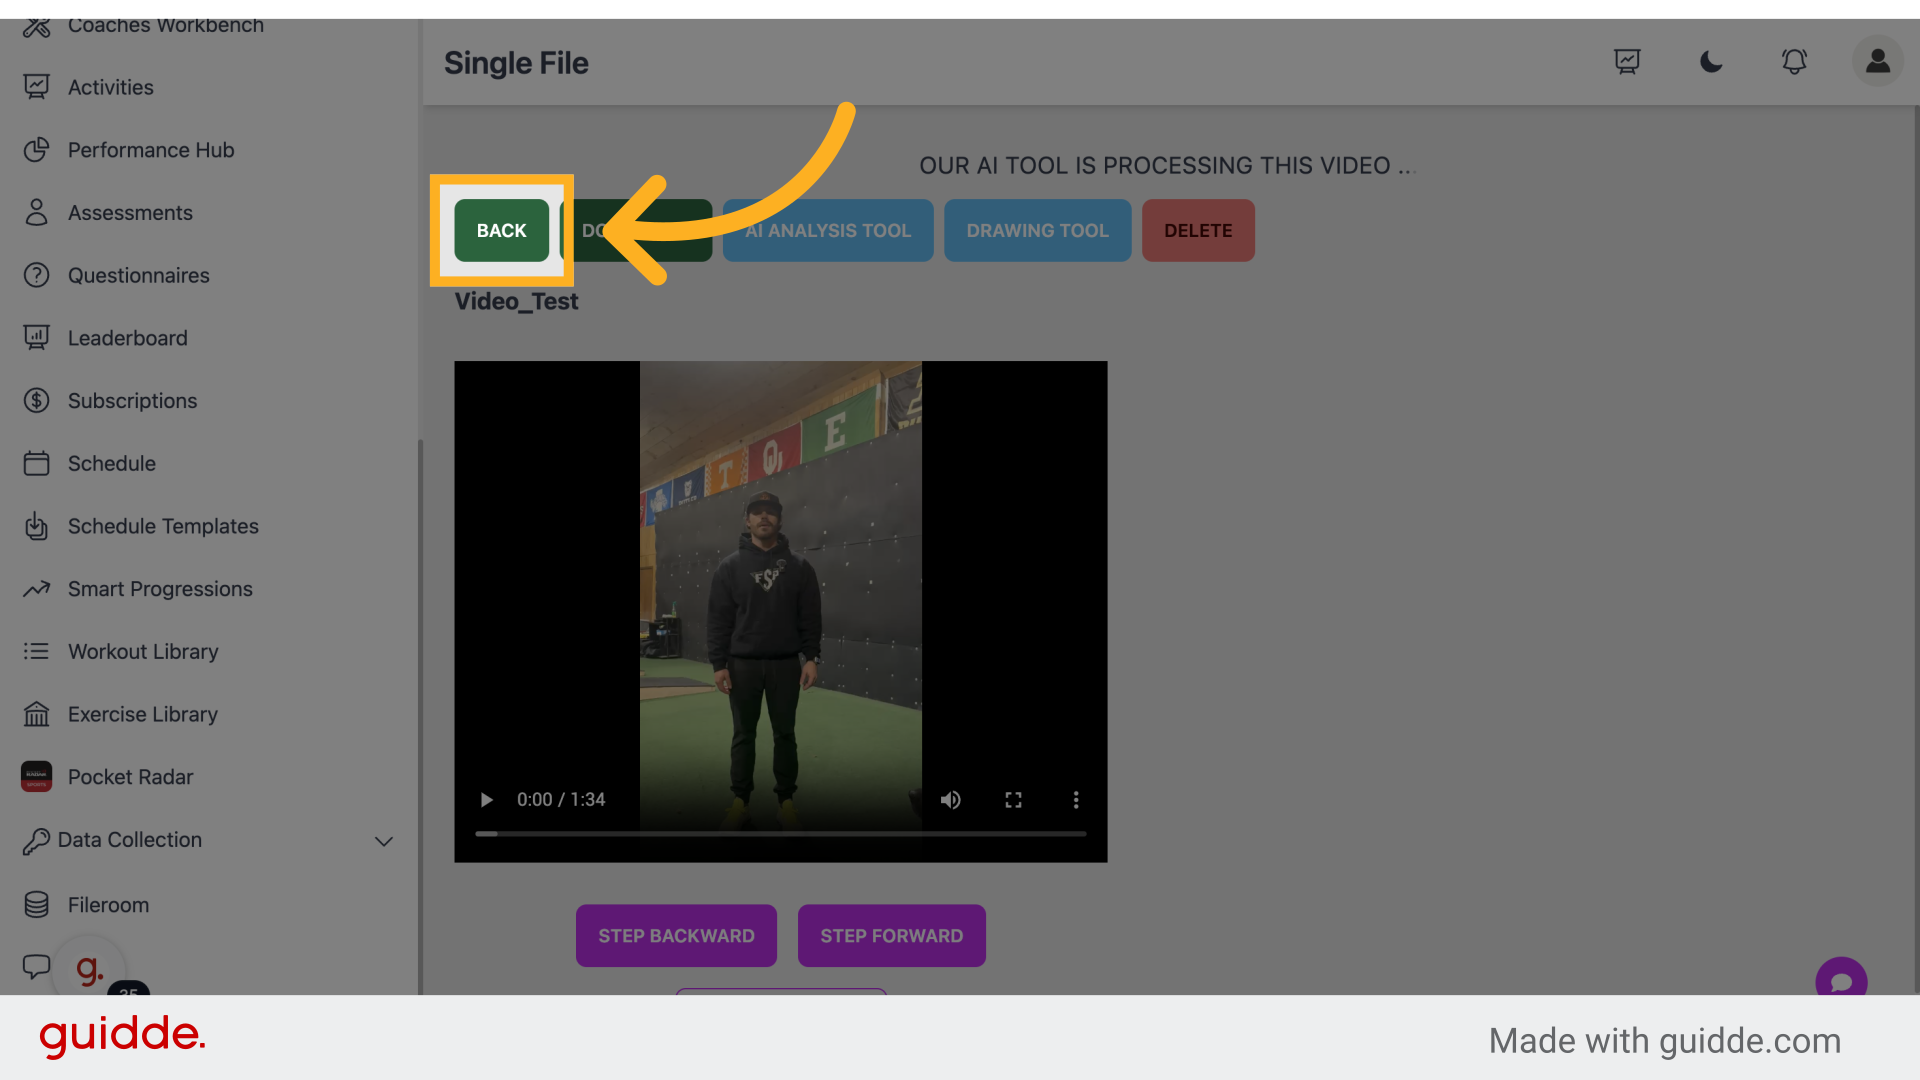
38. Click here
Click to navigate.
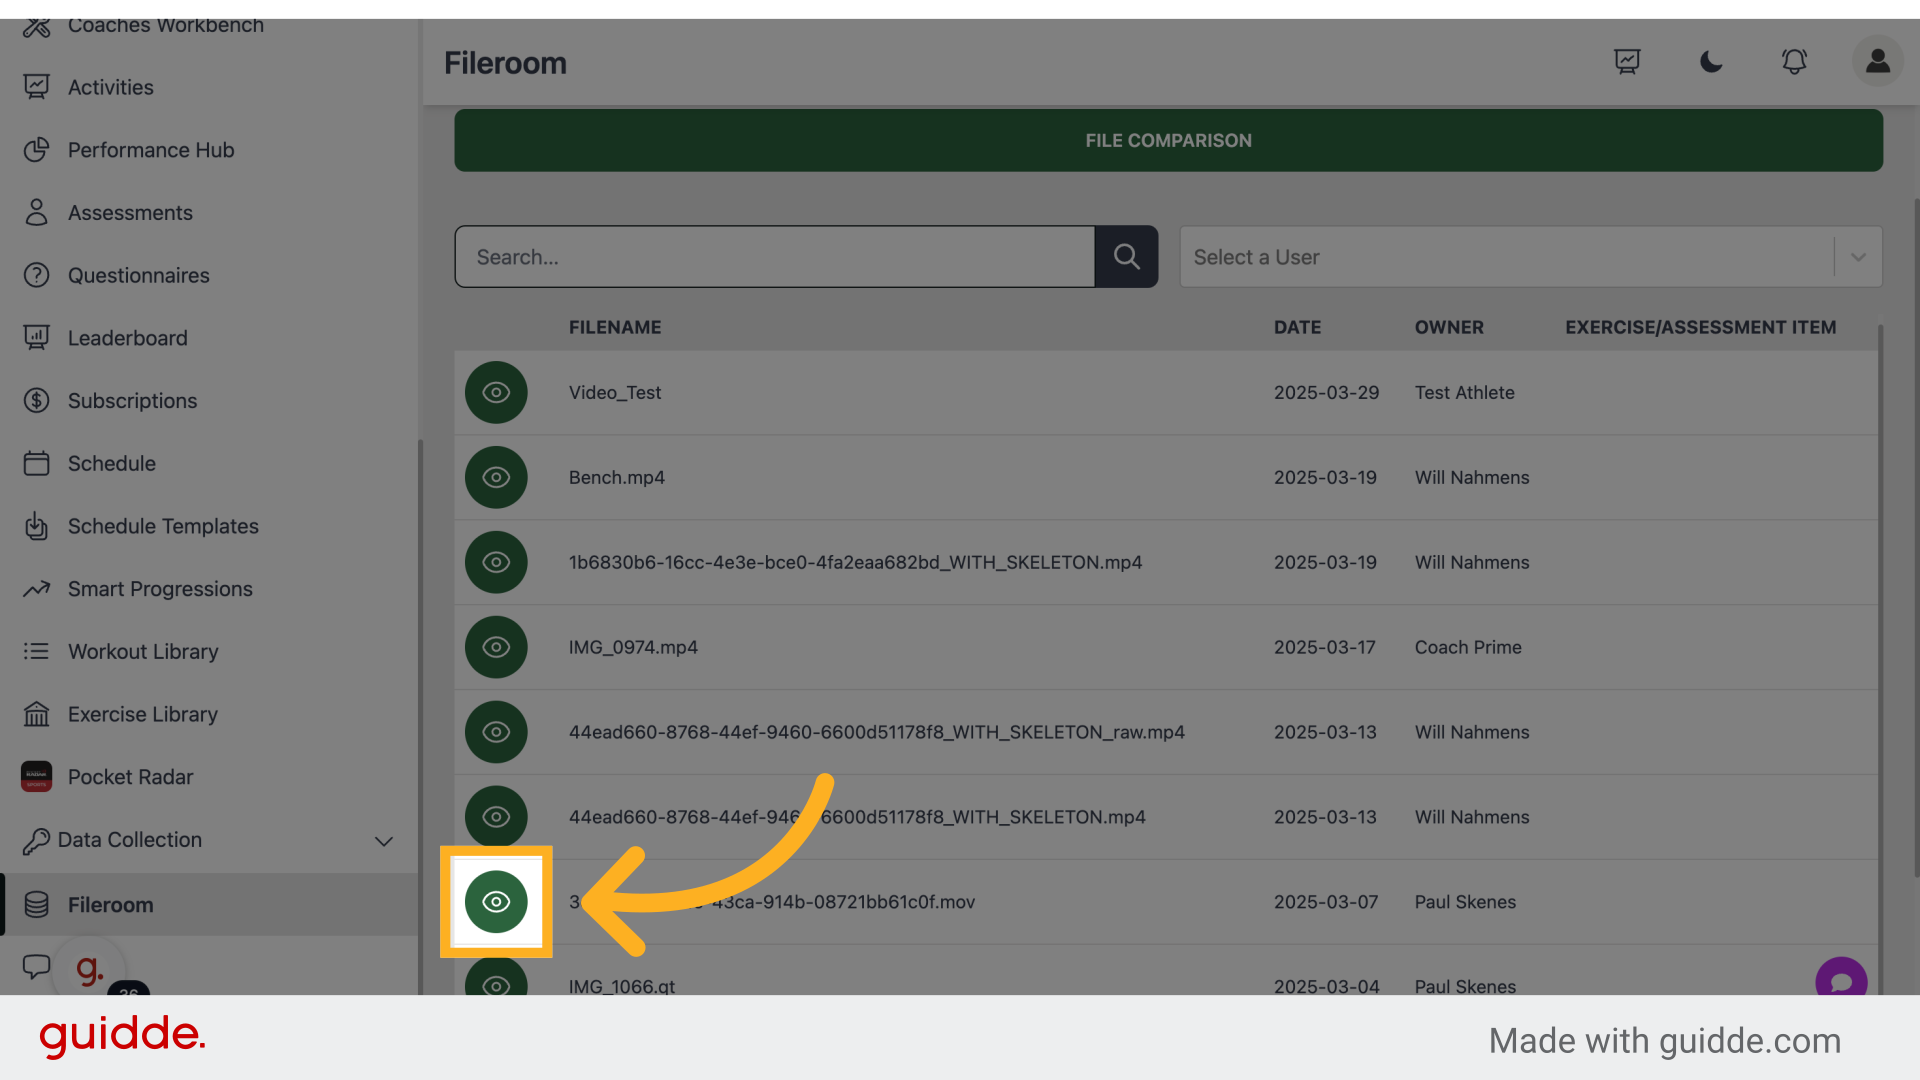
39. Fill "Video error"
Type "Video error" in the given field
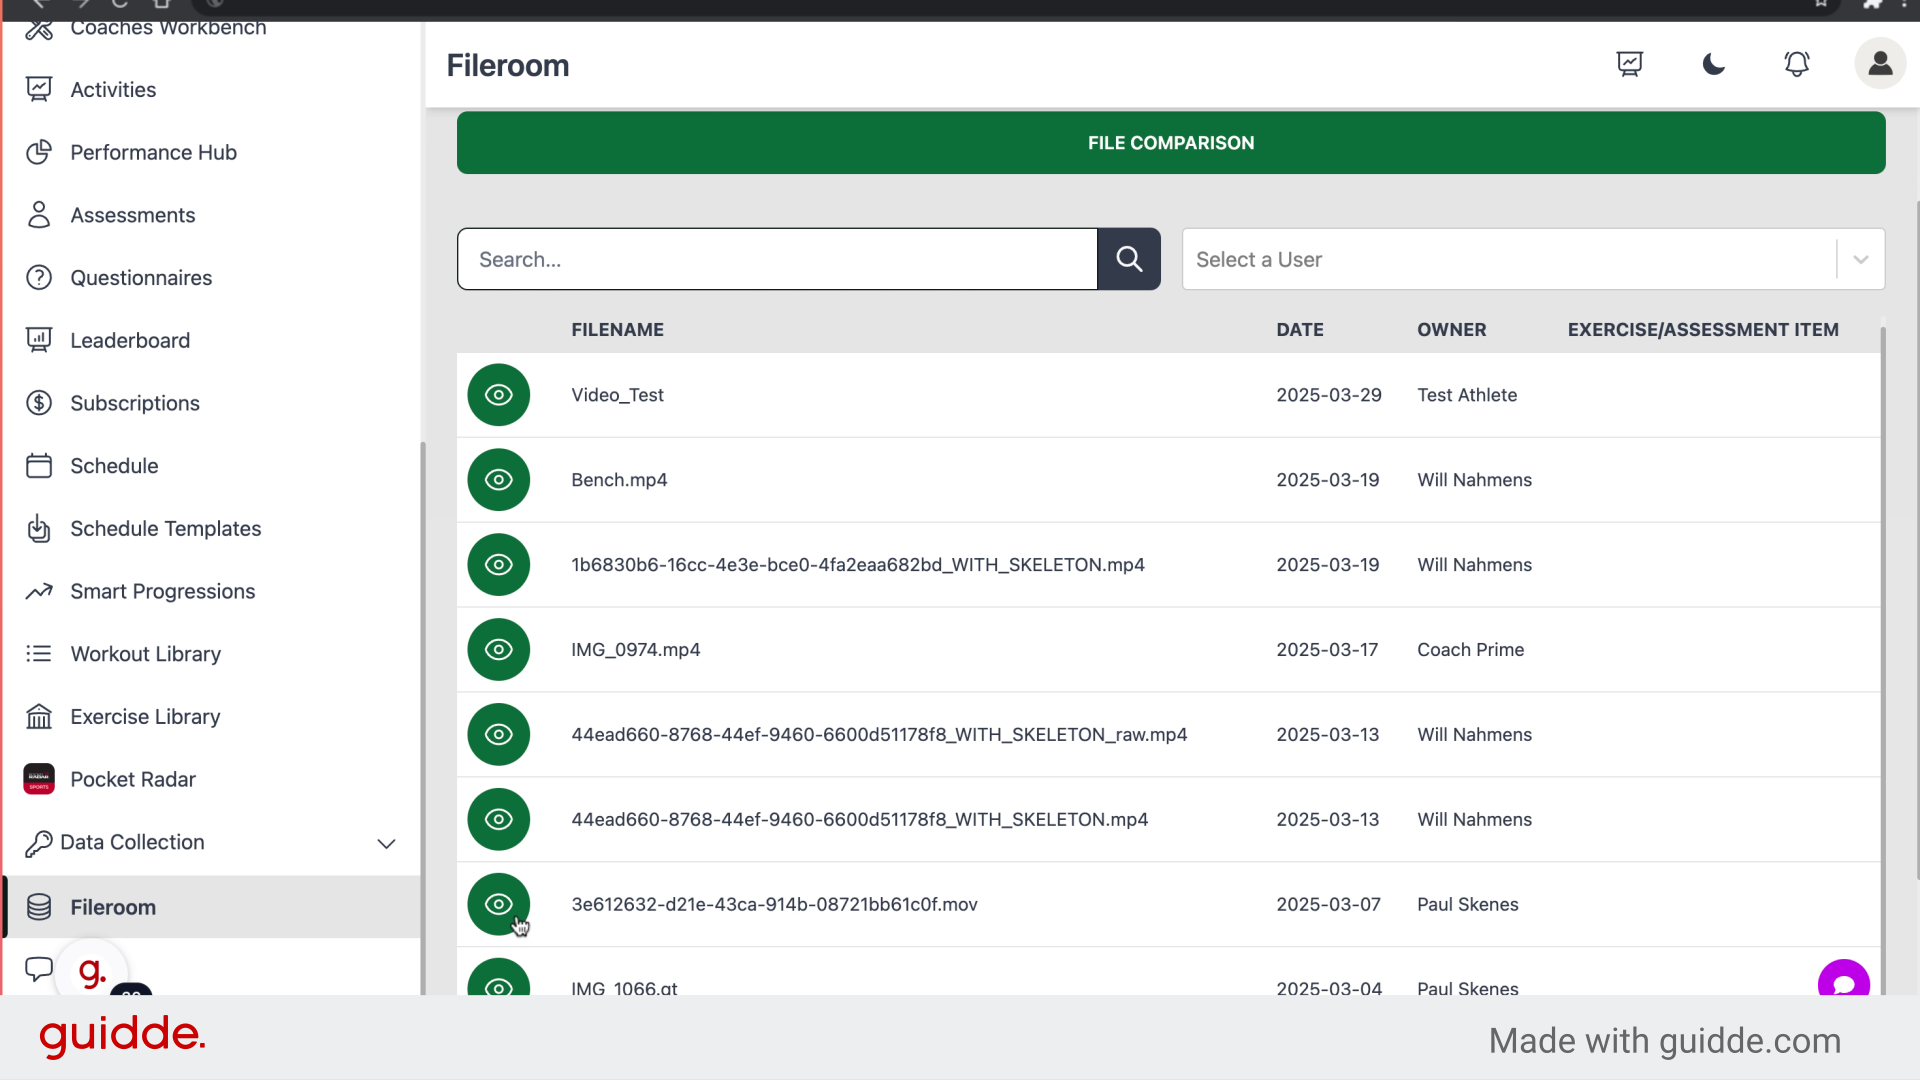
40. Click "New Checkpoint"
Create a new checkpoint.
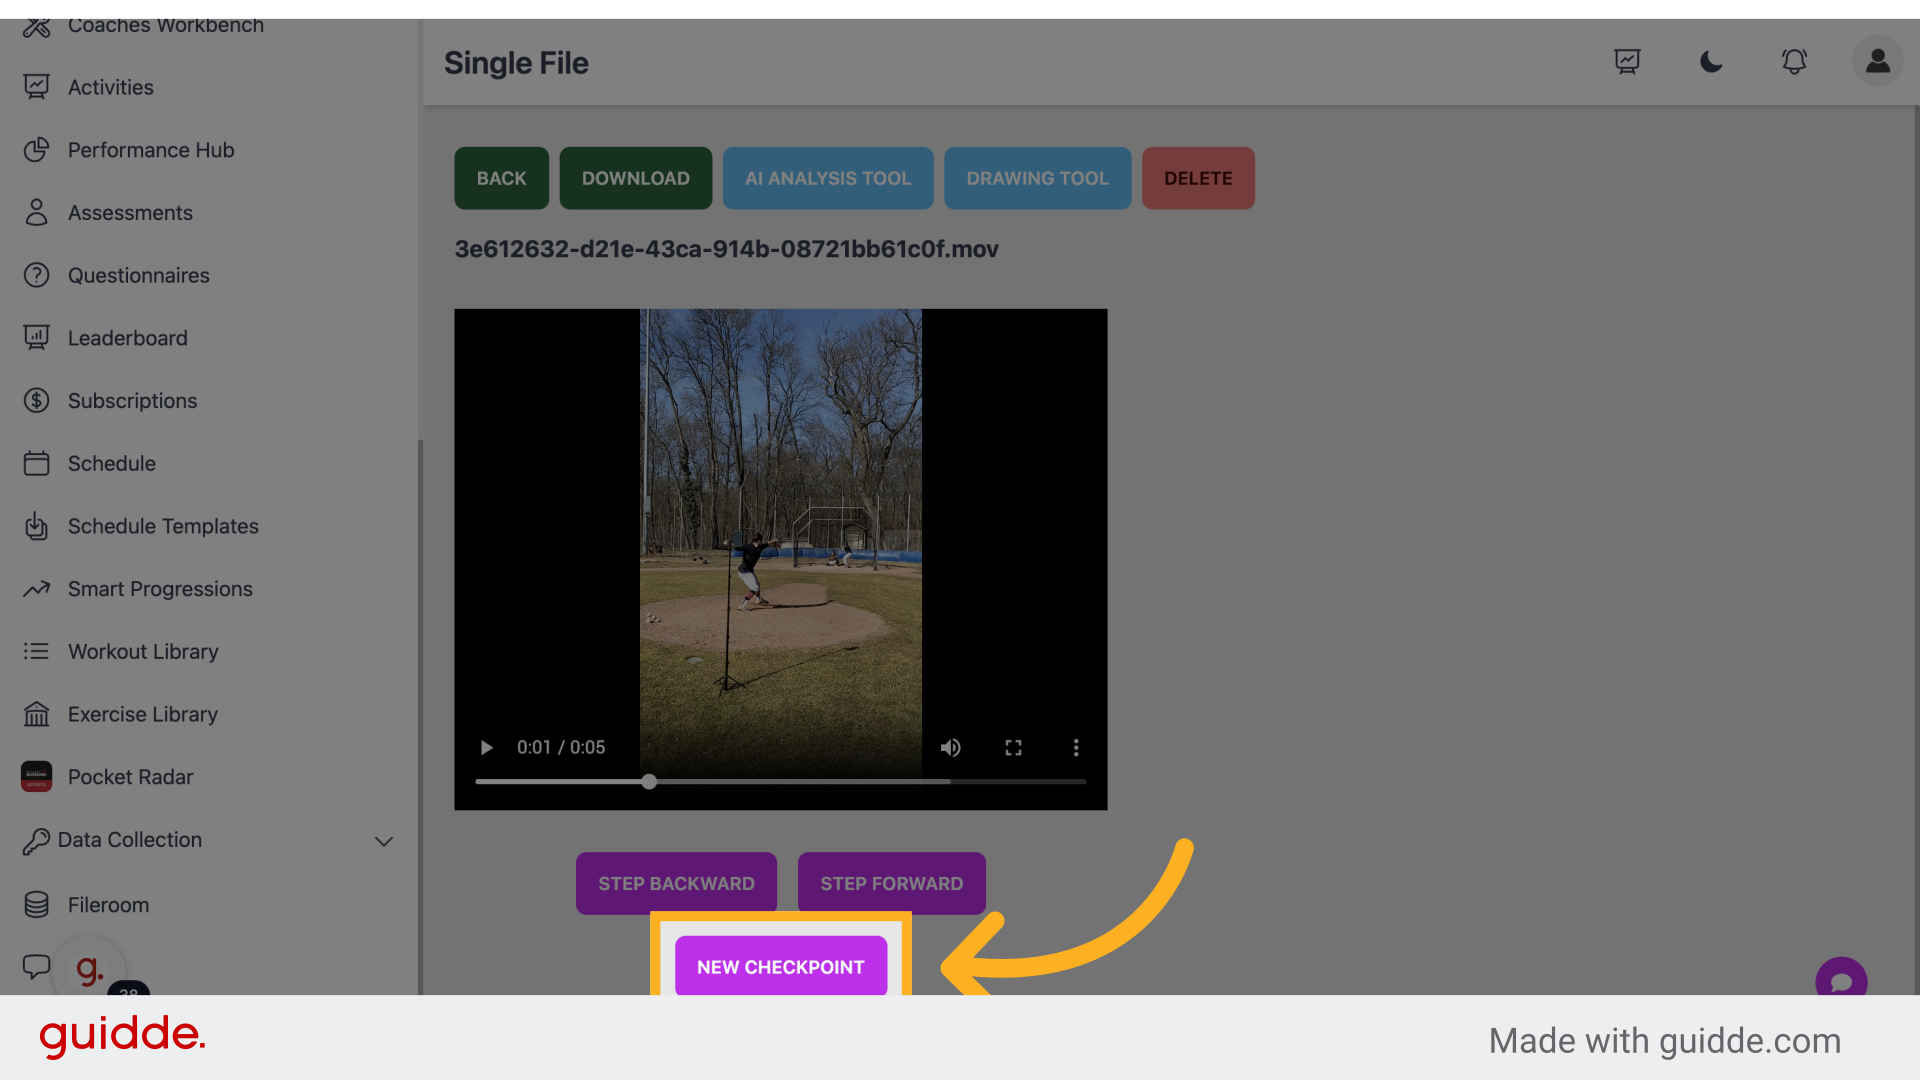
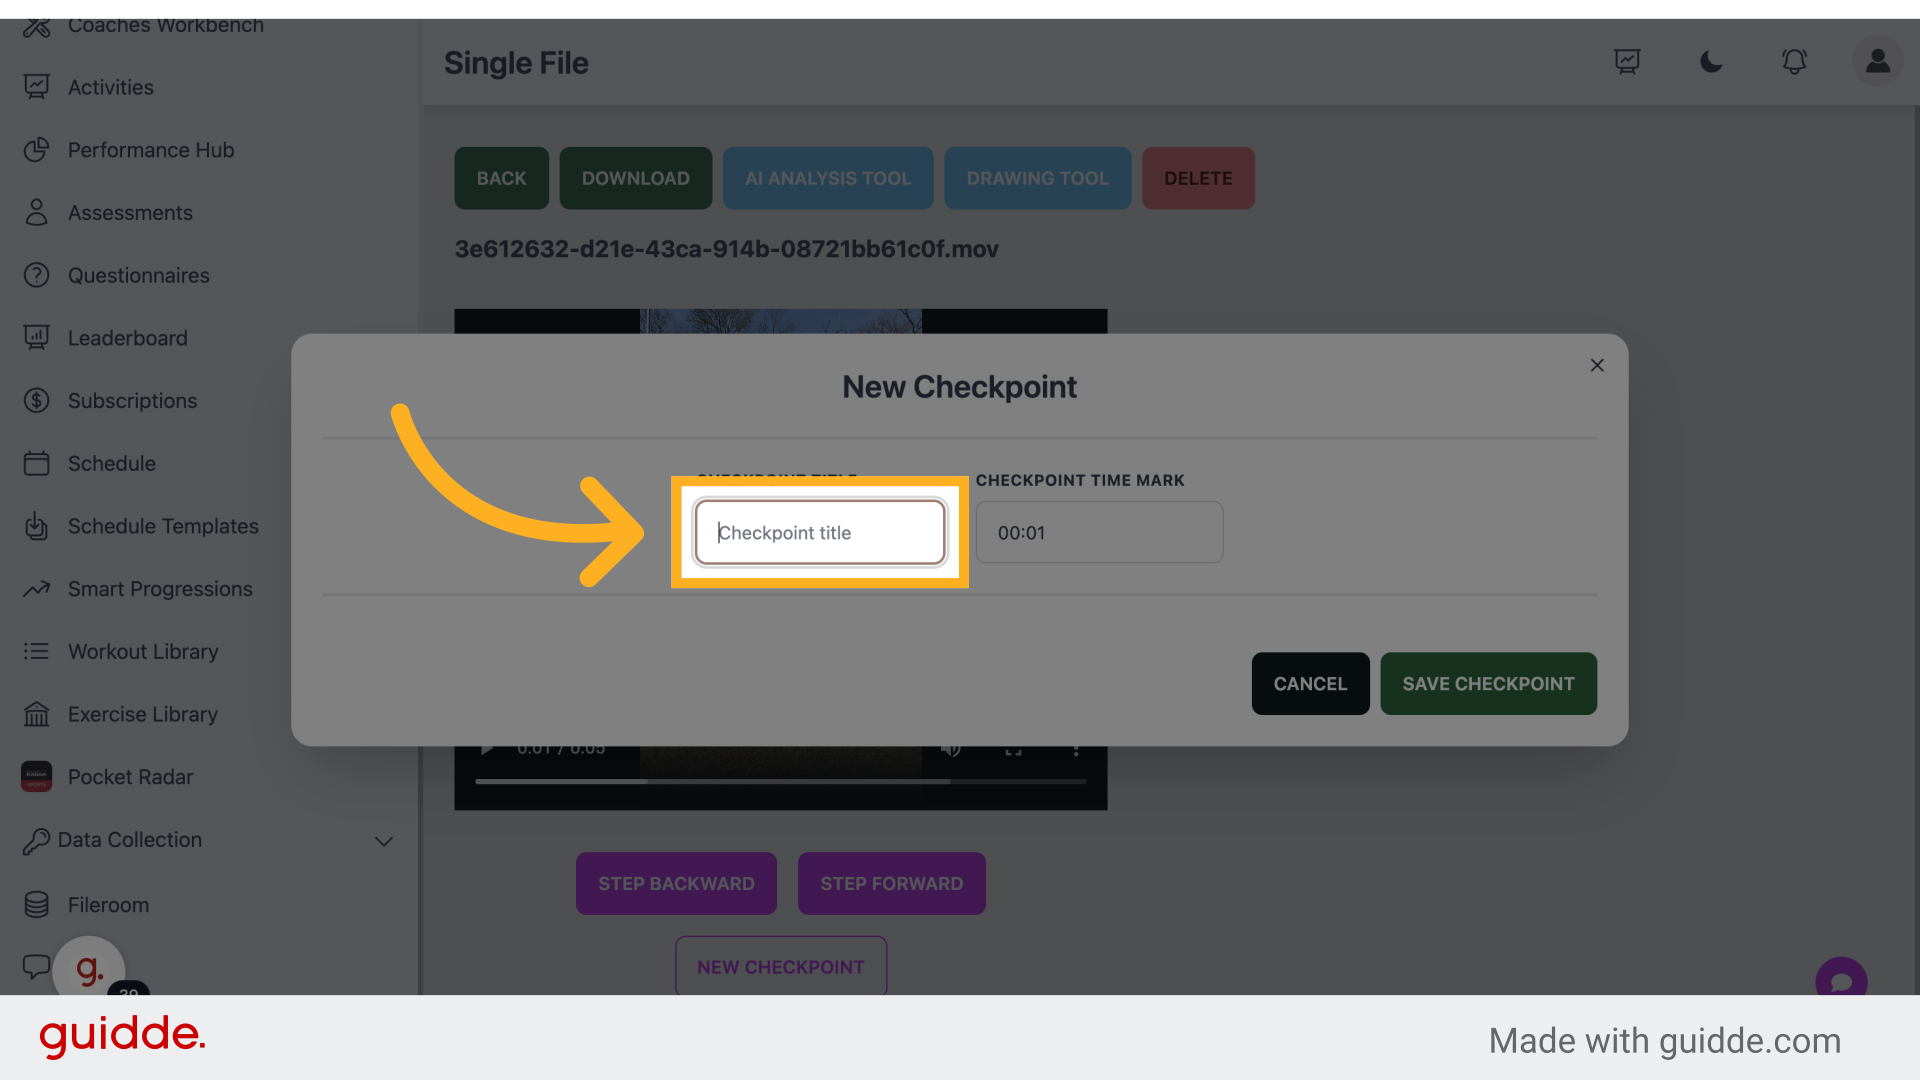
41. Click "Checkpoint title"
Enter Checkpoint title.
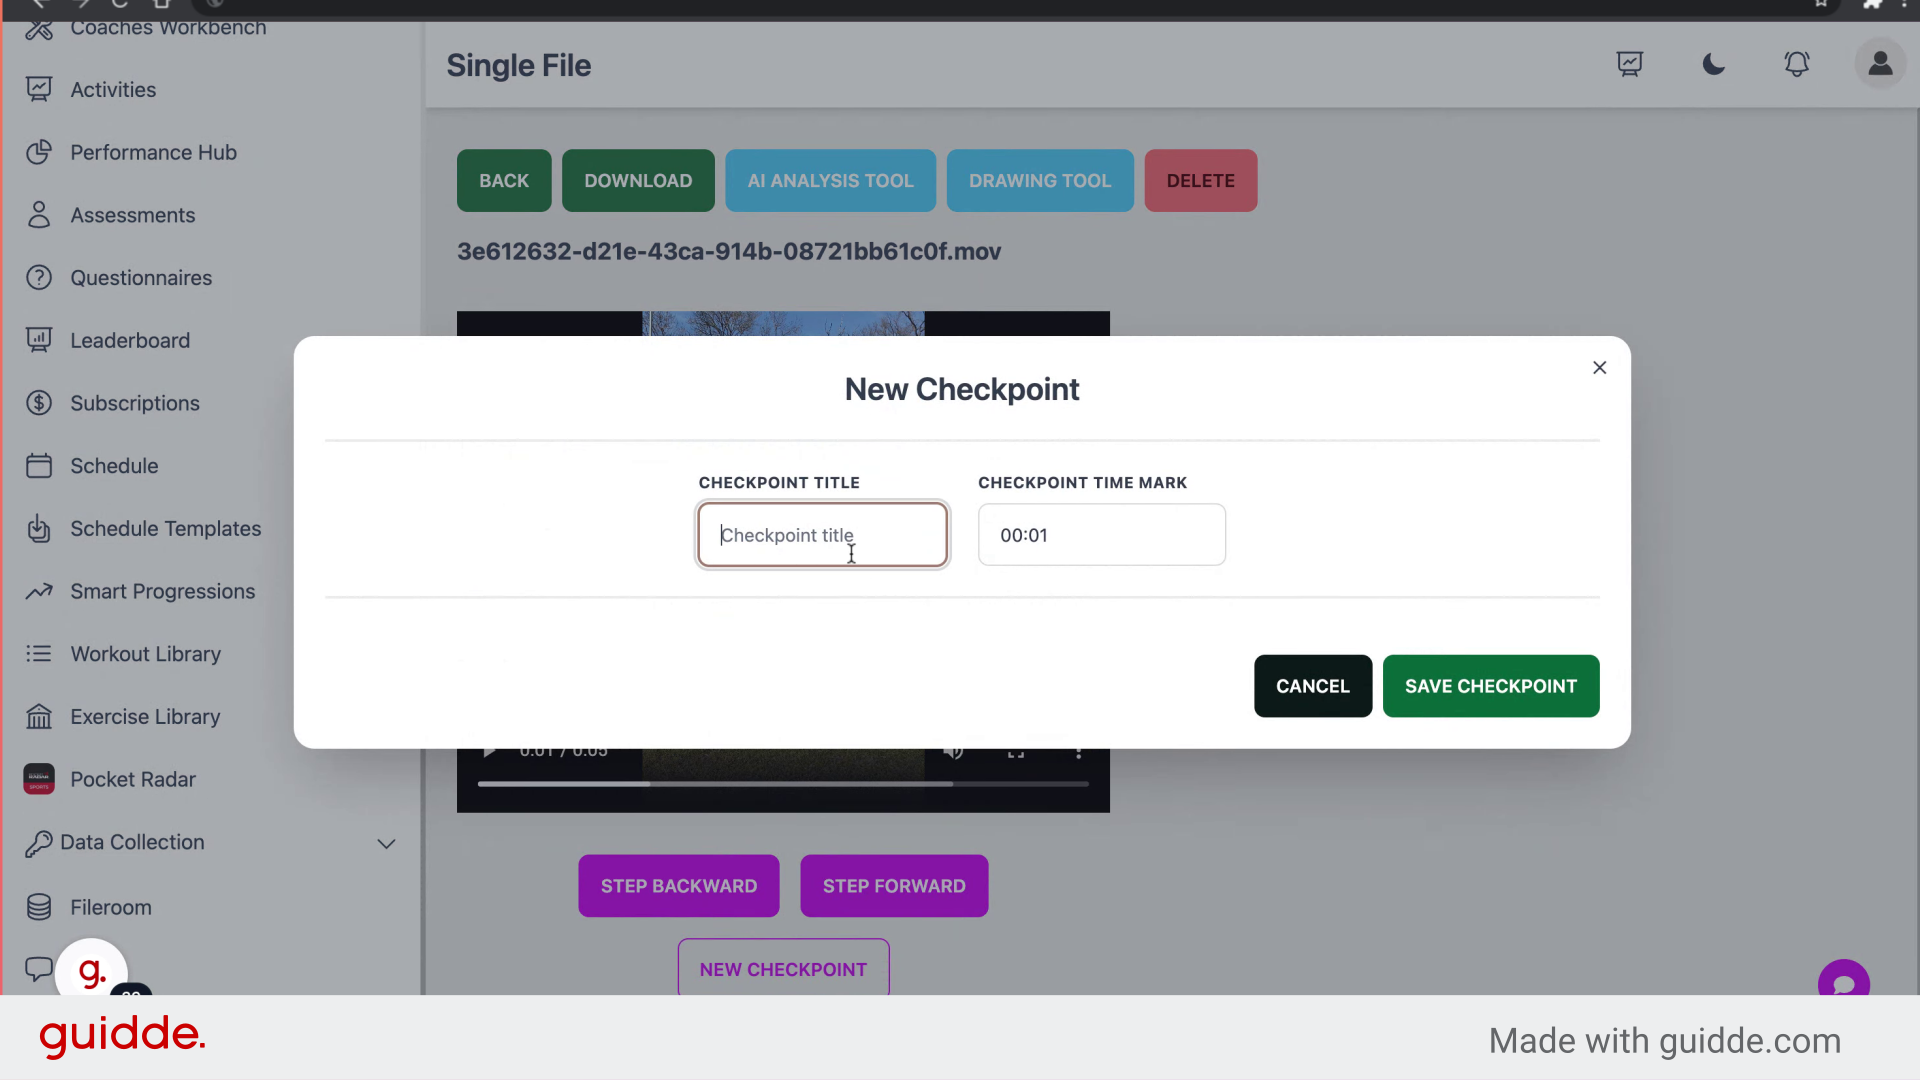
42. Fill "Foot Plant"
Input "Foot Plant" in the available field
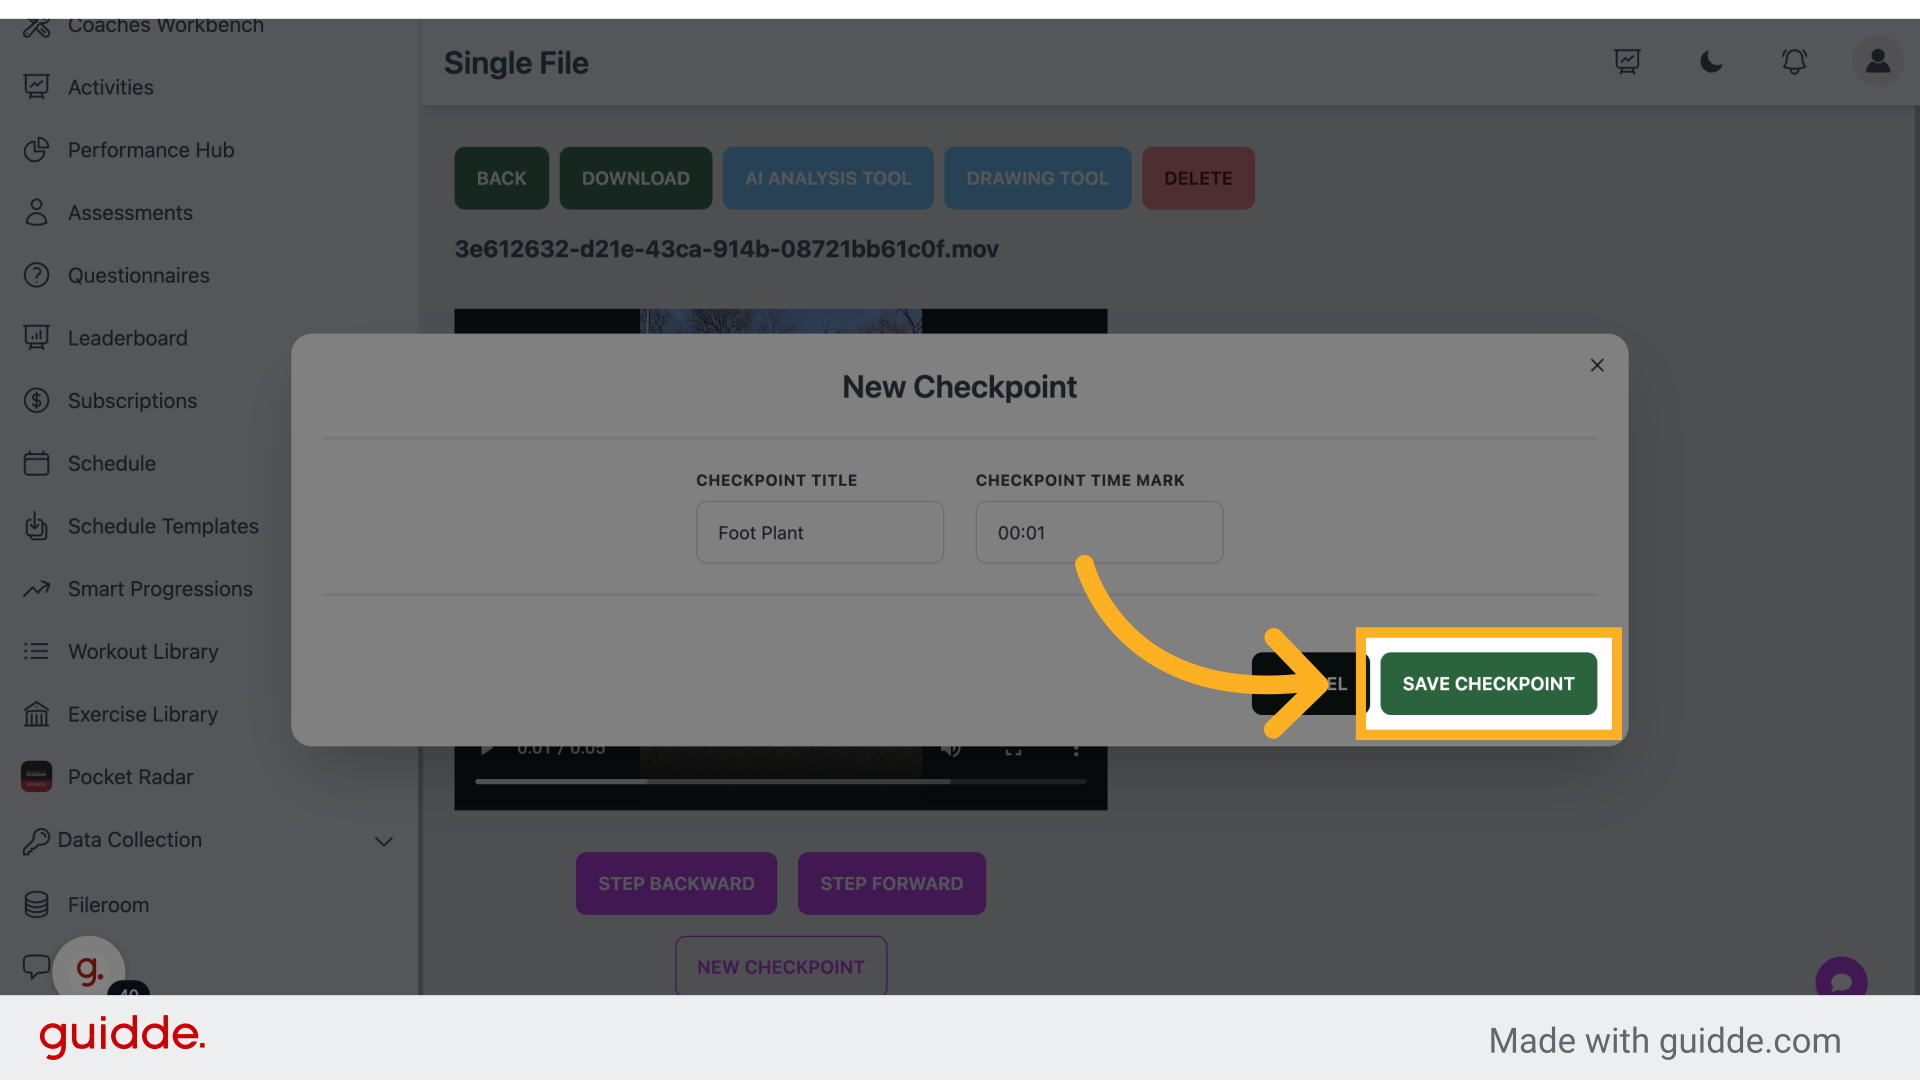
43. Click "Save checkpoint"
Save the checkpoint.
This guide covered a range of actions from uploading files to utilizing various tools in Connected-performance for effective video management. Master the steps provided to optimize your file organization process.